Posts

Showing posts with the label CTMH

Tea-rrific!

Image
Hello Crafty Friends, Today I am posting a card I made for one of my sweet rug hooking friends who is a tea drinker.  The background technique I cased from Lauri Coons - Stampin Friends when I saw her post on Facebook I just had to try it.  This is my second card I have done using this back ground and of course by changing colors and embossing folders they will look very different. Here is how the card was made starting with a 5-1/2" X 4-1/4" tent fold card base.  Using 1-3/4" punch (can also die cut Elizabeth Craft Designs has fitted circles smallest is 1-1/2" and next size is 2" which is what I would recommend and put clear double sided adhesive on back of cardstock before cutting as it will be easier to arrange pieces ) cut 2 circles from 6 different colors of cardstock.  Cut each circle into fourths and then emboss with embossing folder or folders of your choice. (be sure to cut before embossing).  Add adhesive to back of pieces using a Xyon sticker make...
You Take the Cake

Image
Hello my crafty friends welcome to my blog. Well the weather here in Maine is 100% better this week than last when we got 30" of snow in one storm.  Today I am posting a birthday card I made showcasing Susan's new Rose 3 die set. Here is how it was done.  Cut white Soft Finish Cardstock 6" X 10" score at 5" fold on score line. Using Karen Burniston's Cake Pop Up die center in card fold (I use a little removable tape to hold in place when cutting) run through cutting machine. Work all folds to make cake pop out. Karen has a great video on this die cut which can be found here . Using design paper of your choice and dies from the set cut out decorative cake pieces.  A piece was cut to cover top of cake using same paper and laying just very top portion of cake die then cutting the candles pieces away and trimming to fit.  (Covering the top is not necessary it is just something I wanted to do.) Once cake is completely decorated random stamp inside of c...

Kitty Birthday

Image
Here is a Birthday card I made for our granddaughter's 17th Birthday.  I have used Karen Burniston's Twist Circle Die from Elizabeth Craft Designs and followed her video to make this twist panel pop up.  This is a fun card to make and can be decorated for any occasion changing out the paper, stamps and embellishments your choices are limitless.  Paper was from A.C.Moore, the stamps all from Close to My Heart (CTMH) adhesive is Clear Double Sided Adhesive from Elizabeth Craft Designs. [wpvideo UocafCLK] Have fun!  

Potted Poinsettia

Image
Hi Everyone hope that you all have had a great Christmas - ours was great spending time with family and friends. Today I am posting a birthday card for a dear friend with whom I have been friends with for about 60 years.  My card  uses Karen Burniston's Flower Pot Pop Stand and Susan's Garden Notes Small Poinsettia as well as her White Pine Boughs & Pinecones along with Els van de Burgt Holiday Garlands 2 and A Way With Words Happy Birthday. Here is how I made the card. Using Karen Burniston's video and Flower Pot Pop Stand die set - the flower pot cut from a color cardstock of your choice (Sea Glass was used here).  Cut and build the flower pot according to the video. Using Susan's Garden Notes Small Poinsettia and white cardstock cut 7 or 8 poinsettias making sure you cut a set from green cardstock for each flower.  Shade and shape each flower using Susan's PanPastels Set 1 and her 4 pc Tool Kit.  Susan has a great video to help you with this you can f...

Up On the Roof Top

Image
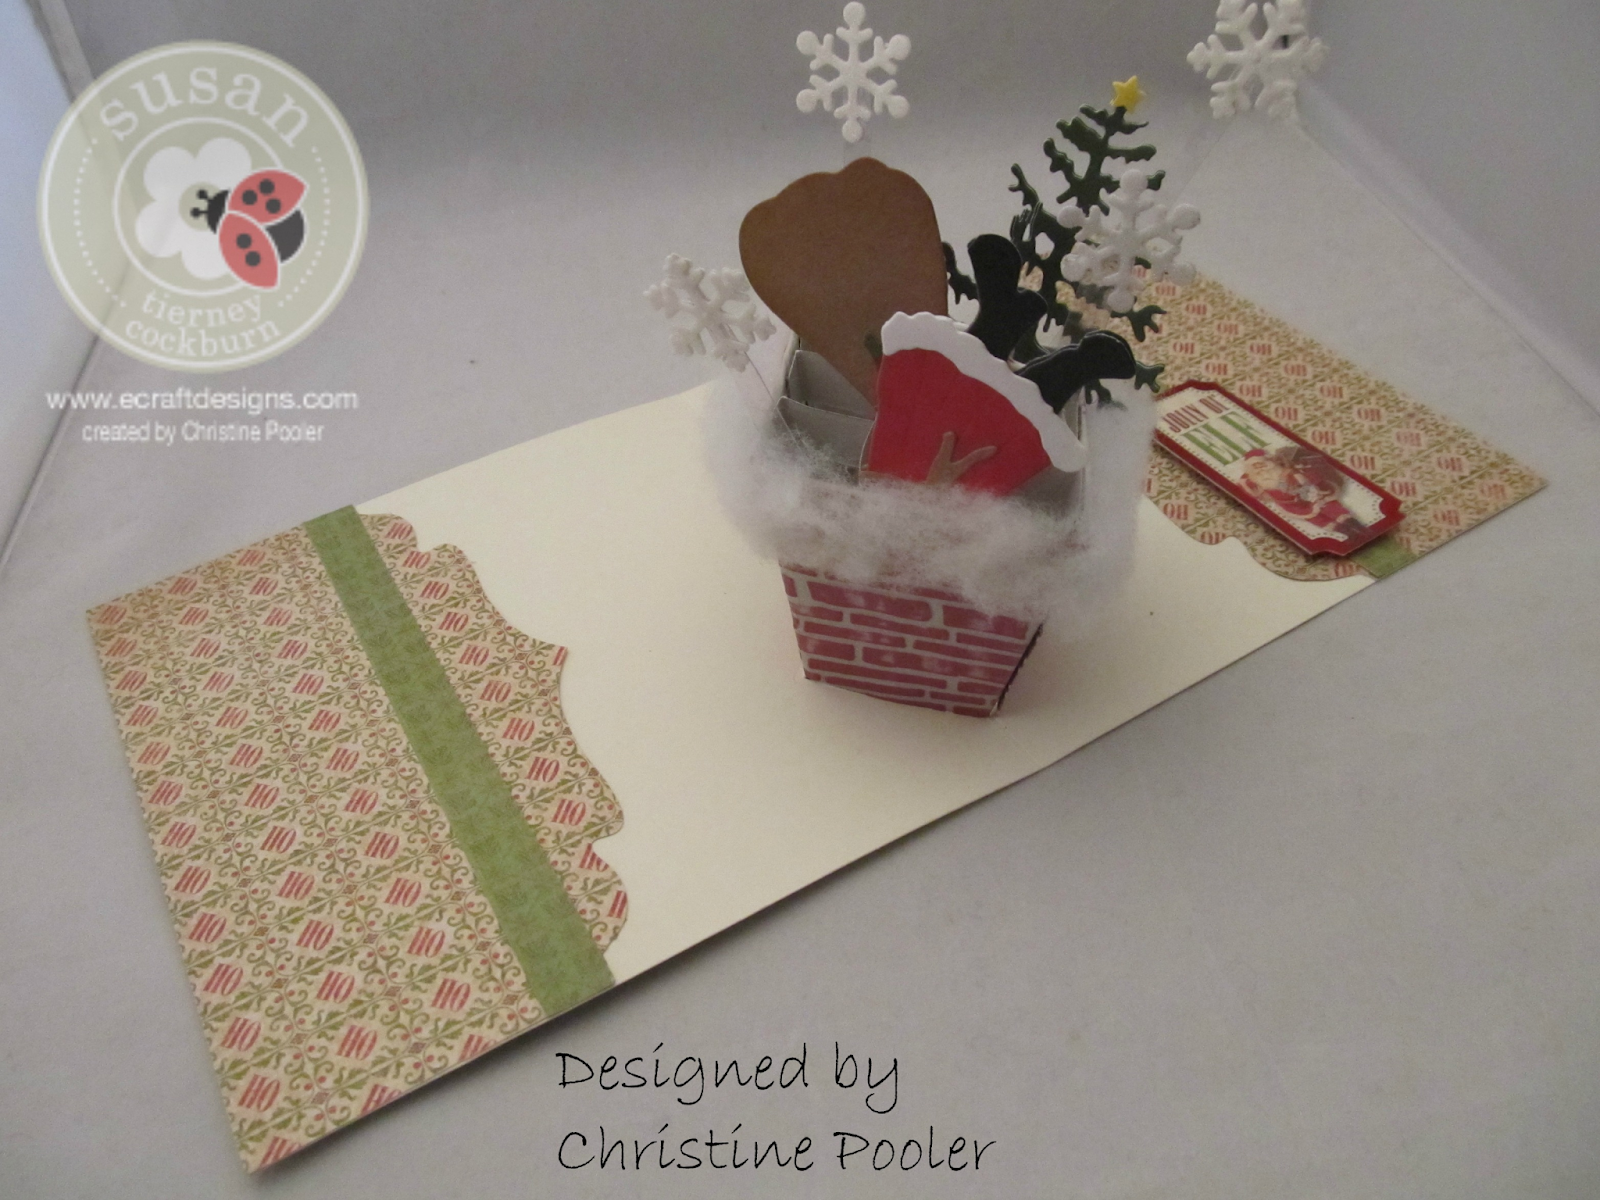
Hello Everyone thanks for stopping by my blog today.  Today I have created kind of a fun card that has Santa and his satchel going head first down the chimney.  My card base was made by using Karen Burniston's Flower Pot Pop Stand Die Set. Here is how it was done  Cut flower pot from light gray cardstock you will need to cut it twice.  Find your score lines and fold all of them (this is important to do before embossing as it will make it easier to find them after embossing - ask me how I know ).  Depending on how big your brick embossing folder is you may be able to do both at once  but lay the flat pieces in the embossing folder and run through machine.  Try to have a couple of sides straight as possible and use these sides for front of card (Again ask me how I know).  Take cranberry ink pad and rub over the bricks which will color the bricks but leave mortar area gray.  Use Karen's great video to build the flower pot.  For this card ...

Season's Greetings

Image
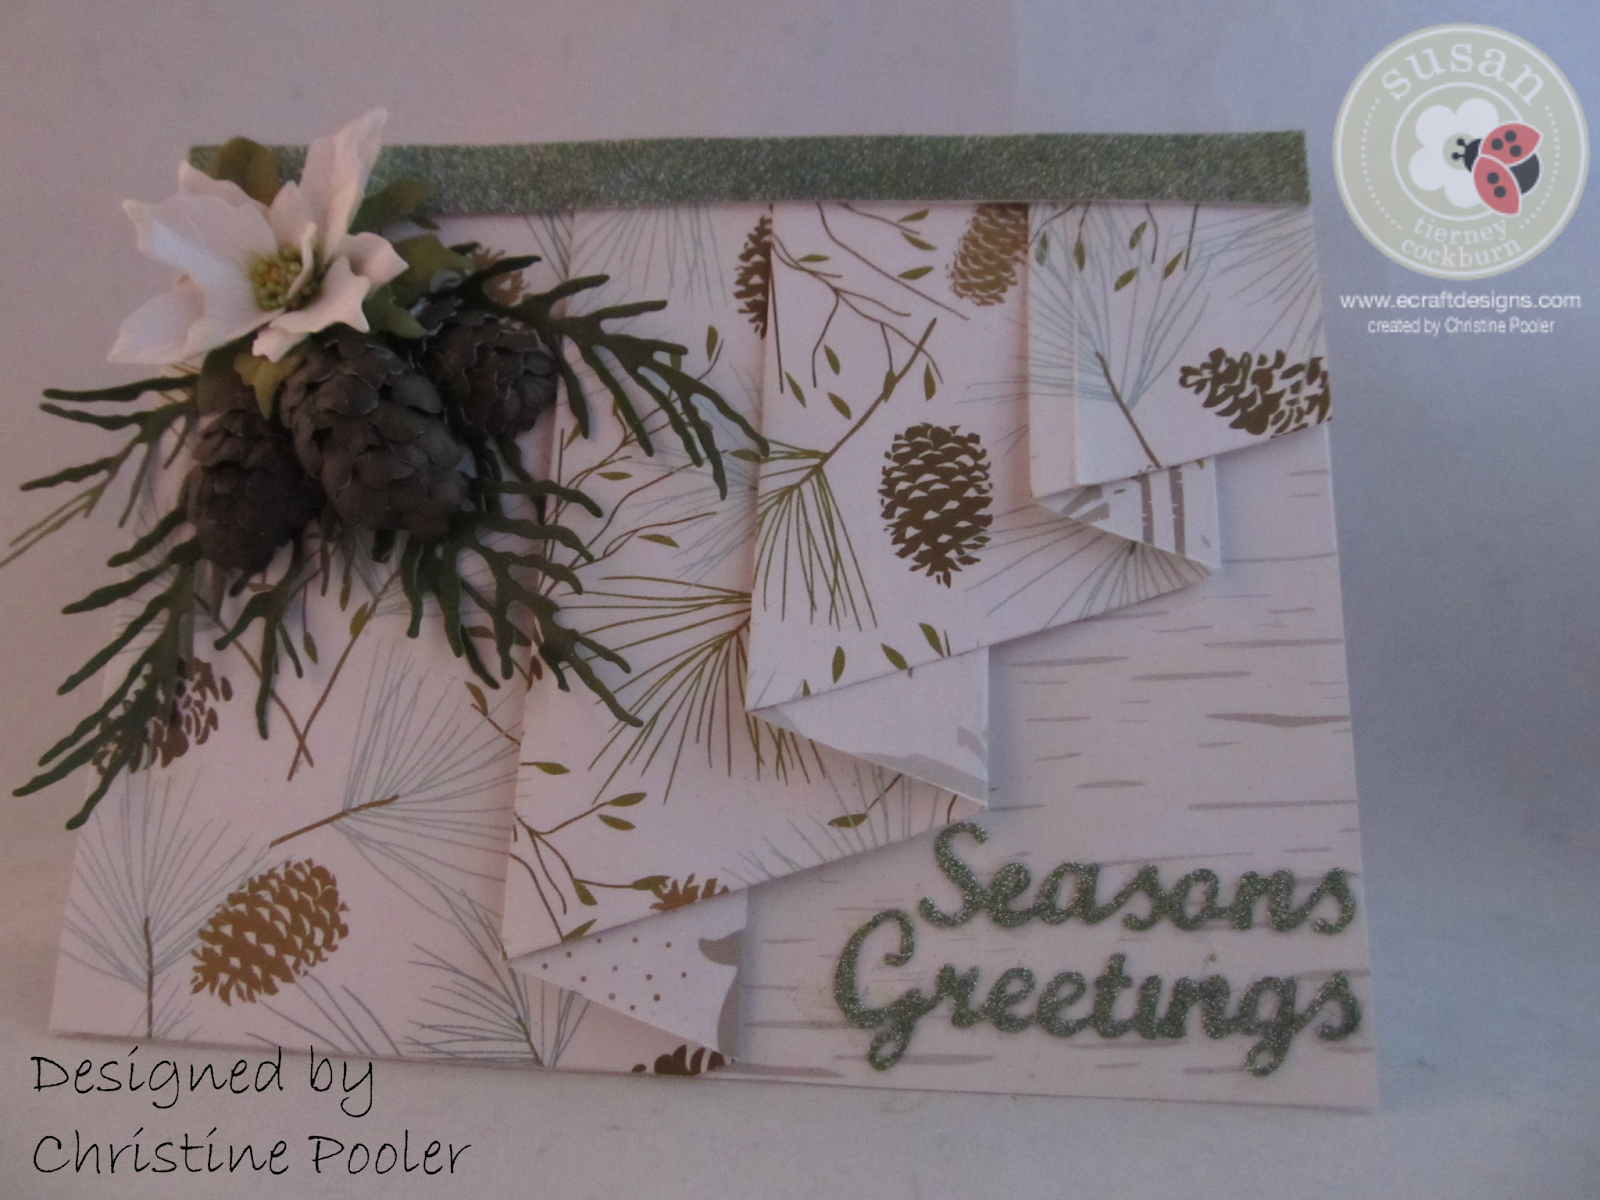
Hello Everyone today I am posting a card that I designed for Susan Tierney-Cockburn's Design Team on Elizabeth Craft Designs.  For a full tutorial and list of supplies to make this card be sure to visit Elizabeth Craft Deisgns Blog .

Sweet Aubrey Tag

Image
Hello everyone today my hubby and I are celebrating our 47th Anniversary and so we will be heading to the coast to celebrate.  This has been a tradition for many years for us.  We choose different places to go but our favorite is Camden, Maine it is so pretty  and that is where we will go. Today I am posting a tag I made to go on a gift for a friend's new granddaughter.  It is a quick and simple project.  From pink cardstock using Tags & More 6 Daisy die set cut solid tag and 2 corners. From white cardstock using Tags & More 6 Daisy cut tag overlay. From off white / cream colored cardstock (Close to My Heart Colonial White used here) cut petals for 2 roses using Susan's Garden Notes Rose 2 die set.  Shade petals using pink from PanPastels set 1. Shape all petals. Cut 4 stems from green cardstock.  Add stem and vein lines to 2 of the stems.  Shade with bright green PanPastels Set 1.  Using a clear drying glue such as Kid's Choi...

Framed Magnolia

Image
Hi Everyone today I am posting another card with Susan's new Garden Notes - Southern Magnolia and Els van de Burgt Stitched and Fitted Square dies.  There are so many ways to get the most out of your dies.  This card can be used for any occasion and would look different just by changing up the color of the paper. Here is how I made the card:  From 100# white Soft Finish Cardstock (12" X 12") cut in half  giving you 2 pieces 6" X 12"  save one half for another card.  Score your 6" X 12" piece at 6" and fold forming 6" X 6" card base. Cut a 5-3/4" square patterned paper (you could also use a solid piece of colored cardstock) adhere to front of card base using Clear Double Sided Adhesive. Note: For the frames I used Els Square Stitched Frames and Els Square Fitted Frames.  I numbered each die on the back with a sharpie marker starting at the smallest and ending at the largest.  Frame 1:  use #9 Stitched and #8 Fitted  Frame 2: ...

Sweet Magnolia

Image
Hello Everyone!  My post today is a card that I made for a friend who lost her Dad.  I used one of Susan's  new releases Garden Notes - Southern Magnolia along with Els  van de Burgt's Stitched and Fitted Squares and A With Words - Thinking of You dies. Here is how I made the card.  Cut 6' X 12" piece from 100# Soft Finish white cardstock score at 6" fold forming 6" X 6" card base.   Cut B&T paper (printed paper) 5-3/4" X 5-3/4" adhere to card front using clear double sided adhesive.   Using the largest stitched frame and second largest fitted frame dies lay them face down on the paper center the smaller frame inside the large frame tape together using washi tape or removable tape run through die machine cutting out frame.   Attach to card front.   Attach clear double sided adhesive to front of black cardstock.  Lay Thinking of You die cutting side down on adhesive side of cardstock run through die cutting machine (you m...

Birthday Pansies

Image
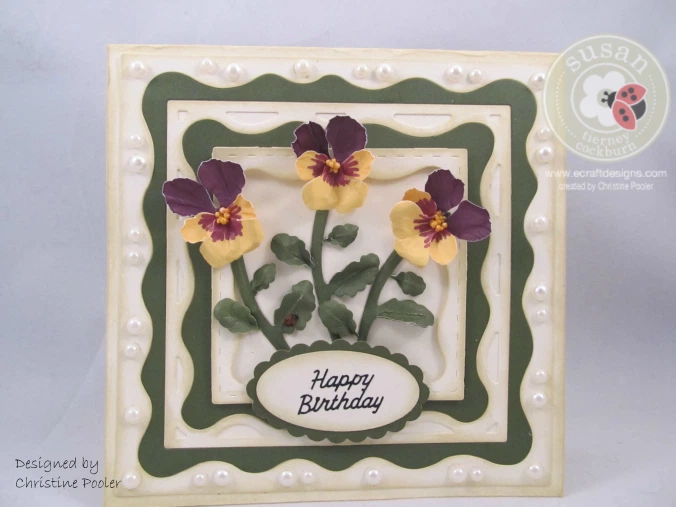
Created for ECD Susan Tierney-Cockburn Design Team Hi Everyone my post today is a Birthday card that I designed using Susan's Garden Notes Pansy die and Elizabeth Craft Designs Fitted Frames 4 Curvy die. The base of this card is a white A2 (4-1/4" X 5-1/2") all edges inked with Distress Ink Antique Linen.   Using the Fitted Frames 4 - Curvy die cut 1 set in white cardstock and 1 set in green cardstock.  Take frame 1,3 and 5 of the white and 2 & 4 of the green - ink all edges (you will be able to make another card with the remaining frames just reversing your the color layout of your frames)   Attach the frames to the card front using double sided clear adhesive.    Next die cut 3 pansies using Susan's garden Notes - Pansie die (yellow and purple cardstock used here).  Mark the centers of the yellow petals with a purple marker.  Shape petals and assemble using Susan's video seen here .  Attach the pansies to the center of the frames. ...

Wintery Reflection

Image
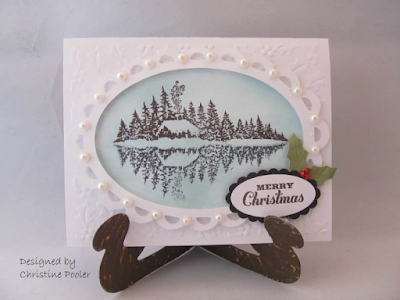
Hi there everyone today I am posting a card that I taught at our Close To My Heart Consultant Team Meeting this month.  This card was done using the "Reflection" technique. The card is an A2 size card (4-1/4 X 5-1/2) and is used as a top fold.  Emboss the front of your card with embossing folder of your choice (holly leaves and berries or snowflakes are great choices. Cut an oval at 3" (page 42) and the decorative layer oval at 3-3/4" (page 52).  (The ones used on this card were cut on the Cricut using the CTMH cartridge Art Philosophy). Using light blue ink (CTMH - Glacier used here) sponge over the oval lightly. Using either a pigment ink or Stazon  ink stamp your image on oval and then ink stamp again and stamp on a piece of transparency.  Flip the transparency over so it is upside down (the "reflection") and position on your oval and gently rub over the transparency transferring the image to the oval.  (CTMH stamp set used Captured Moments). Se...

Just Peachy Roses

Image
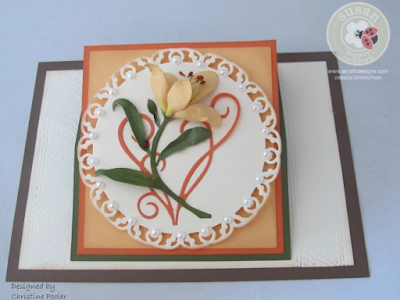
Hello Everyone, Today I am posting a wedding card that I designed for The Susan Tierney Cockburn Design team at Elizabeth Craft Designs.  I used Susan's Garden Rose 2 die, Katie Flourish Frame Edges, Accordion Oval Card Die and Heartstrings Embossing Folder which all can be found here .  The tutorial can also be found at Elizabeth Craft Designs here . Hope that you have enjoyed this post and that you visit Elizabeth Craft Designs real soon to see all the great products they offer. Have a super day! Happy Scrapping, Christine

Fall Mums

Image
Hello Everyone, Today's post is my latest creation using Susan Tierney Cockburn's new chrysanthemum die which is now available here at Elizabeth Craft Designs. My card is a standard A2 card (4-1/4″ x 5-1/2″) using it as a top fold card. Let’s get started. Take your card base and using the Lots of Dots embossing folder emboss the lower two thirds of the front of the card case. Cut green cardstock 2-1/4″ x 5-1/2″ and white cardstock 1-1/2″ x 5-1/2″ then using edge punch (an older Martha Stewart punch used here but most any edge punch will work) punch one of the 5-1/2″ edges on each piece. Cut white cardstock 1-1/2″ x 5-1/2″ then punch using Martha Stewart Diamond Fence double edge punch. Using the 2 smallest oval dies from the Accordion Oval die set cut the smallest oval in white cardstock and the larger of the two dies cut in green cardstock. Ink all edges of your card base and all the pieces you have cut. Vintage Photo Distress Ink was used here. Using shades of ora...

Congratulations Lily

Image
  Hello everyone hope you all are enjoying your summer it has been busy here with the gardening and outside chores. Today my post is a card that I designed for a great group of ladies that I scrap with.  Each month we have a night that is called Playground Night where we take turns coming up with a project to teach.  We pay $4.00 for the class and the money is donated to a fund for a playground that was built and named for my son and in turn the money is used for upkeep etc, for "The Matt Pooler Memorial Playground". Let's get started: Card Base 1.  Cut brown cardstock 5" X 7" 2.  Cut off white cardstock 4-1/2" X 6-1/2" and emboss each end (4-1/2" ends) 1-1/4" in from each edge. 3.  Cut green cardstock 4-1/4" X 5-1/2" and score at 1/2" and 2-3/4" fold on score lines. 4.  Use removable adhesive on just the outer edges on the back of the off white cardstock and center it on the brown cardstock. 5.  Measure up 2-1/2" fro...

Retirement Poppy Card

Image
Hello Everyone, Christine here once again it has been a long time since I posted but as they say "you have got to make hay while the sun shines" it is springtime and lots of yard work to be done. My card today is a retirement card for one of my scrapbooking buddies I used Susan's Garden Notes Poppy die and Elizabeth Crafts Design Accordion Rectangle die along with a few other ECD dies. The instructions are for a 3 panel card but you can make as many panels as you want to.  (Note: I inked all edges and  sanded surfaces of the embossed pieces using Distress Ink Vintage Photo) Cutting and Prepping Components 1.  Cut 6 panels using the ECD Accordion die and the orange cardstock a.  Cut away the center rectangle from 3 of the panels b.  Take 2 of the  panels one with center rectangle still in it and one without the center rectangle in it and emboss them using the lots of dots embossing folder - then sand both embossed panels. 2.  Using the Paris Edge die cu...

Oh Sweet Lilac

Image
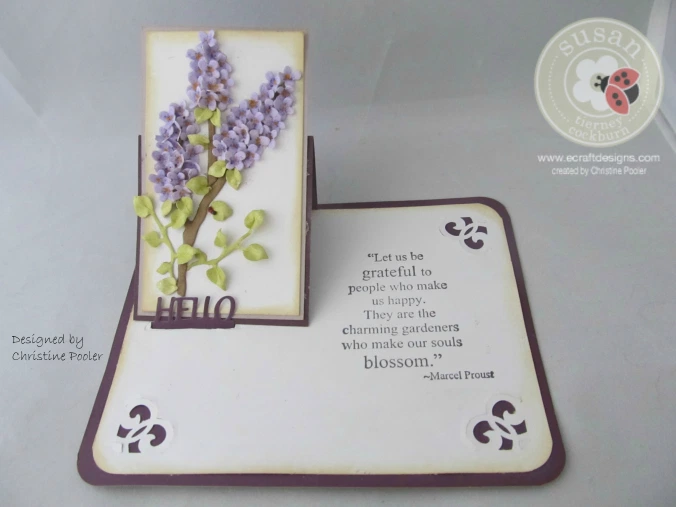
Here is my June Post for the ECD Susan Tierney-Cockburn Design Team.  click here to see the tutorial for this card and many other great posts along with all their great products to make them.

A Breath of Spring

Image
Hello Everyone, The weather here in Maine is finally changing the snow is gone, the weather is warming up and the spring flowers are beginning to bloom. Today my post is using one of Susan's Garden  new dies which will be available soon from Elizabeth Craft Designs.  I have used the Hyacinth die and the Elizabeth Craft Designs Tags & More 3 - Leaves die set. Let's get started 1.  Using the Tags & More 3 - Leaves die set and a piece of black cardstock and a piece of  pink cardstock  3-1/4  X 6-1/2 cut the top of your tag and the base tag see video here .  Cut the corner pieces and the diamond piece from pink cardstock.  Ink all edges (I used Distress Ink - vintage photo).  Attach the 2 corner pieces to the bottom corners and the diamond shape at the top lining up the hole. 2.  Using 3 pieces of white cardstock and Pan Pastels Permanent Red Tint, Violet and Violet Tint take a sponge and color each piece of white cardstock with one...

Strawberry Vanilla Hydrangea

Image
Good Morning Everyone!  Sorry it has been so long since I have posted but I have been busy getting ready to go to Creative Keepsake Convention and then going to convention. I had a great time taking classes, shopping, eating and enjoying great friends. My post today is using one of Susan's Garden new dies and one of Karen Burniston's pop up dies.  It was hard to get a good clear picture because of the shine from the glitter. Card base is an A2 size card (4-1/4 X 5-1/2) 1.  Panel is made by using Karen Burniston's accordion rectangle die.  Attach a piece of sticker paper  4-1/2 X 5-3/4 to a pc of white cardstock the same size using clear double sided adhesive. Cut 1 frame from this.  Cut the rectangle and tabs from center of frame and the long tab on the left edge of the frame. Run this frame through Sizzix machine using Hearts Entwined embossing folder (or other embossing folder of your choice)  Peel the paper from the front of the frame ( protective p...

Birthday Peony

Image
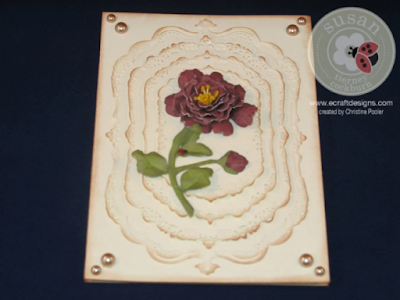
Hello Everyone, Today I am posting a birthday card I did for my sister.  I had a piece of mosaic tile left II had made extra) from a previous card I had done for Elizabeth Craft Designs so I thought I would use it along with an extra pink peony.  The mosaic was made with Shimmer Sheetz and the peony was made using Susan's Garden Notes peony die. This card is a standard A2 card (4-1/4 X 5-1/2).  The Mosaic tile instructions can be found here at Elizabeth Craft Designs Blog under Blooming Peony. Ink all edges   1.  Attach the mosaic tile piece to front of card using clear double sided adhesive. 2.  Cut 1 Floral Oval (next to largest die) from white daisy cardstock. 3.  Attach to center of mosaic tile piece using foam mounting tape. 4.  Banner was cut from Cricut CTMH Artiste cartridge. 5.  Attach Happy Birthday Peel Off Sticker (ECD) to the banner and attach banner under the oval using foam mounting tape. 6.  Using Susan's Garden Note di...

Birthday Peony

Image
Good Morning Everyone, Today's post is a birthday card for a dear friend's Mom for her 88th birthday.  Today's card is another easel card I seemed to be stuck on them at the moment. Let's get started. Making the card base see the tutorial here I did change the size a little to accommodate the Spellbinder dies. (Cut your cardstock 4-1/4 X 12 score at 3", 6" and 9" and cut your front panel piece of cardstock 4-1/4 by 6) Note: I used Close to My Heart Colonial White Cardstock and  I distress edges of all my pieces with Distress Ink - Vintage Photo With the card base done continue as follows 1.  Using Spellbinder Gold Label Four dies cut the 4 largest dies using Colonial White cardstock. 2.  Attach largest one to the front of the card using clear double sided adhesive and then the next 3  sizes and using pop dots or mounting tape stack them on each other centering. 3.  Die cut a piece of Colonial White cardstock using the next to the smallest die and using ...