Posts

Showing posts with the label Els van de Burgt Studio

Fall is in the Air

Image
Welcome My Crafty Friends, Today Susan has a brand new release lots of new dies to play with.  Today I have created a card using the new Garden Notes Vintage Tin Milk Can I am a rustic kind of girl!  You need to visit Elizabeth Craft Designs to see all the new fabulous releases. Here is how the card was created. Step 1   Forming Cattails -  Cut floral wire cut (3) 3" pieces using Yes Glue shape cattail around each piece of wire making cattail about 1-1/2" long.  Roll in hands to shape then roll in brown pollen or flower soft (flower soft used here).  Set aside to dry at least 24 hrs. Step 2  From green cardstock cut 2 Garden Notes Leafy Berry Branch 1 add berries using Nuvo Crystal Drops - Ripened Pumpkin set aside to dry.  Once dry add berries to back side again set aside to dry.  Using red Copic marker add dots to center of each berry. Step 3   From white Soft Finish Cardstock cut 5 maple leaves using Susan's Garden Woodland Leav...
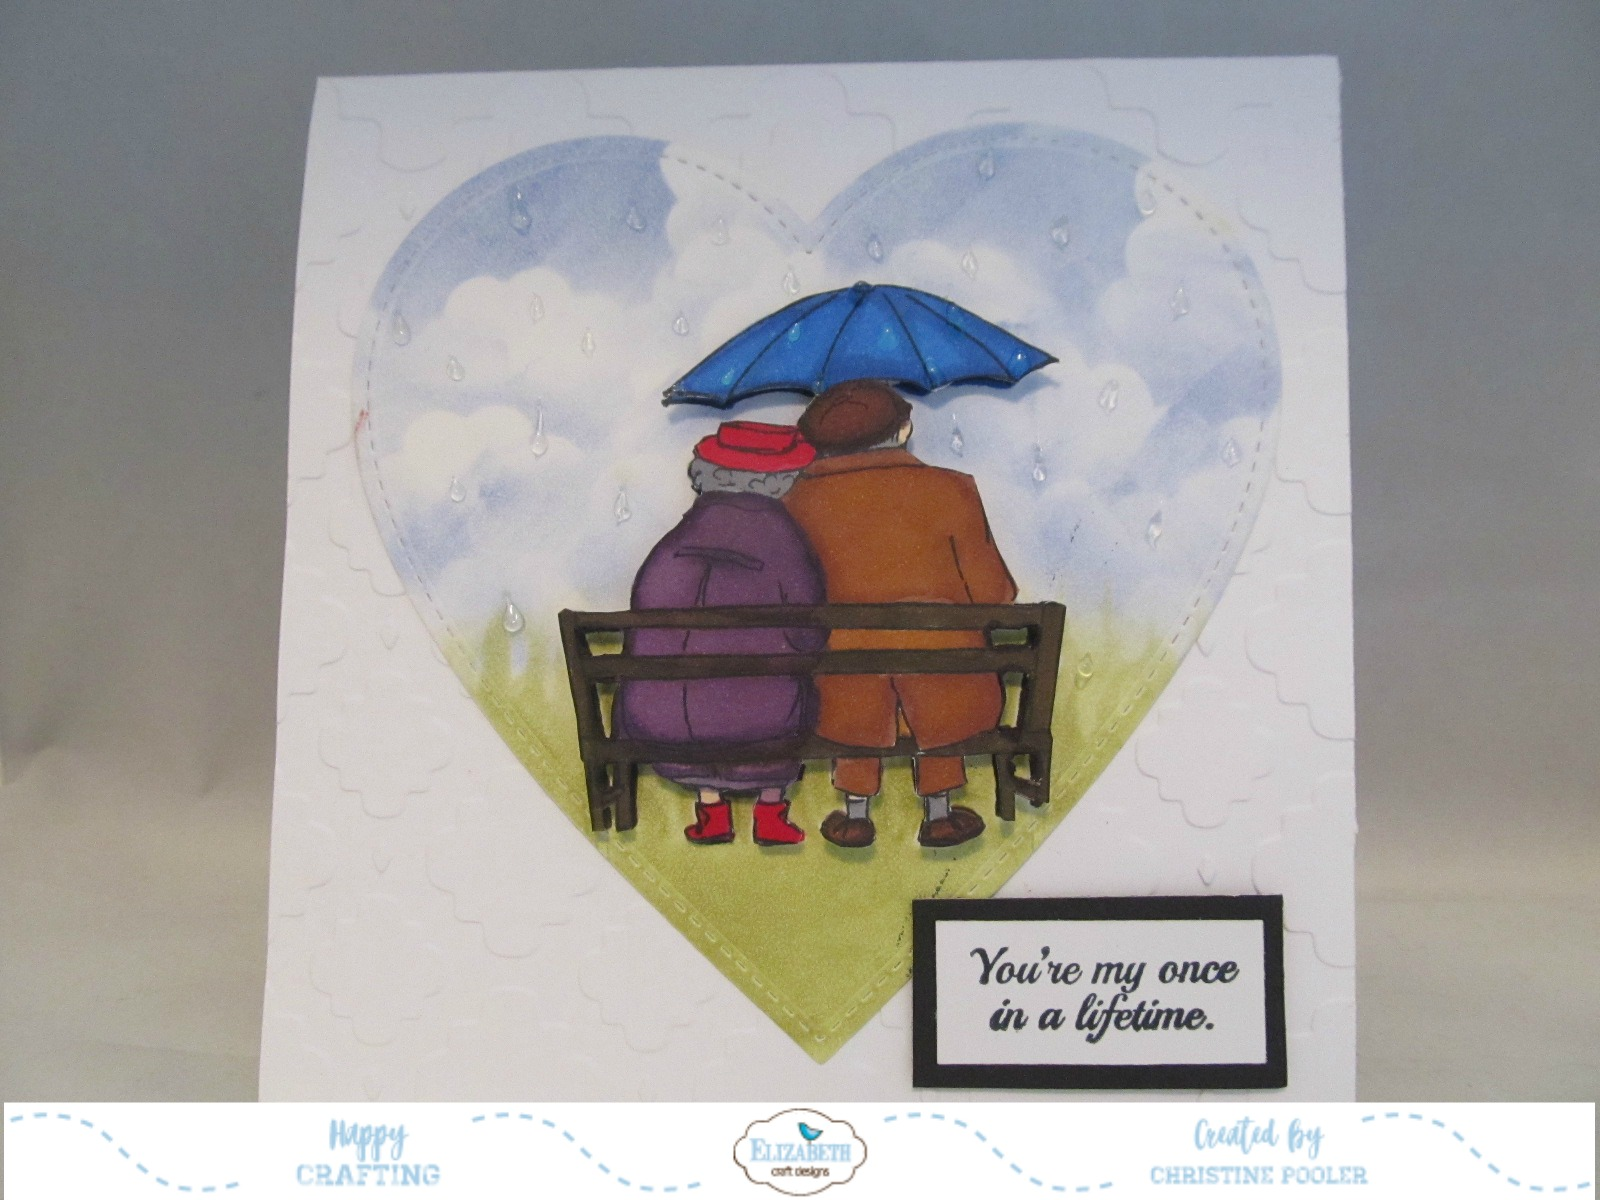
My Once In A Lifetime

Image
Hello my crafty friends welcome to my blog! Today I have an anniversary card which I made for my hubby to celebrate our 49th anniversary.   For this card I combined using dies as well as old school of stamping and fussy cutting for my main image. Here is how it was created. Step 1   From white Soft Finish Cardstock cut heart using Els van de Burgt Studio Stitched Hearts - 4th largest die.  Using Susan's Garden Notes Earth & Sky Stencil and PanPastels Set 2 blue for sky green for grass. Step 2   Using black ink stamped couple on bench twice onto white Soft Finish Cardstock .  Using alcohol markers color both images then fussy cut both.  Kids Choice Glue adhere 1 image to heart. Step 3   Using clear Nuvo Crystal Drops add raindrops to heart and umbrella of second image.  Set aside to dry. Step 4   Form 6" X 6" tent fold card base.  Emboss front of card with embossing folder of your choice. Step 5   For inside of card c...

Happy 16th

Image
Hello My Crafty Friends Welcome to My Blog! On my blog today is a birthday card I created for our grandson - hard to believe he is 16 and his sister 18 time does fly.  My card was created using some of Joset's latest releases 4th of July, Blackboard Numbers along with her Stitched Stars, Words 1 - Celebrate and General Pop Ups .  I also used Susan's Garden Earth & Sky Stencil . Here is how card was created. Step 1   Form 6" X 6" card base.  Emboss card front with embossing folder of your choice I used stars. Step 2   Cut white Soft Finish Cardstock 5-3/4" X 11-1/2" score @ 5-3/4" fold on score line.  Using Susan's CountryScapes Earth Sky Stencil add clouds and grass with Distress Inks and sponge. Step 3   Use largest pop up die from Elizabeth Craft Designs General Pop Ups Die set to cut pop up in center fold.  Work pop up folds.   Add Clear Double Sided Adhesive to back staying away from the pop up areas.  Adhere to inside o...

ECD Glitter Challenge

Image
Hello My Crafty Friends, Once again it is time for another Design Team Challenge this month the challenge is All That Glitters challenging us to use one of the 3 new palettes of Silk Microfine Glitter just released.  The three palettes are Bloom (which I have used), Beach and Earth each has 5 colors. Be sure to go to Elizabeth Craft Designs Blog to see all the creations by our Design Team and enter for a chance to win.  For today's challenge Elizabeth Craft Designs are giving away a $20 Gift Card to use on our website to 3 winners .  To enter simply leave a comment on the Elizabeth Craft Designs Facebook Giveaway Blog Post or the   Elizabeth Craft Designs Challenge post   and tell us  Which of the new Silk Microfine Glitter Palettes  is your favorite, Earth, Beach or Bloom? We will select 3 lucky winners in a random drawing  The winners will be announced on Friday, May 18th on the  Elizabeth Craft Designs blog  and our Facebook ...

Happy 18th

Image
Welcome to my blog my crafty friends! Weather here in Maine has been so strange going from bitter cold to spring like weather back to bitter cold with snow and ice in between.  The other day we were having snowstorm in the morning and by noon the sun was out bright as can be.  The old adage is "If you don't like the weather here in Maine wait a minute". My card today was designed for Elizabeth Craft Designs using one of Susan's Garden new releases Cornflower Bachelor Button.  The card is in honor of our 1st grandchild who just turned 18.  Still cannot believe that she is 18 all I can think of is that song originally by Harry Belafonte - Turn Around. A complete tutorial can be found on Elizabeth Craft Designs Blog . Below you will find full list of supplies used and can purchase by clicking on any picture below and will take you right to their site. Elizabeth Craft Designs Supplies Other Supplies Cardstock - green, white Copic Markers V09, B26, Y11, R46, R59, YG95, Y...

Rustic Chic Valentine

Image
Hello everyone and welcome to my blog. Today is Elizabeth Craft Designs first Designers Challenge for 2018.  The Theme this month is "You Fill My Heart" and we were to create a card suitable for Valentine's Day. My card today is a Valentine I created using Joset's Heart Cut Outs die set along with Susan's Garden Rose 2 and Oval Grapevine Wreath. To see all the creations by the design team, go to the Elizabeth Craft Designs Blog at this LINK. For today's challenge Elizabeth Craft Designs are giving away a $20 Gift Card to use on our website to 3 winners .  To enter simply leave a comment on the  Elizabeth Craft Designs Challenge post  and tell us " What Elizabeth Craft Designs dies or stamp sets would you use to create a Valentine’s Card? ?” We will select 3 lucky winners in a random drawing The winners will be announced on Friday, February 1st on the  Elizabeth Craft Designs blog.             ...

Christmas Projects

Image
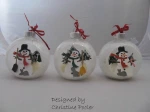
Hi there welcome to my blog thanks for stopping by today. Today I am posting a few Christmas projects that I just finished up.  Hard to believe that Christmas is just 3 weeks away YIKES!    I did the Snowman marshmallow pops for a friend's daycare, the Hershey nugget treats for work and the ornaments for gifts.  The ornaments are the only things I actually designed myself as the snowmen I saw on Facebook and the candy treats we did at our Close to My Heart Stamp of the Month group. The snowman pops I saw on Facebook had a nose glued on as well as buttons down the stick but since mine were for a day care with little ones I opted to use just Sharpie markers. The Hershey nugget treats were fun I wrote winner under candy on one and that person won an ornament. The ornaments are a sweet reminder of my childhood when my Dad brought home the half balls with scenes inside - I still have the 2 that survived which are probably 60 years old now.  They were made using Susan...

Sweet Bouquet

Image
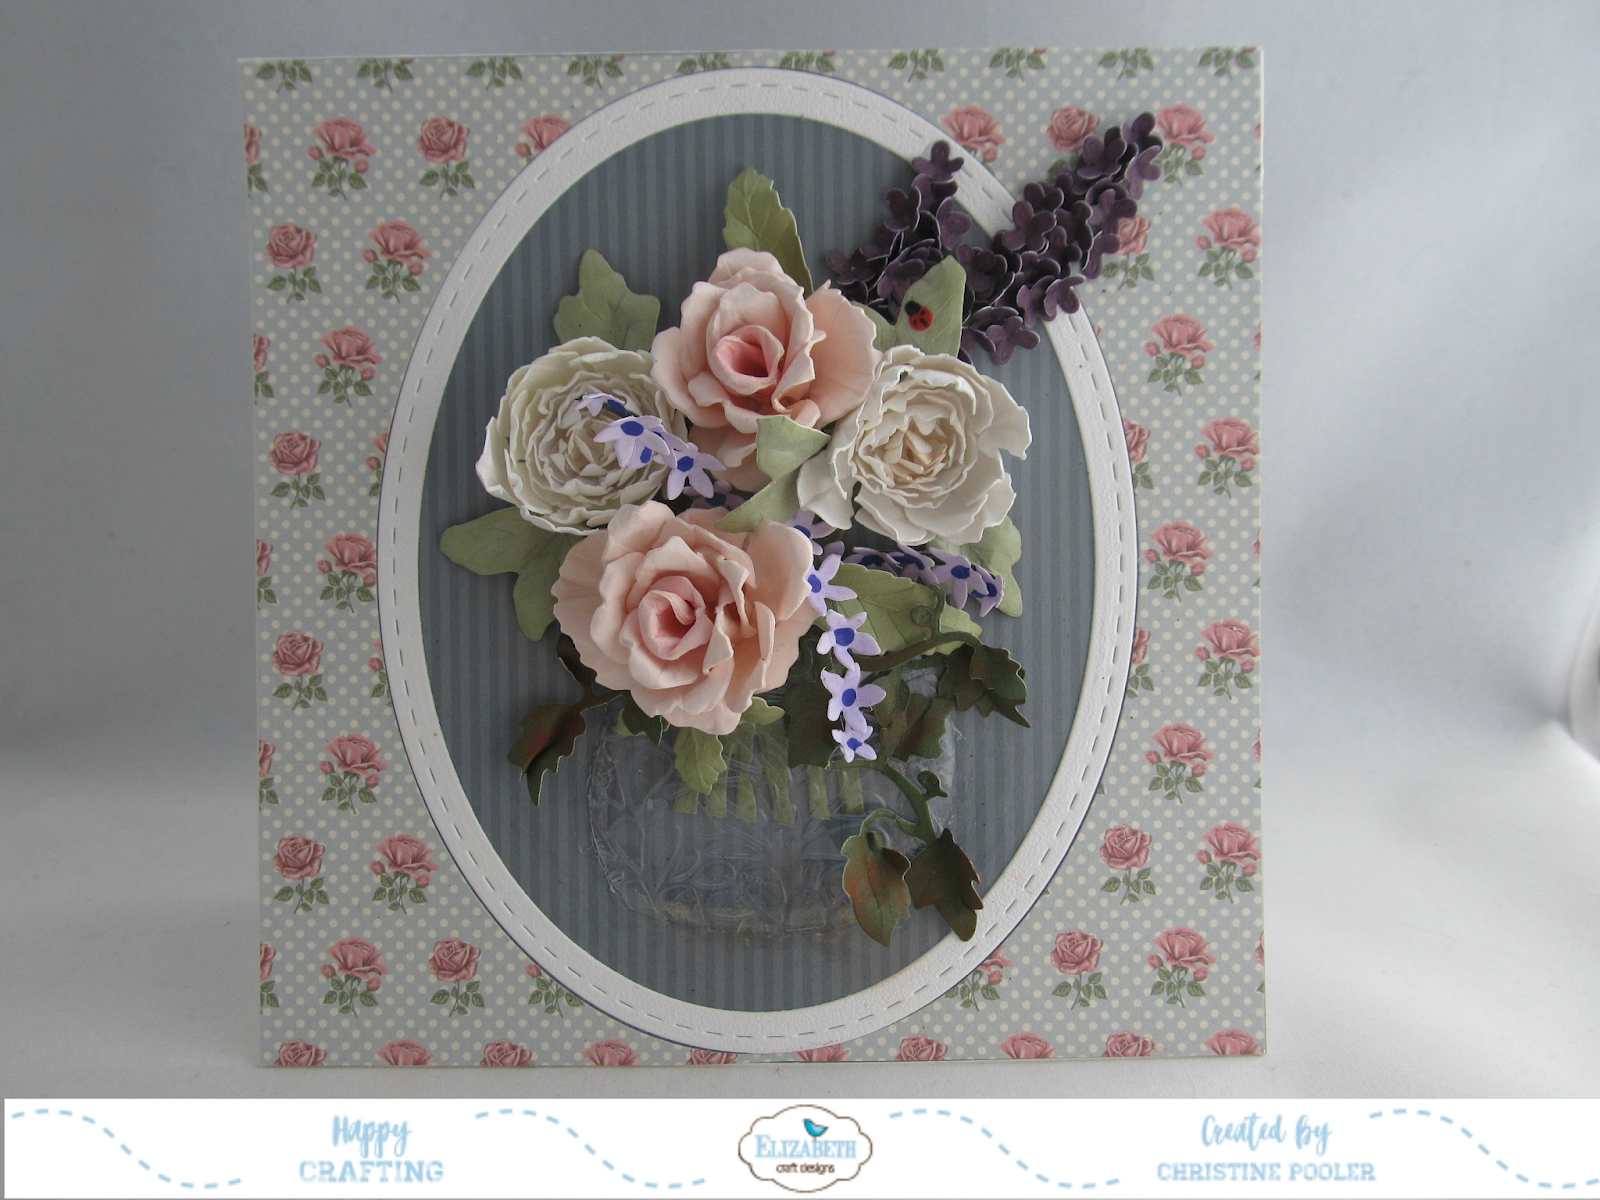
Welcome everyone to my blog.  Today my card is on I designed for Susan's Garden Design Team on Elizabeth Craft Designs blog.  Visit Elizabeth Craft Designs blog for a complete tutorial on how to make this card with a list of supplies. Until next time - Happy Crafting! Christine

Tea-rrific!

Image
Hello Crafty Friends, Today I am posting a card I made for one of my sweet rug hooking friends who is a tea drinker.  The background technique I cased from Lauri Coons - Stampin Friends when I saw her post on Facebook I just had to try it.  This is my second card I have done using this back ground and of course by changing colors and embossing folders they will look very different. Here is how the card was made starting with a 5-1/2" X 4-1/4" tent fold card base.  Using 1-3/4" punch (can also die cut Elizabeth Craft Designs has fitted circles smallest is 1-1/2" and next size is 2" which is what I would recommend and put clear double sided adhesive on back of cardstock before cutting as it will be easier to arrange pieces ) cut 2 circles from 6 different colors of cardstock.  Cut each circle into fourths and then emboss with embossing folder or folders of your choice. (be sure to cut before embossing).  Add adhesive to back of pieces using a Xyon sticker make...

Love Fairy

Image
This card was designed for Susan's Garden Design Team at Elizabeth Craft Designs.  Susan's brand new Garden Notes Fairy - Rose Petal is featured on my card.  Be sure to go to Elizabeth Craft Designs Blog for a full tutorial for this card. Save

Cardinals in Winter

Image
Happy New Year Everyone.  My post today is a card I designed for Susan's Design team at Elizabeth Craft Designs.  For full tutorial please visit Elizabeth Craft Designs Blog found here .

Potted & Framed Amaryllis

Image
Hello Everyone,  thanks for stopping by today.  Here in Maine we got a little snow a few days ago but then it turned to rain and in my area it is gone - I am really not looking forward to winter it lasts way too long! My post today uses Susan's Garden Notes Amaryllis and Potted along with Els van de Burgt's new Holiday Garlands 1.  Let's get started. Cut off white cardstock 6" X 12" score at 6" and fold on score line forming your 6"x 6" card base.  Ink all edges (Vintage Photo Distress Ink used here). Cut Patterned paper 6" X 6" ink all edges with same ink.  Using Clear Double Sided Adhesive attach to card front. Cut green cardstock 6" X 6".  Cut from outer edges 1/2" in all around remove center square to reveal a frame.  Use dimensional tape to attach to front of card. Cut pot from off white cardstock distress the pot (Vintage Photo Distress Ink used here).  using loop tool from Susan's 4pc. Tool Kit lay pot fac...

Sparkling Mistletoe

Image
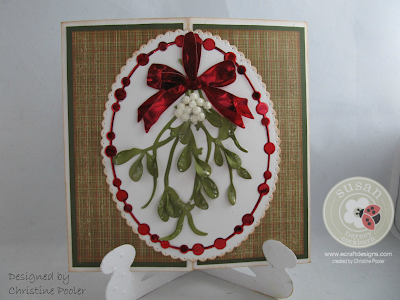
Hello my crafty friends today is a Christmas card I designed for Susan Tierney-Cockburn's Design Team at Elizabeth Craft Designs . It is a gate fold card  For the tutorial please visit their blog Oh while you are there check out all their great products. Thanks for stopping by Happy Scrapping! Christine

Geraniums in the Window

Image
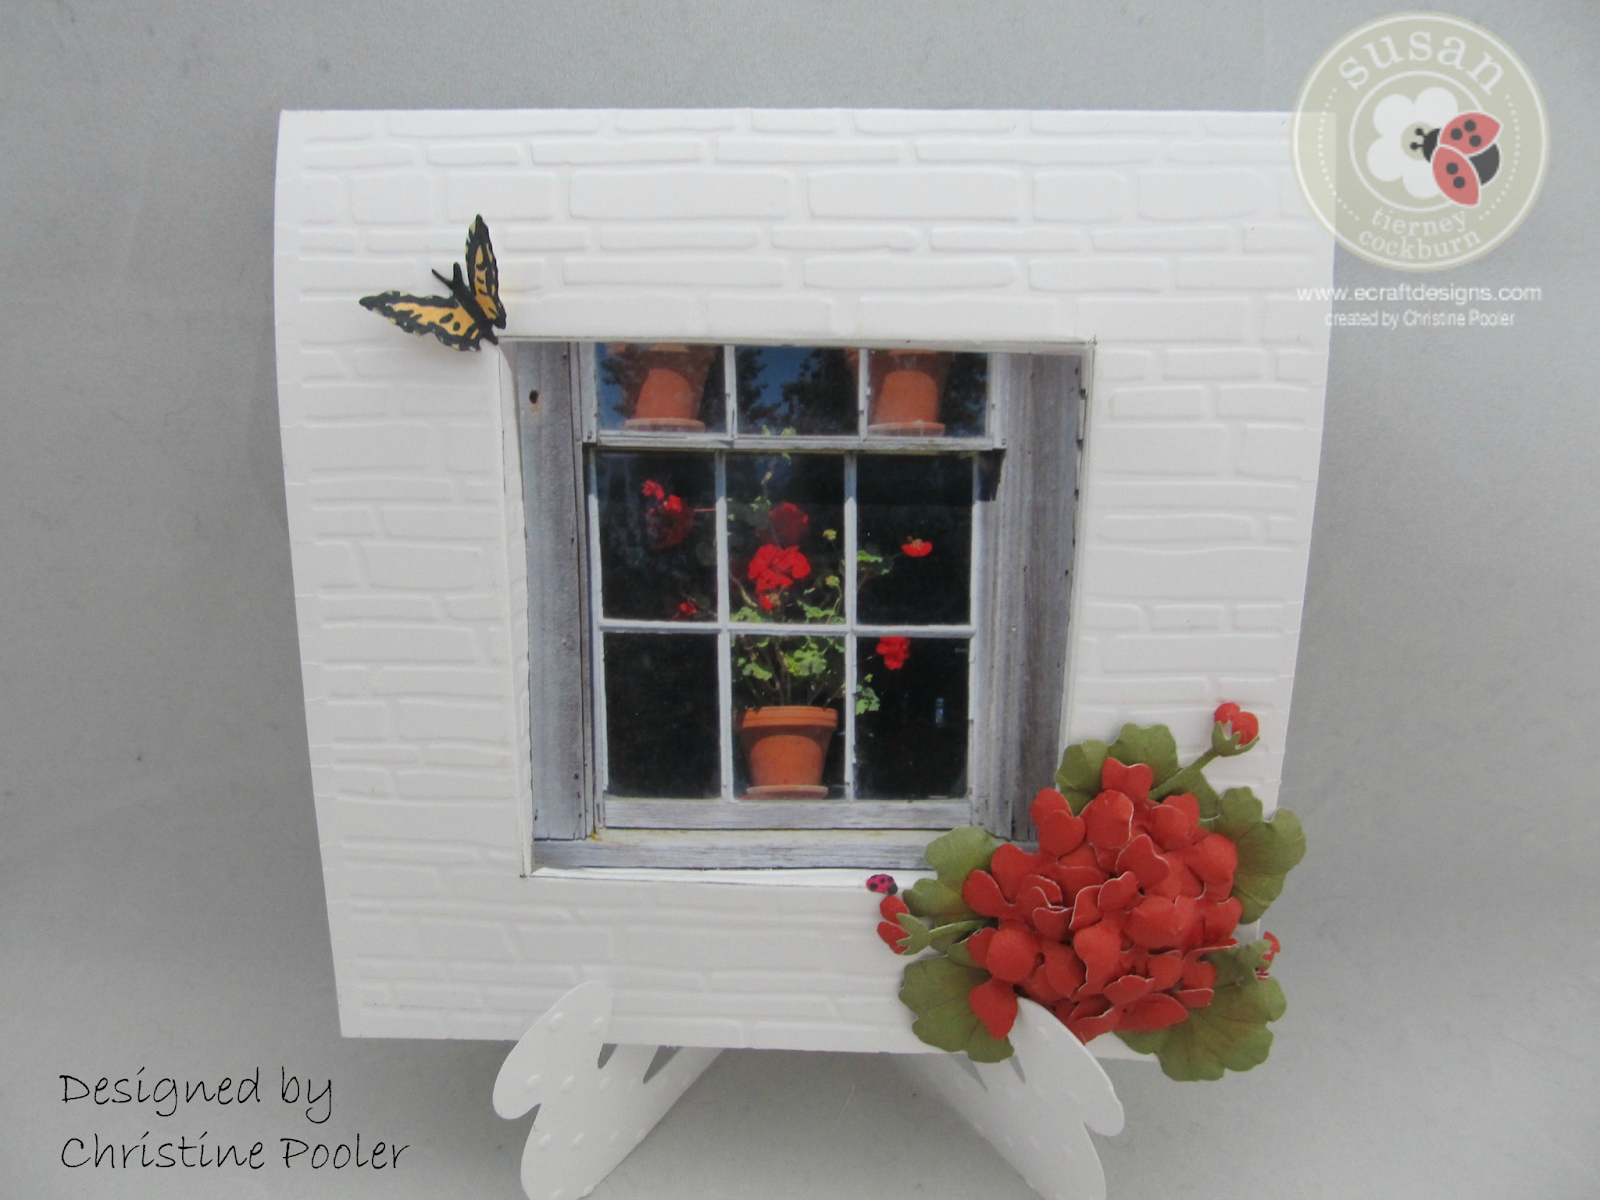
Hello Everyone, Today I am posting a card that I designed using Susan's Garden Notes - Geranium die and her Garden Notes - Bugs & Butterflies.  My recent trip to Cushing, Maine to tour The Olson House actually was my inspiration for this card.  My favorite painting is "Christina's World" by Andrew Wyeth.     When approaching the house which is void of paint I noticed a window full of red geraniums. When touring the house I learned that Christina Olson always had geraniums in the kitchen window and they continue that today. Here is how I made the card. Card Base Cut white cardstock 5-1/4 " X 10-1/2" score at 5-1/4" fold on score line. Using a pencil measuring in 1-1/8" from each edge lightly draw 3" square.  Make second square inside first measuring in 1/4" from edge of first square.   Emboss with your favorite embossing folder. Score lines of both squares. Using X acto knife and ruler cut from upper left corner to lower righ...

Birthday Cosmos

Image
Hello everyone hoping the weather here in Maine  will warm up soon and stay warm so that we can start gardening.  I guess for now I have to be satisfied with making my own flowers from paper and Susan Tierney-Cockburn's wonderful dies. My post today is a birthday card I did for my friend's mother using Susan's Garden Notes - Cosmos dies and White Iris Shimmer Sheetz from Elizabeth Craft Designs.  (The card is really  much prettier in person but was hard to photograph.) Here is how the card was made:  Cut pink cardstock 7" X 10" score at 5" fold to form card base.   Cut Shimmer Sheetz 4-3/4" x 6-3/4" emboss with embossing folder of your choice.   Attach ribbon to Shimmer Sheetz approximately 1/2" in from left using  double sided clear adhesive to  attach to back of  Shimmer Sheetz.  Using Susan's video as a guide make your flowers.  Here is the Link .   Attach flowers to card using clear drying glue.   Add ...