Posts

Showing posts with the label Soft Finish Cardstock

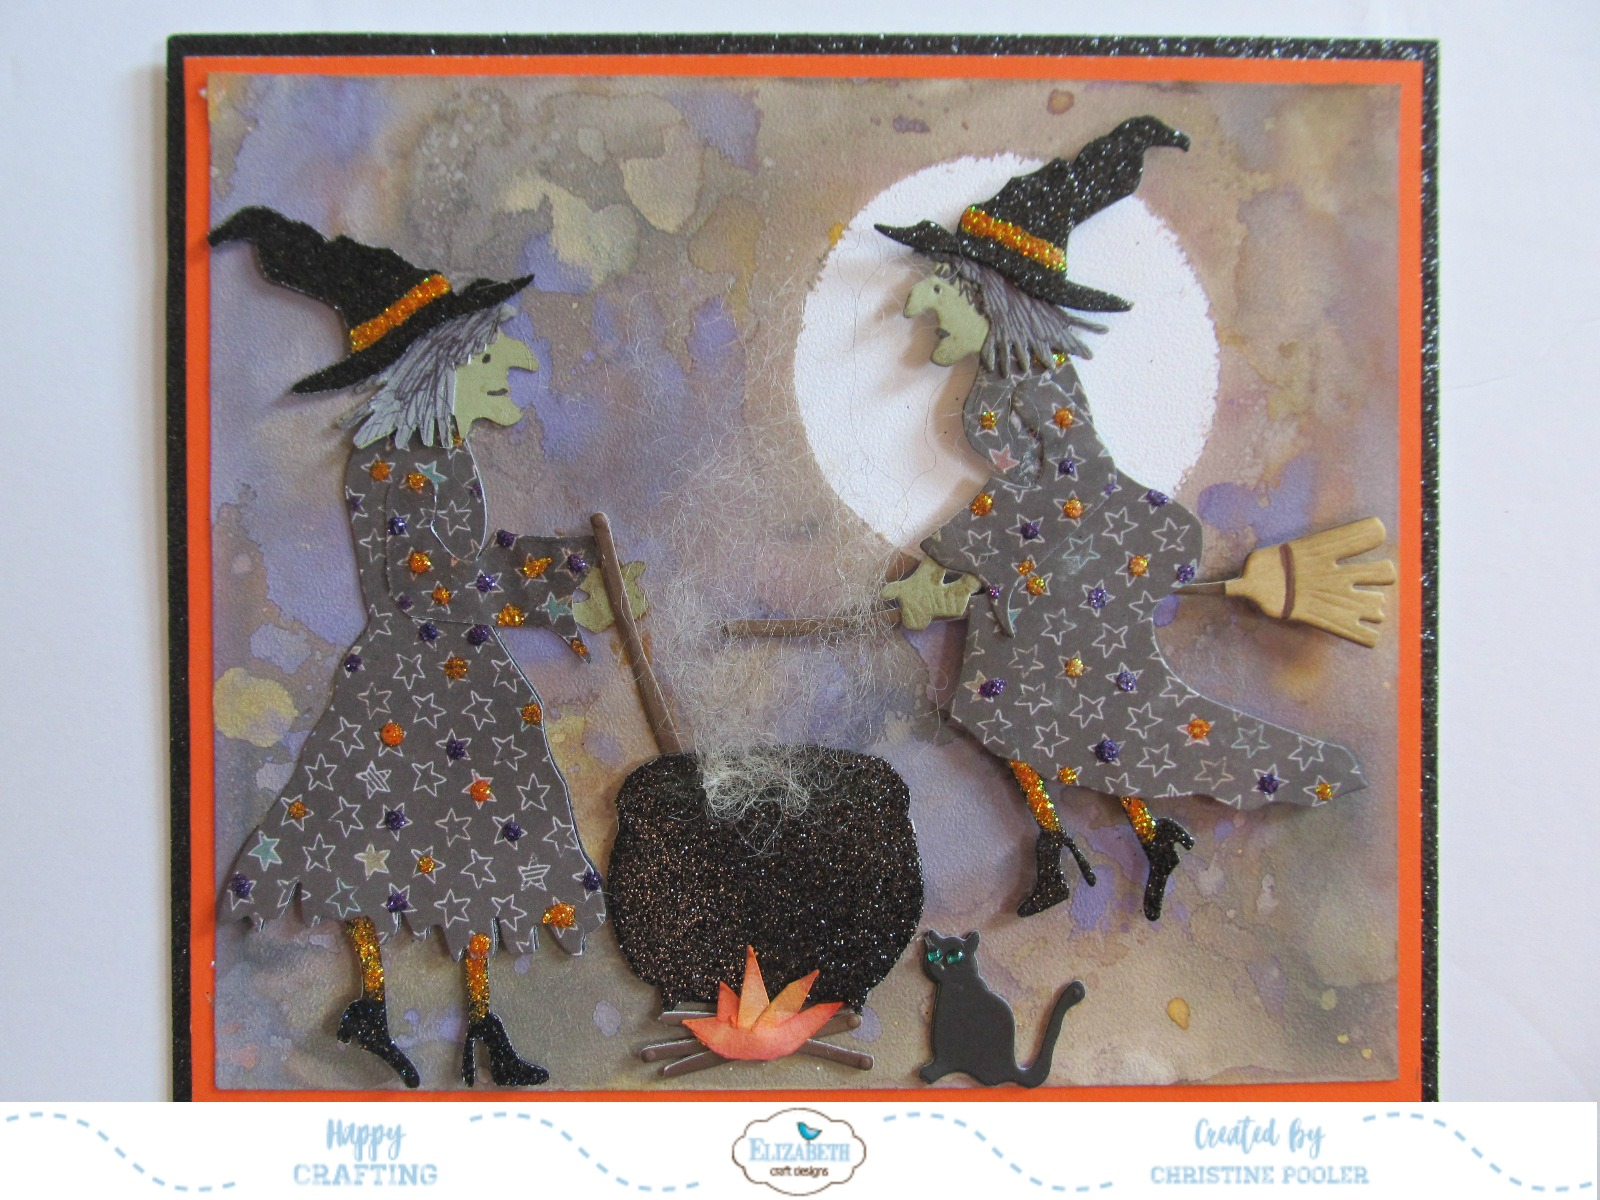
Witch's Brew

Image
  Hello my crafty friends welcome to my blog today.  Well it is officially fall and Halloween is fast approaching so my post today is a Halloween card that I have designed using Susan's CountryScapes Build A Witch die set.  There are 2 witches in the die set and I could not decide which witch (hehehe) to use so I decided to design a card that used both. Here is how the card was created.  Card base is black glitter paper cut 12" X 7" scored at 6" folded on score line to form 7" X 6" card so both witches would fit. Cut orange cardstock 6-3/4" X 5-3/4" adhere to card front using Clear Double Sided Adhesive. Cut white Soft Finish Cardstock 6-1/2" X 5-1/2" .  Cut circle approximately 2-1/2" from scrap paper (just a mask for moon) add removable adhesive to back place on white cardstock where you would like your moon to be.  Using Distress Oxide re-inkers place a few drops Spiced Marmalade, Wilted Violet, Wild Honey and just a couple...
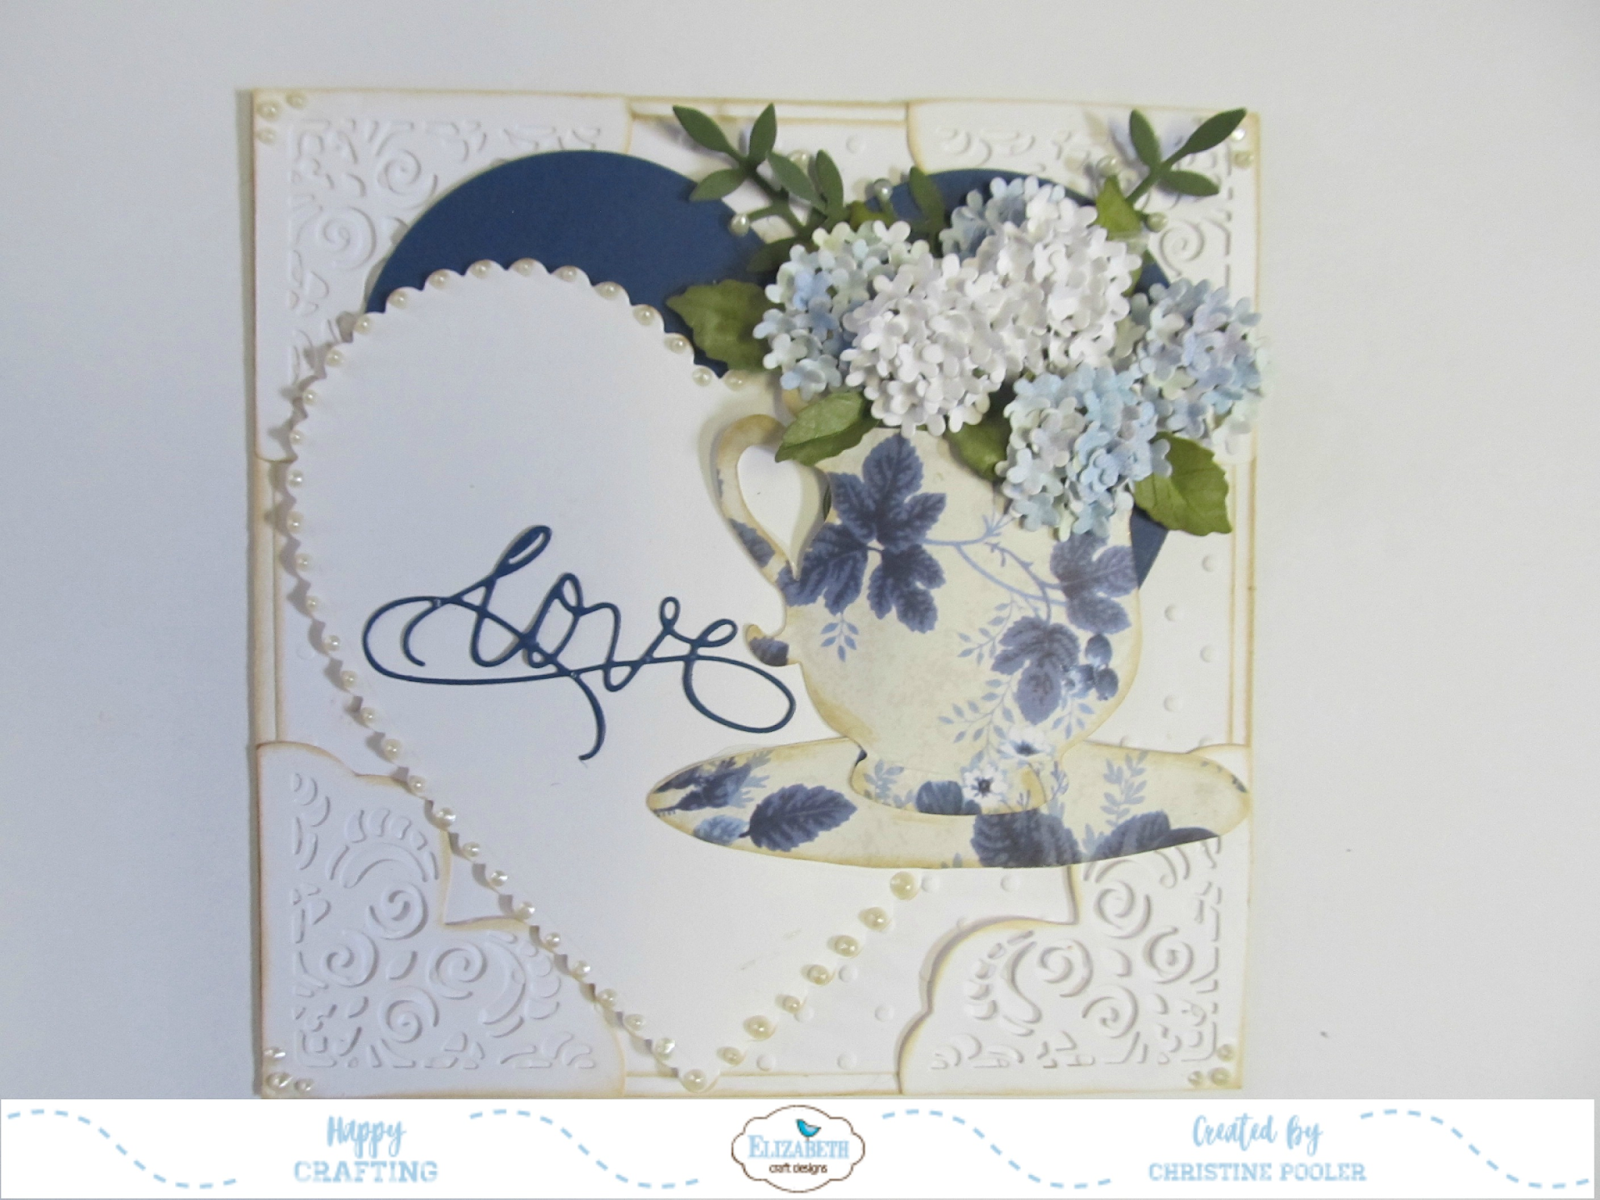
Teacup Love

Image
Welcome all to my blog.  Today I am posting a card that I designed for Susan's Garden Design Team and is posted on Elizabeth Craft Designs blog.  Check out their blog for full tutorial for card.

Days Gone By

Image
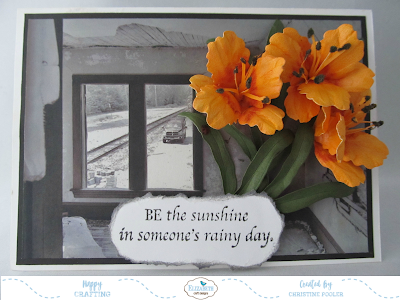
Hello everyone, thanks for stopping by my blog today!  Today my card was inspired by the orange Day Lilies that are in bloom right now in Central Maine and a picture that was posted on Facebook by Paul Morin who lives a couple towns north of   me. He posts some nice photos (I did message him and asked permission to use the photo). Let's get to it!  Card base: Cut white cardstock 7" X 10" score at 5" fold on score line to form base which is going to be a tent fold. Cut black cardstock 6-3/4" X 4-3/4" adhere to card front using Clear Double Sided Adhesive. Cut patterned paper 6-1/2" X 4-1/2" (In my case I printed the picture onto cardstock and cut to size) adhere to black cardstock using Clear Double Sided Adhesive. Create 3 lilies using newly released Garden Notes - Day Lily and White Soft Finish Cardstock .  Using PanPastels color petals and stamens.  Lay petals face down on molding mat using large end of loop tool from Susan's Garden ...

Sunflower Hello

Image
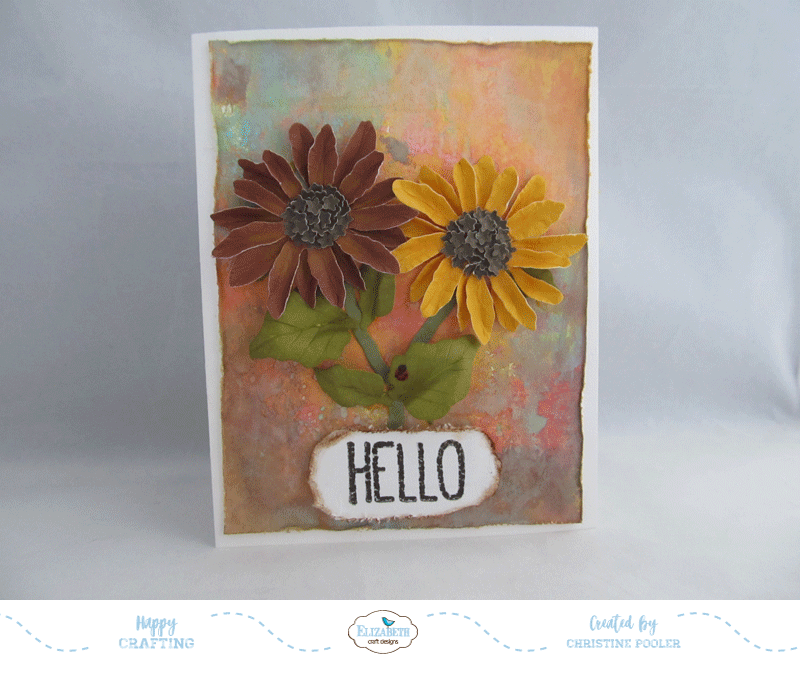
Hello My Friends!  Thank you for stopping by my blog today. We are finally getting some warm weather here in Maine so I have been busy planting my vegetable garden and tending some of my flower gardens. Today's post features one of Susan's newly released dies -  Garden Notes Sunflower 2 which I am exited to use - I do love sunflowers.  The background was made using the new Distress Oxide Inks. This card could be used for any occasion mine was done for a dear friend just to let her know I was thinking of here. Here is how the card was made.  Cut White Soft Finish Cardstock 4-1/4" X 11" score at 5-1/2" fold forming an A2 card. Cut 1 piece of White Soft Finish Cardstock 4" X 5-1/4".  Taking several colors of Distress Oxide Inks rub them on none stick mat spritz with water take cardstock lay right side down onto ink using a heat tool dry repeat process until you are happy with your background.  Using a distress tool distress all edges.  Adhere to c...

Happy Hydrangea

Image
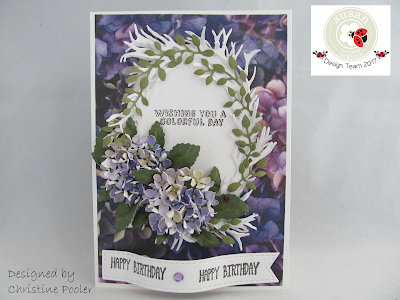
Hello my crafty friends!  Thank you for stopping by my blog today.  My card today was designed for Elizabeth Craft Designs Blog as a member of Susan's Garden Design Team.  The blog can be found here   be sure to visit the blog for full tutorial and supply list.  Susan's dies are wonderful I so love making her wonderful flowers. Until next time............ Happy Crafting! Christine

Tea-rrific!

Image
Hello Crafty Friends, Today I am posting a card I made for one of my sweet rug hooking friends who is a tea drinker.  The background technique I cased from Lauri Coons - Stampin Friends when I saw her post on Facebook I just had to try it.  This is my second card I have done using this back ground and of course by changing colors and embossing folders they will look very different. Here is how the card was made starting with a 5-1/2" X 4-1/4" tent fold card base.  Using 1-3/4" punch (can also die cut Elizabeth Craft Designs has fitted circles smallest is 1-1/2" and next size is 2" which is what I would recommend and put clear double sided adhesive on back of cardstock before cutting as it will be easier to arrange pieces ) cut 2 circles from 6 different colors of cardstock.  Cut each circle into fourths and then emboss with embossing folder or folders of your choice. (be sure to cut before embossing).  Add adhesive to back of pieces using a Xyon sticker make...

Hydrangea 90th Birthday

Image
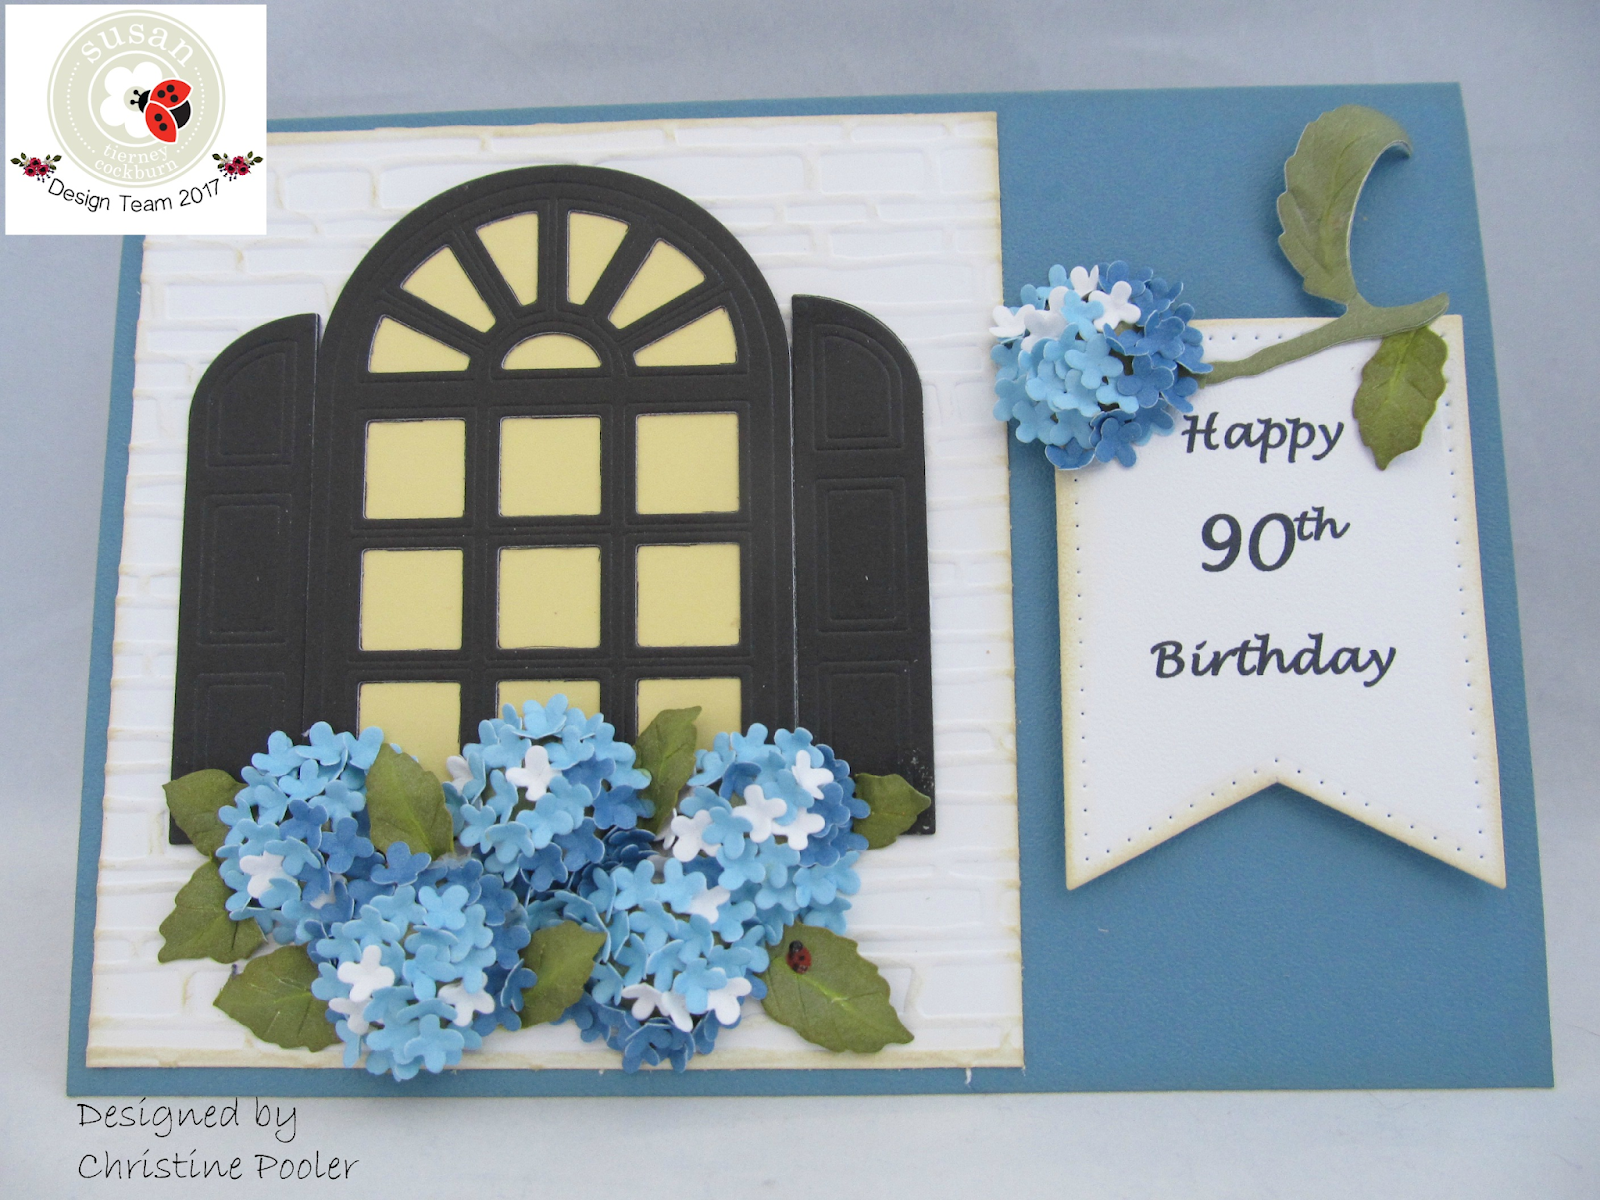
Hello my Crafty Friends thank you for stopping by my blog today. I don't know about you but I am sure glad that spring is in sight and hopefully much of the illnesses going around will run off with "Ole Man Winter".  So much sickness that keeps going around and around.  I had my bout with it a couple of weeks ago but am finally getting back to my old self.  That said several of my posts have been done when I was not feeling well and so I feel my work was not up to par,  for that I apologize. My post today is a card that I made for my dear friend's mother as she celebrates her 90th Birthday. Here is how I created the 5' X 7" Tent Fold card. Cut blue cardstock (Soft Finish Cardstock - Dusky Sky used here) 5" X 7" adhere to front of card base using clear double sided adhesive. Cut white cardstock 4-1/4" X 4-3/4" dry emboss using brick pattern embossing folder.  Not sure which embossing folder was used for my piece as my piece came out of ...

Framed Magnolia

Image
Hi Everyone today I am posting another card with Susan's new Garden Notes - Southern Magnolia and Els van de Burgt Stitched and Fitted Square dies.  There are so many ways to get the most out of your dies.  This card can be used for any occasion and would look different just by changing up the color of the paper. Here is how I made the card:  From 100# white Soft Finish Cardstock (12" X 12") cut in half  giving you 2 pieces 6" X 12"  save one half for another card.  Score your 6" X 12" piece at 6" and fold forming 6" X 6" card base. Cut a 5-3/4" square patterned paper (you could also use a solid piece of colored cardstock) adhere to front of card base using Clear Double Sided Adhesive. Note: For the frames I used Els Square Stitched Frames and Els Square Fitted Frames.  I numbered each die on the back with a sharpie marker starting at the smallest and ending at the largest.  Frame 1:  use #9 Stitched and #8 Fitted  Frame 2: ...

Sweet Magnolia

Image
Hello Everyone!  My post today is a card that I made for a friend who lost her Dad.  I used one of Susan's  new releases Garden Notes - Southern Magnolia along with Els  van de Burgt's Stitched and Fitted Squares and A With Words - Thinking of You dies. Here is how I made the card.  Cut 6' X 12" piece from 100# Soft Finish white cardstock score at 6" fold forming 6" X 6" card base.   Cut B&T paper (printed paper) 5-3/4" X 5-3/4" adhere to card front using clear double sided adhesive.   Using the largest stitched frame and second largest fitted frame dies lay them face down on the paper center the smaller frame inside the large frame tape together using washi tape or removable tape run through die machine cutting out frame.   Attach to card front.   Attach clear double sided adhesive to front of black cardstock.  Lay Thinking of You die cutting side down on adhesive side of cardstock run through die cutting machine (you m...

Spring Birthday Wishes

Image
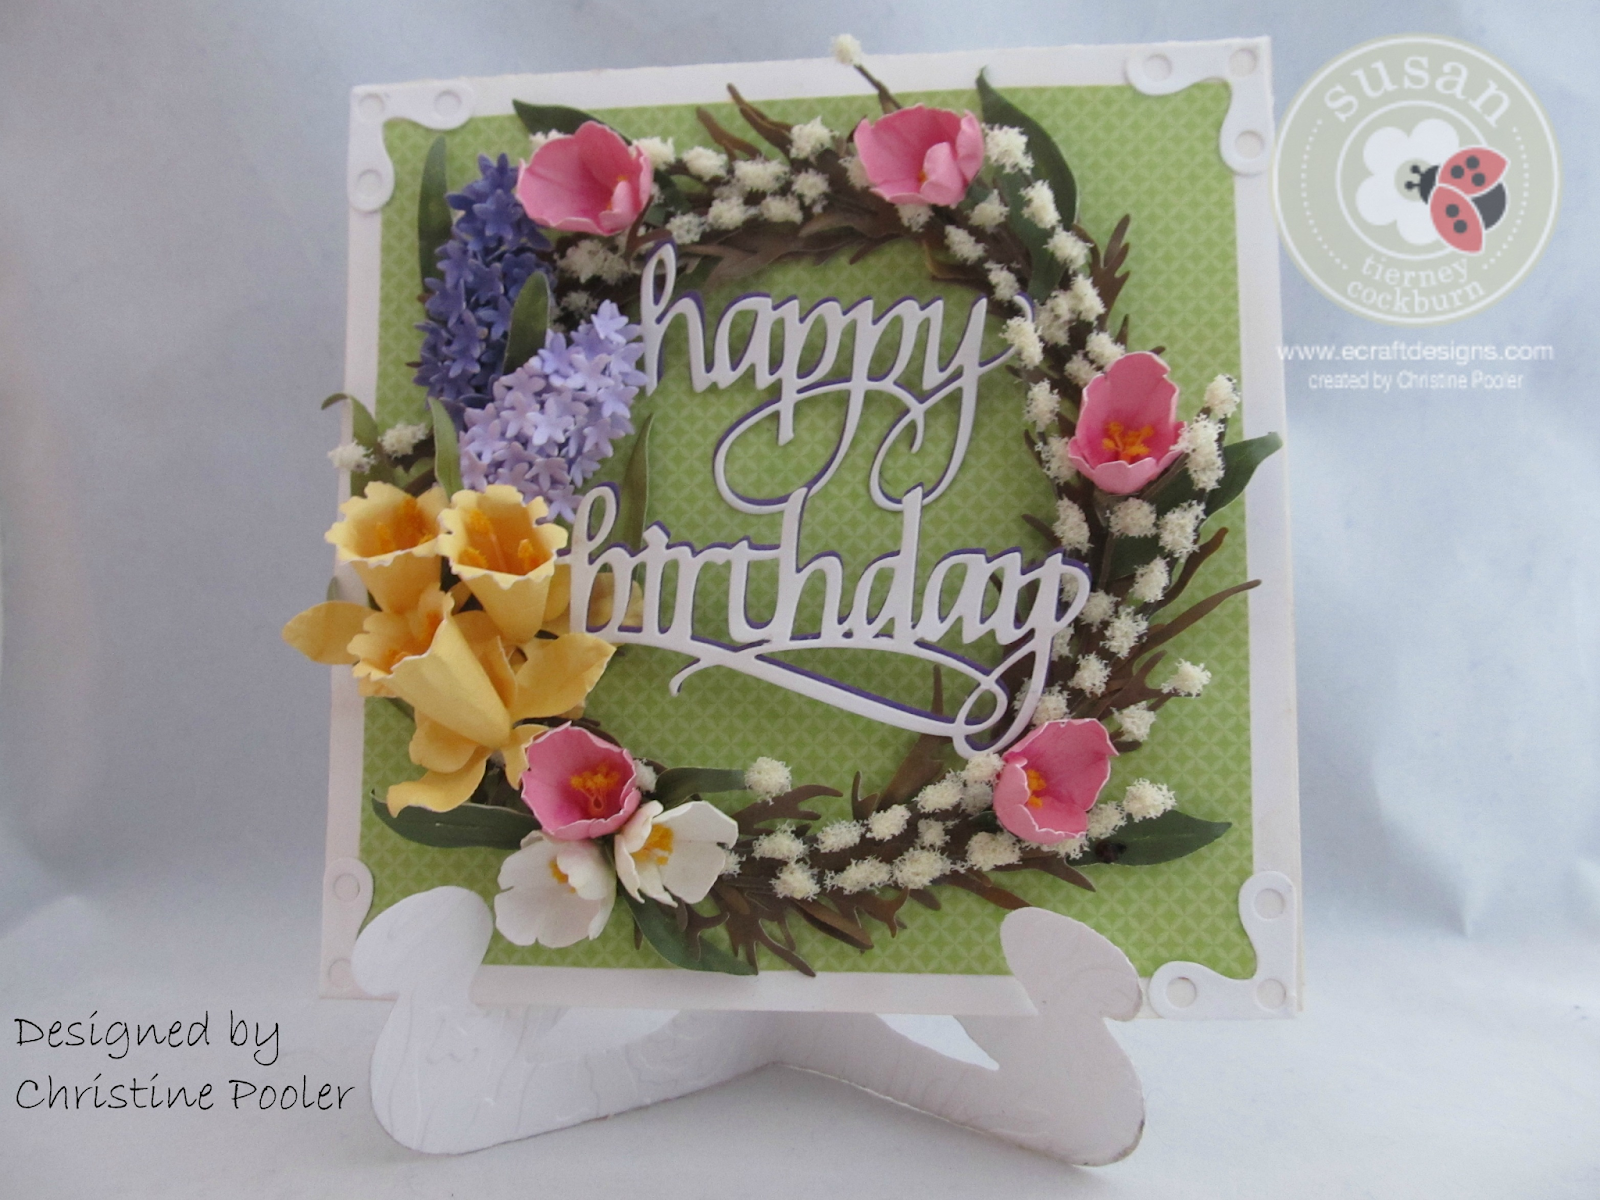
This is the card I designed for Susan Tiereny-Cockburn's Design Team at Elizabeth Craft Designs.  For complete tutorial and supply list go to Elizabeth Craft Designs .                      

Rosey Thank You

Image
Hello everyone my post today is a simple Thank You card that I did for a friend.  Once again I have used Susan's Garden Note Rose 2 Die along with a few other Elizabeth Craft Design Dies.  Susan has so many great dies as well as all the other dies and supplies at Elizabeth Craft Designs you must visit their site to see them all.  Elizabeth Craft Designs Let's make a card  Using the next to the largest Stitched Oval die and the patterned paper cut 1 oval. Using your choice of corner die from Corners 1 set cut 4 corners in pink and 4 corners in black cardstock. Using A Way With Words - Thank You die cut 1 in pink and 1 in black cardstock. Cut a rose from pink cardstock and stem and leaves from green cardstock.  Shade, shape and assemble using Susan's great tutorial as guidance. Using 100# soft finish cardstock cut 2 Easel / Stand glue together and emboss using Dancing leaves embossing folder. Attach the pink corners to the black corners offsetting ev...

Birthday Purse

Image
  Hello everyone Happy Valentine's Day!  It certainly is cold here in Maine today it was  -11 @ 6:00 AM and with the wind chill factor it was -22 and the high that we have seen so far is 8 above -  YIKES. My Post today is a Gift Box Within a Purse  made from cardstock and decorated with some of Susan's Garden Notes Cosmos.  These Cosmos were really fun to make.  The purse was made in a Close to My Heart Consultant meeting taught by Tara Clarke.  Tara found the directions on Geneva Beck's website (another Close to My Heart Consultant).  The directions can be found here 2.  The Cosmos were made using several shades of pink cardstock and Susan's tutorial                found here   The stems were not needed for this card. 3.  The #2 is chipboard that I colored with ink.  Take 3 shades of pink  ink  and a dauber and with the lightest pink cover the entire piece.  Using t...

Daffodil Delight

Image
Hello Everyone it is Christine wishing you all a very Happy New Year! This card was designed for Elizabeth Craft Designs  Susan Tierney-Cockburn Design Team. I am really excited about all the new dies being released soon for Susan's Garden Club - so many to choose from.  Today I have chosen the new Garden Notes Daffodil die and the new CountryScapes Garden Edges Daffodil set ( these dies are coming soon) as they are one of my favorites flowers.  Daffodils always brighten things up after a long winter; they always make me smile. Please go to Elizabeth Craft Designs Blog for the complete tutorial to make this 6 X 6 card and a list of supplies needed.     I do hope that this tutorial is an inspiration to you all to try making your own card.  Be sure to visit Elizabeth Craft Designs to see all the new items that are coming soon, plus all the wonderful items already available. Until next time - Happy Scrapping! Christine