Posts

Showing posts with the label Poinsettia

Chestnuts Roasting On An Open Fire

Image
Hello my crafty friends! Today is another card that was a special order and it combines my 2 favorite die designers Susan Teirney-Cockburn for her realistic flowers and Karen Burniston for her fun and clever pop ups. My card is a slim line card 4" X 9" cut from 110# white cardstock.  Patterned paper was cut 3-3/4" X 8-3/4" adhered to card front using Clear Double Sided Adhesive. For inside of card I chose patterned paper to use as wall paper and flooring.  These were cut 3-3/4" X 8-3/4" and adhered t card using Clear Double Sided Adhesive.   The following Karen Burniston dies were used for Fireplace and accessories 1210 Fireplace Pop Up 1211 Fireplace Extras 1 1212 Fireplace Extras 2 To create the Fireplace I used Karen Burniston's YouTube video which you can find here . The Tree, Tree Skirt and berry garland were all from my stash then small adhesive backed gems were used to decorate tree. To light up candles and fire in fireplace I added Pear Blossom...

Poinsettia Shadowbox Card

Image
Hello My Crafty Friends, Today I have another Christmas Card for you it is a Shadowbox Card .  It is a frame created from 1 piece of paper and attached to a 6" X 6" tent fold card base. Card Base - 6" X 6" Tent Fold from white 110# cardstock Shadow Box 11" X 11" Patterned Paper (Crafters Companion - Winters Tale) used here.  Susan Tierney-Cockburn did this on her Susan's Garden Facebook Live August 19, 2020 video can be found here    Shadowbox adhered to card front using Bearly Art Glue . Using Spellbinders Susan's Garden Susan's Specialty Paper SCS-122 and Poinsettia Die Set S4-1109 from Holiday Collection I cut 1 flower (used green cardstock for green parts instead of coloring) shaped it with Susan's Ultimate Tool Kit .  Susan's YouTube video can be found here Juniper and Cedar are from Spellbinders Susan's Garden  Winter Garden Evergreen Foliage  S5-515 Release the were cut from watercolor paper and colored with Copic marker...

Gilded Diamond with Poinsettia

Image
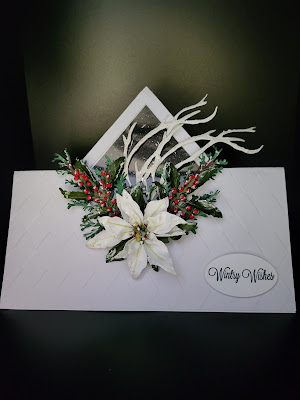
  Hello my crafty friends, Today I have a card I created using Susan Tierney-Cockburn 's technique from last week using the gilding flakes.  She did a background I have chosen to do an accent piece - a diamond.  Fun technique although a bit messy. Card base is 5" X 7" from 110# white cardstock.  Mat was cut from copper cardstock 4-3/4" X 6-3/4" then embossed.  Bearly Art Glue was used to attach to card front. Using Spellbinders S5-525 Essential Diamonds die set I used largest, skipped next size then used next size taped 2 dies together and cut 3 times from white cardstock to make diamond frame.  For the diamond accent piece I used gold, copper and a little silver gilding flakes.  You can find Susan's how to video here      I die cut the diamond using the next to the largest die from Essential Diamonds .  I attached to another diamond cut from white cardstock using largest die.  Frame was attached to accent piece using Bearly A...

Diamond Window Winter Wishes

Image
Hello my crafty friends! Today I have a fun card for you.  Not sure what to call it but the video I watched  was Hexagon Acetate Card and yes they used hexagon nesting dies but I decided to use Spellbinders new Essential Diamonds S5-525 .  This card is larger than I normally do and I will change size the next time I create the card as this one is 8" wide. You can use pretty much any shape nesting dies to create this card.  Here is a link to YouTube video , After creating card base per the YouTube video I created  Spellbinders Susan's Garden - Poinsettia  S4-1109 , Winterberry S4-1113 , Winter Bough & Evergreen Shrubs S4-1114 all from last years Holiday Collection and Winter Evergreen Foliage S5-515 .    Susan has YouTube videos to show how to create all of these.  For the red berries instead of using Nuvo Drops  I used little styrofoam balls colored with acrylic paint.  I put them in a reclosable baggie and squirt paint into ...

Merry Christmas Double Candle Oval

Image
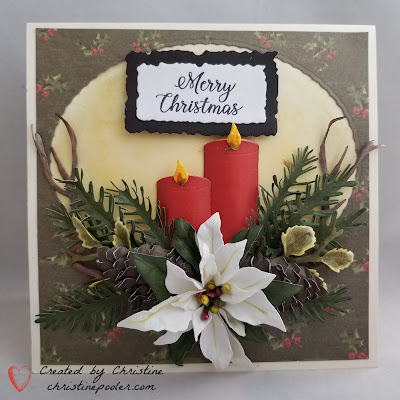
  Hello my crafty friends, Today I have another Christmas card that I created using Susan's new Holiday Flora Release .  I have used the Poinsettia, Pinecones & Evergreen Boughs, Winter Boughs & Evergreen Shrubs and candles from Garden Lantern. Card is 6" X 6"off white cardstock tent fold. Patterned paper was cut 5-3/4" square.  Using Oval die cut opening in patterned paper evenly lining up die so top and 2 sides have equal distance which leaves about 2 inches on bottom.  Laid on card front and lightly traces around oval removed pattern piece and used distress inks to create a back ground.  (Old Paper and Scattered Straw were used here)  Erased oval pencil mark then using Clear Double Sided Adhesive attached patterned paper to card front lining up oval opening over inked area. 4 candles were cut from red cardstock and stacked together attaching with Barely Art Glue creating 2 candles.  1 candle was cut shorter and a small slit was made in top...

Double Z Fold Lantern Card

Image
  Hello My Crafty Friends - Welcome to my blog. Today my card is a Double Z Fold c ard with Susan's new Garden Lantern w/ Candle, Poinsettia, Winterberry and Pine Boughs .  Another fun fold card to create and show off Susan's new Christmas Release . Base is white cardstock 6" X 12" scored at 3" and 6" mountain fold at 3" score line valley fold at 6" score line.  Brown ink used on all edges.  2 pc of red cardstock cut 2-3/4" by 5-3/4" and 1 pc 5-3/4" square adhere red cardstock pcs to card base using Clear Double Sided Adhesive . 3 pc of pattern paper 2 cut 2-1/2" X 5-1/2" and 1 pc cut 5-1/2" square adhere to red cardstock using Clear Double Sided Adhesive.   White cardstock cut 4-1/2" X 9" scored at 3" and 6"  edged with brown ink 3" score mountain fold valley fold at 6" score.  3 pc of red cardstock cut 2-3/4" X 4-1/4" adhered to white cardstock using Clear Double Sided Adhe...

Woodland Wreath with Poinsettia & Pine Cone

Image
Hello my crafty friends, welcome to my blog! Today my Christmas card was created using the brand new  Susan's Garden Club Woodland Wreath along with Poinsettia, Pinecone, Pine Boughs, Winter Boughs & Evergreen Shrubs and added a bit of snow. For my card today I used a tan colored cardstock to create a 6" X 6" card base (mine is tent fold so whatever your preference is).  Dark brown cardstock was used for mat layer cut 5-3/4" square adhered to card front using Clear Double sided Adhesive .  Patterned paper was cut 5-1/2" square and adhered in same manner.  Patterned paper was purchased years ago in a little scrapbook store that is not longer there.  I loved this paper and have saved all this time and decided it was time to use it. For the wreath two different brown cardstocks were used to cut 4 Woodland Wreaths used some brown ink to add shade.  I did some pinching up on each of them to give them dimension.  Using Kids Choice Glue to attach to ca...

W Fold Poinsettia Card

Image
Hello my crafty friends - welcome to my blog! Today my card is a "W" Fold card with Poinsettias and Mistletoe created from Susan's new Christmas Release .  Links for all the new dies are below. Card base created from white cardstock 6" X 12" scored at 6" fold on score line.  Brown ink used to edge.  Brown cardstock used for mats cut 5-3/4" square 3 pc.  Added to card front and 2 inside attaching with Clear Double Sided Adhesive .  3 pc of pattern paper (mine is an old paper I having been saving for years) cut 5-1/2" square attached in same manner.  Susan has a video on W Fold card which can be found here . 2-1/2" X 12" white cardstock was scored at 3, 6 & 9 folded on score lines valley fold, mountain fold and valley fold.  Brown ink used to edge.  The 2 ends are all that is attached to card using Clear Double Sided Adhesive attaching 1 end at a time.  4 pieces of brown cardstock cut 3-1/2" X 2-3/4" then 2 pc white cards...

Lighted Lantern

Image
Hello my crafty friends,  Yippee Susan's new Christmas Release should be out next week and once they are available I will be adding links to the new items to list below. I so hope everyone is  having a great summer.  I know it has been some time since I posted but I have been busy with yard work and also busy creating cards for Susan Tierney-Cockburn's Christmas Release with Spellbinders.   Yes it is the perfect time to be making Christmas Cards.  Just think that pressure will be taken away if you do them now with Susan's wonderful new Christmas release.  It is Christmas in July!  My card today uses 4 of her new die sets. My card today is a 6 X 6 card base and it is lighted. Card is a 6" X 6" tent fold card created from white cardstock. Red cardstock was cut 5-3/4" square.  Attach to card front using Clear Double Sided Adhesive . The black & white design paper was cut 5-1/2" square adhered to card front using Clear Double Sided Adhesive. Spel...

Seasons Greetings Cornucopia

Image
  Hello my crafty friends welcome to my blog. Once again it is challenge time for Elizabeth Craft Designs Design Team.  This month our challenge is to create a Christmas card using flowers and or foliage.  My card today uses Susan's Garden Notes Small Poinsettia ,  newly released Hawthorne Berries and Pine Boughs along with new Garden Notes Cornucopia . Be sure to visit Elizabeth Craft Designs Blog to see what all the other design team members have created and enter for a chance to win  $20.00 gift card.  The question for this month is -  Which Elizabeth Craft Designs flower or foliage die or stamp set would you chose to create a Christmas card or decoration.   Here is how my card was created. Step 1   Cut 2-3 Garden Notes Hawthorne Berries from either green cardstock or white Soft Finish Cardstock .  If cut in green cardstock shade using Distress Ink if cut in white color with alcohol markers (green cardstock used here)....

Noel Poinsettias

Image
Welcome to my blog my crafty friends, Today's post is a card that I did fr Elizabeth Craft Designs Blog for a complete tutorial be sure to visit Elizabeth Craft Designs Blog .  All ECD products used for this project are listed below all you have to do is click on picture it will take you right to the item. Thanks for stopping by today and until next time - Happy Crafting! Christine Elizabeth Craft Designs Supplies Other Supplies Cardstock - black, green, white, brown Napkin Nuvo Drops - White Black Ink  

Noel Fairy

Image
  Welcome to my blog thanks for coming.   It is time for another challenge for Susan's Garden Design Team.  This challenge is to use one of Susan's Fairy die sets.   Be sure to visit Elizabeth Craft Designs Blog at this link to enter to win details below. For today's challenge Elizabeth Craft Designs  are giving away a  $20 Gift Card to use on the Elizabeth Craft Designs website   to 3 winners.  To enter simply leave a comment on the  Elizabeth Craft Designs Challenge post and tell us “ If you had your own fairy, what would be 3 products on your crafting wish list? ” We will select 3 lucky winners in a random drawing The winners will be announced on Friday, October 13th, on the Elizabeth Craft Designs blog. *************** For my challenge card I chose to use Susan's Garden Notes Fairy - Rose Petal on a Christmas card using a non traditional Christmas color which is pink as I usually reserve it for floral cards not Christmas cards....

Potted Poinsettia

Image
Hi Everyone hope that you all have had a great Christmas - ours was great spending time with family and friends. Today I am posting a birthday card for a dear friend with whom I have been friends with for about 60 years.  My card  uses Karen Burniston's Flower Pot Pop Stand and Susan's Garden Notes Small Poinsettia as well as her White Pine Boughs & Pinecones along with Els van de Burgt Holiday Garlands 2 and A Way With Words Happy Birthday. Here is how I made the card. Using Karen Burniston's video and Flower Pot Pop Stand die set - the flower pot cut from a color cardstock of your choice (Sea Glass was used here).  Cut and build the flower pot according to the video. Using Susan's Garden Notes Small Poinsettia and white cardstock cut 7 or 8 poinsettias making sure you cut a set from green cardstock for each flower.  Shade and shape each flower using Susan's PanPastels Set 1 and her 4 pc Tool Kit.  Susan has a great video to help you with this you can f...

Season's Greetings

Image
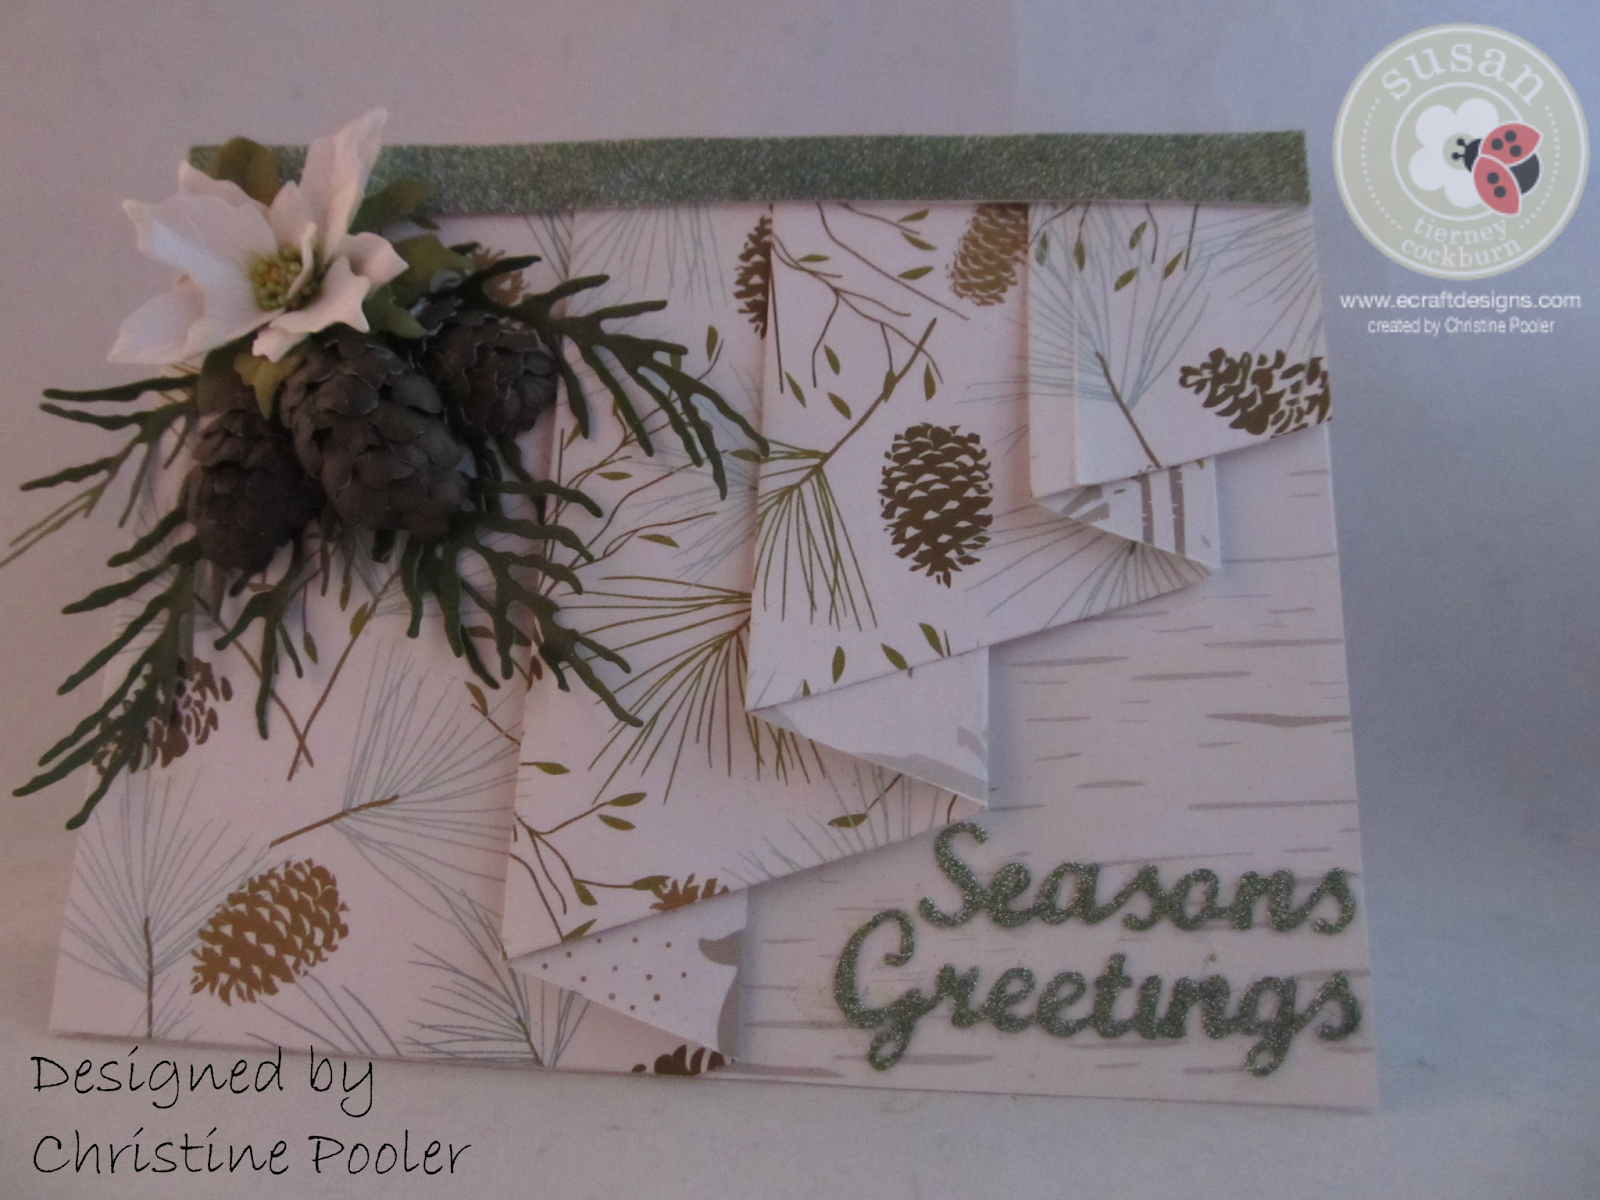
Hello Everyone today I am posting a card that I designed for Susan Tierney-Cockburn's Design Team on Elizabeth Craft Designs.  For a full tutorial and list of supplies to make this card be sure to visit Elizabeth Craft Deisgns Blog .