Posts

Showing posts with the label Silk Microfine Glitter

October Challenge - A Very Krista Christmas!

Image
Welcome my crafty friends! Once again it is time for Elizabeth Craft Designs Team Designer Challenge .  Be sure to check out the Elizabeth Craft Designs Blog to see what all the designers have created for this challenge. Our challenge for October is A Merry Krista Christmas .  We are using stamps and coordinating dies from Krista Schneider 's new release for this challenge. The question of this month: Which of the new Krista Schneider stamp sets would you use to create a Christmas card. Here is how I created my card. Step 1   Form card base 4-1/4" X 5-1/2" card base using white Soft Finish Cardstock . Step 2   Cut white Soft Finish Cardstock 4" X 5-1/4" add Clear Double Sided Adhesive to top.  Remove protective covering a little at a time pouring Periwinkle Silk Microfine Glitter over exposed adhesive once covered with glitter tap off excess glitter polish with fingers. Step 3   Using curved die From Joset Designs Sliders and Spinners place cutting ...

Snowflakes

Image
Welcome my crafty friends! Today my post is a quick card I created using some of Joset Designs newly released dies Snowflakes , Snowflake Border and Words 5 Winter Wishes . Here is how the card was created. Step 1   Form 6" X 6" card base. Step 2   Cut 6" X 6" white Soft Finish Cardstock add Clear Double Sided Adhesive to top.  Add Silk Microfine Glitter - Sea Glass to adhesive burnish in with fingers. Step 3   Die cut bottom edge of card front using Joset Designs newest release Snowflake Border . Step 4   Using Joset Designs new release Snowflakes die cut 2 from white Soft Finish Cardstock that has Clear Double Sided Adhesive on front.  Add Silk Microfine Glitter - Cool Diamond to adhesive burnish in with fingers.  Adhere to card front using Kids Choice Glue on back center of each snowflake.  Add pearls to center of each snowflake.  (I use a bit of Kids Choice Glue to pearls even if they have adhesive on back because of the ...

ECD Glitter Challenge

Image
Hello My Crafty Friends, Once again it is time for another Design Team Challenge this month the challenge is All That Glitters challenging us to use one of the 3 new palettes of Silk Microfine Glitter just released.  The three palettes are Bloom (which I have used), Beach and Earth each has 5 colors. Be sure to go to Elizabeth Craft Designs Blog to see all the creations by our Design Team and enter for a chance to win.  For today's challenge Elizabeth Craft Designs are giving away a $20 Gift Card to use on our website to 3 winners .  To enter simply leave a comment on the Elizabeth Craft Designs Facebook Giveaway Blog Post or the   Elizabeth Craft Designs Challenge post   and tell us  Which of the new Silk Microfine Glitter Palettes  is your favorite, Earth, Beach or Bloom? We will select 3 lucky winners in a random drawing  The winners will be announced on Friday, May 18th on the  Elizabeth Craft Designs blog  and our Facebook ...

Rustic Chic Valentine

Image
Hello everyone and welcome to my blog. Today is Elizabeth Craft Designs first Designers Challenge for 2018.  The Theme this month is "You Fill My Heart" and we were to create a card suitable for Valentine's Day. My card today is a Valentine I created using Joset's Heart Cut Outs die set along with Susan's Garden Rose 2 and Oval Grapevine Wreath. To see all the creations by the design team, go to the Elizabeth Craft Designs Blog at this LINK. For today's challenge Elizabeth Craft Designs are giving away a $20 Gift Card to use on our website to 3 winners .  To enter simply leave a comment on the  Elizabeth Craft Designs Challenge post  and tell us " What Elizabeth Craft Designs dies or stamp sets would you use to create a Valentine’s Card? ?” We will select 3 lucky winners in a random drawing The winners will be announced on Friday, February 1st on the  Elizabeth Craft Designs blog.             ...

Roses & Ivy

Image
Hi there my crafty friends weather here in Maine unfortunately is not rose & ivy weather but I can dream.  Using Susan Tierney-Cockburn's wonderful flower dies from Elizabeth Craft Designs keeps me gardening year round.  Today my post is a card I designed for Susan's Design Team using three of Susan's new releases Rose 3, Ivy and Pottery Pitcher .  Find complete tutorial and all the supplies here at Elizabeth Craft Designs. Enjoy and Happy Crafting! Christine

Potted Poinsettia

Image
Hi Everyone hope that you all have had a great Christmas - ours was great spending time with family and friends. Today I am posting a birthday card for a dear friend with whom I have been friends with for about 60 years.  My card  uses Karen Burniston's Flower Pot Pop Stand and Susan's Garden Notes Small Poinsettia as well as her White Pine Boughs & Pinecones along with Els van de Burgt Holiday Garlands 2 and A Way With Words Happy Birthday. Here is how I made the card. Using Karen Burniston's video and Flower Pot Pop Stand die set - the flower pot cut from a color cardstock of your choice (Sea Glass was used here).  Cut and build the flower pot according to the video. Using Susan's Garden Notes Small Poinsettia and white cardstock cut 7 or 8 poinsettias making sure you cut a set from green cardstock for each flower.  Shade and shape each flower using Susan's PanPastels Set 1 and her 4 pc Tool Kit.  Susan has a great video to help you with this you can f...

Mr Snowman

Image
Hello Everyone welcome to my blog.  Today my post is a card I Designed for Susan Tierney-Cockburn's Design Team at Elizabeth Craft Designs.  Susan has such great dies.  For a full Tutorial visit Elizabeth Craft Designs Blog .

Up On the Roof Top

Image
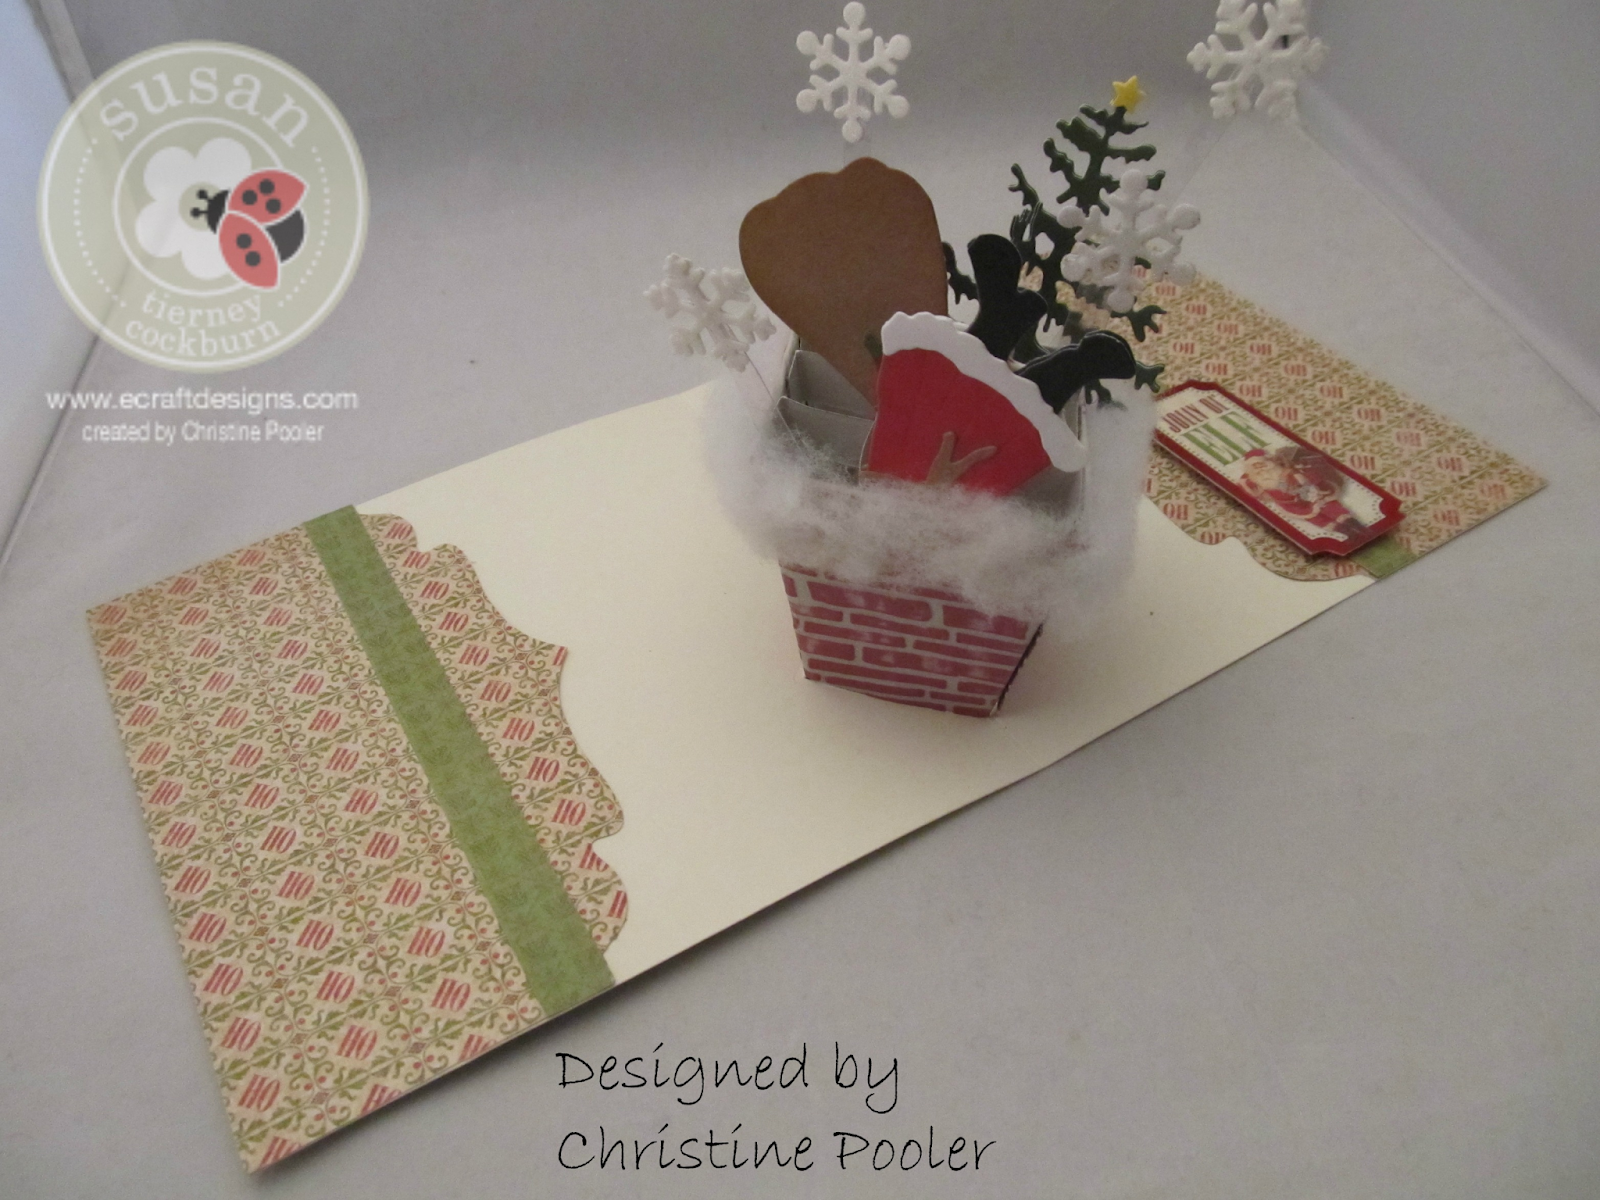
Hello Everyone thanks for stopping by my blog today.  Today I have created kind of a fun card that has Santa and his satchel going head first down the chimney.  My card base was made by using Karen Burniston's Flower Pot Pop Stand Die Set. Here is how it was done  Cut flower pot from light gray cardstock you will need to cut it twice.  Find your score lines and fold all of them (this is important to do before embossing as it will make it easier to find them after embossing - ask me how I know ).  Depending on how big your brick embossing folder is you may be able to do both at once  but lay the flat pieces in the embossing folder and run through machine.  Try to have a couple of sides straight as possible and use these sides for front of card (Again ask me how I know).  Take cranberry ink pad and rub over the bricks which will color the bricks but leave mortar area gray.  Use Karen's great video to build the flower pot.  For this card ...

Season's Greetings

Image
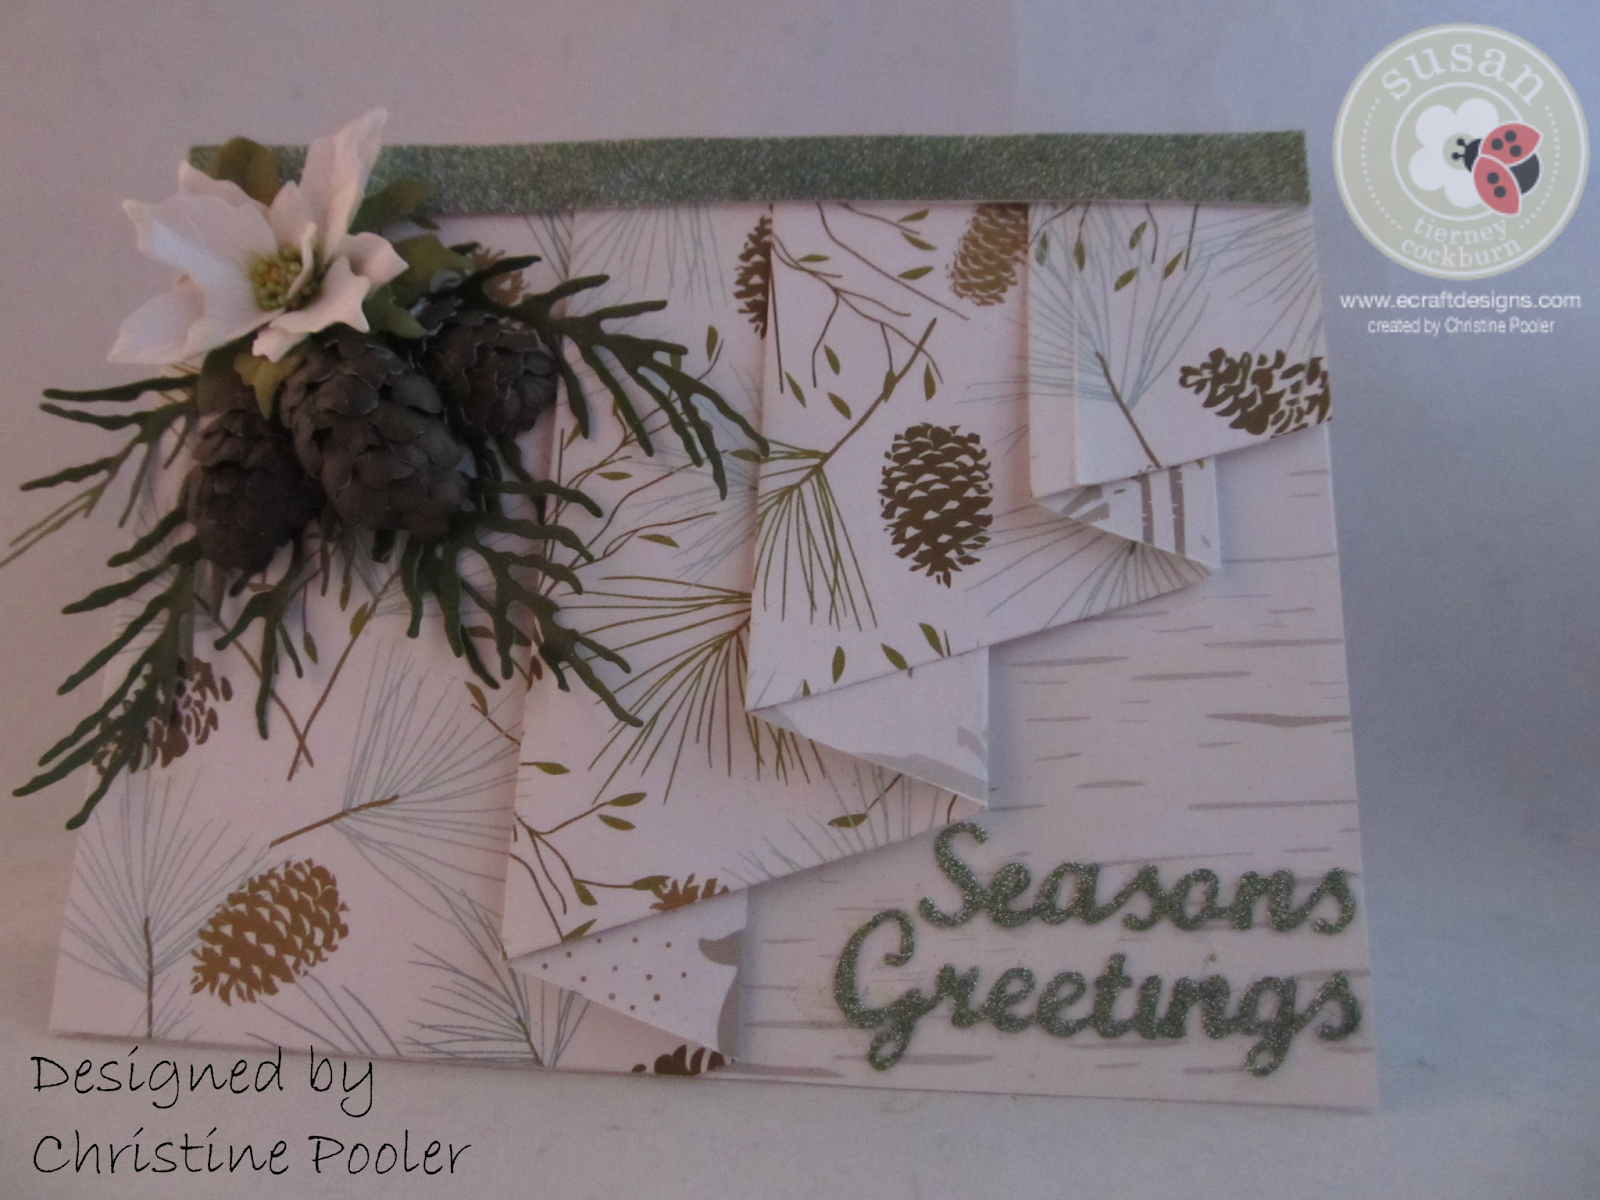
Hello Everyone today I am posting a card that I designed for Susan Tierney-Cockburn's Design Team on Elizabeth Craft Designs.  For a full tutorial and list of supplies to make this card be sure to visit Elizabeth Craft Deisgns Blog .

Looking Through My Window

Image
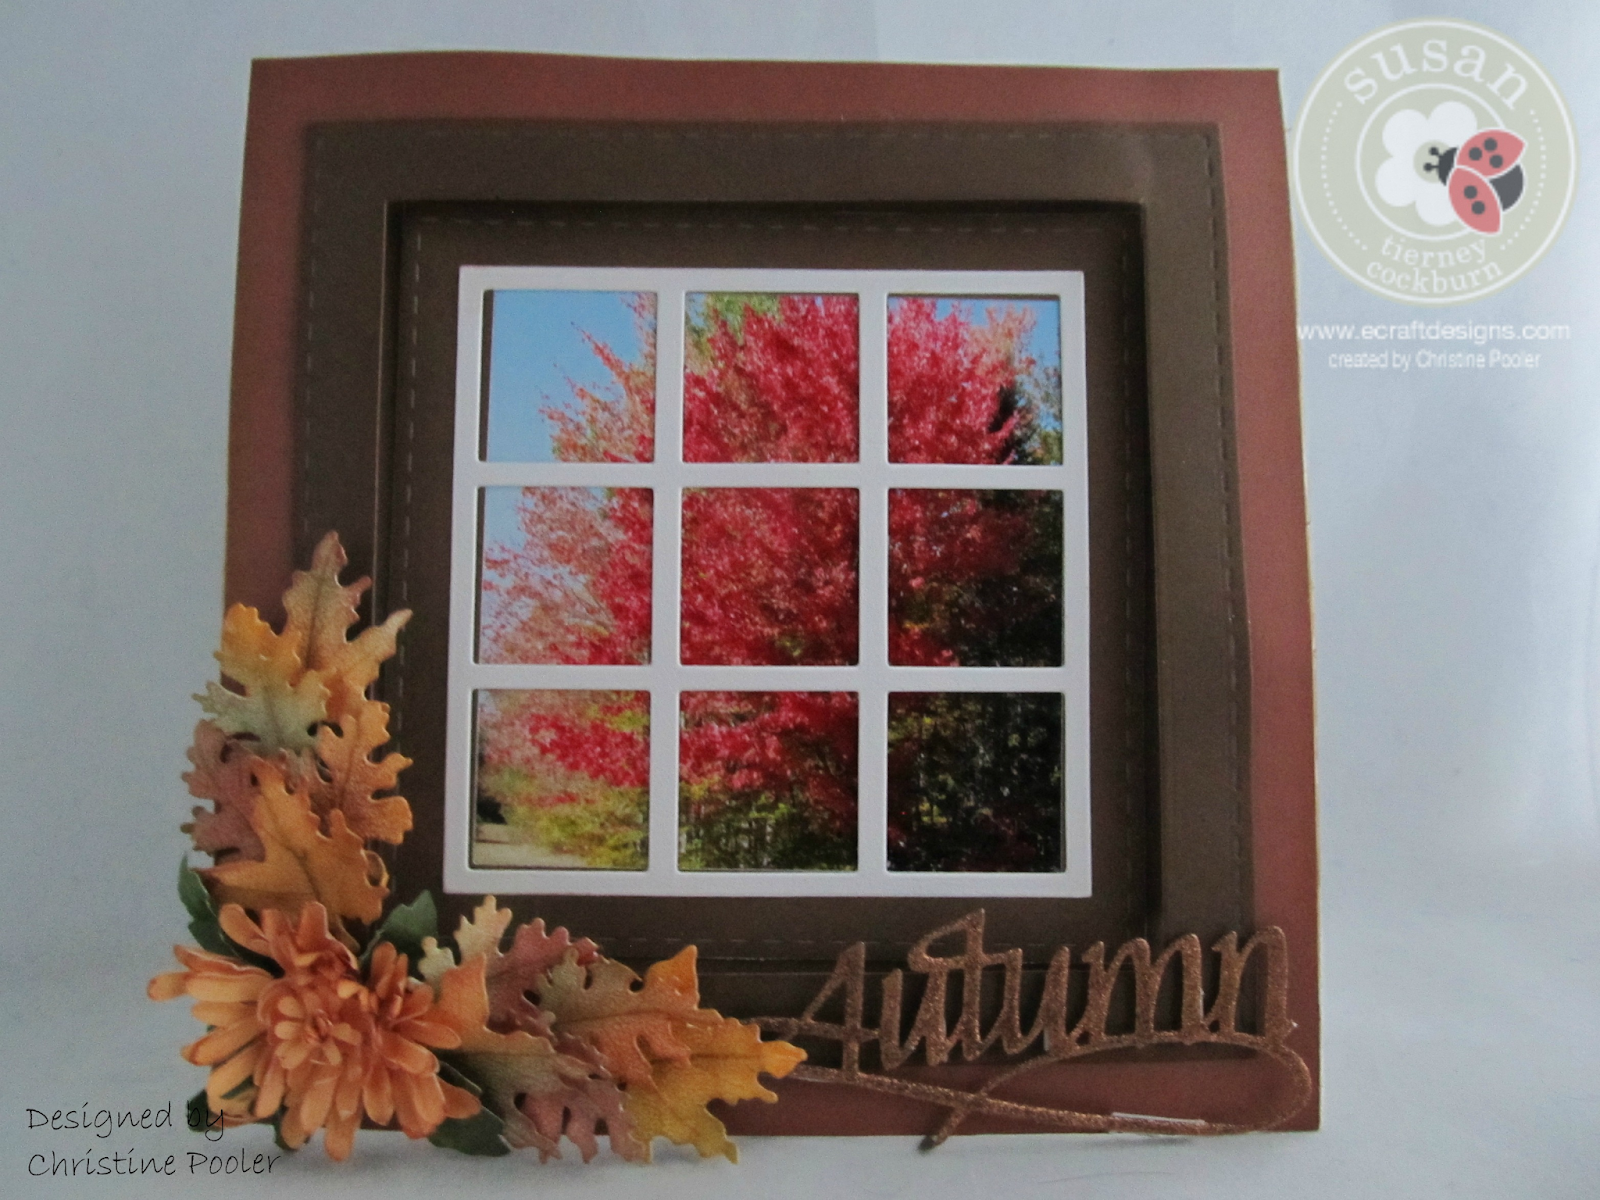
Hello everyone thanks for stopping by today.  Fall in Maine is absolutely gorgeous such colorful landscapes that we have had here in Maine this fall. My post today is a window card using an actual picture I took looking out my kitchen window.  What a pretty site to behold while washing dishes.  Using Susan's Garden - Garden Patch Woodland Leaves, Garden Notes - Chrysanthemum and Garden Patch 1" . Here is how I did it!  Cut white soft finish cardstock 6" X 12" score at 6" fold on score line this forms a 6'X6" card. Measure in 3/4" from edges all around card front making light pencil marks - drawn a square. Next measure in 1/4" from lines you just drew making light pencil marks and draw a square. Score on all lines. Cut a large X using an Exacto knife cutting on diagonal  outside corner to outside corner. Fold the outside score lines inward crease well then fold second set score lines towards center forming window. Cut 4-1/2...

Sparkling Mistletoe

Image
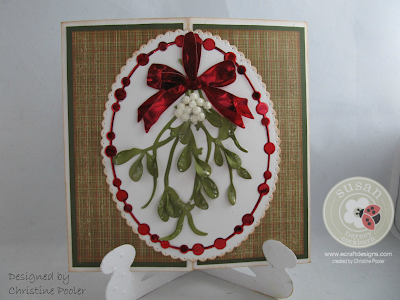
Hello my crafty friends today is a Christmas card I designed for Susan Tierney-Cockburn's Design Team at Elizabeth Craft Designs . It is a gate fold card  For the tutorial please visit their blog Oh while you are there check out all their great products. Thanks for stopping by Happy Scrapping! Christine

Sweet Magnolia

Image
Hello Everyone!  My post today is a card that I made for a friend who lost her Dad.  I used one of Susan's  new releases Garden Notes - Southern Magnolia along with Els  van de Burgt's Stitched and Fitted Squares and A With Words - Thinking of You dies. Here is how I made the card.  Cut 6' X 12" piece from 100# Soft Finish white cardstock score at 6" fold forming 6" X 6" card base.   Cut B&T paper (printed paper) 5-3/4" X 5-3/4" adhere to card front using clear double sided adhesive.   Using the largest stitched frame and second largest fitted frame dies lay them face down on the paper center the smaller frame inside the large frame tape together using washi tape or removable tape run through die machine cutting out frame.   Attach to card front.   Attach clear double sided adhesive to front of black cardstock.  Lay Thinking of You die cutting side down on adhesive side of cardstock run through die cutting machine (you m...

Birthday Purse

Image
  Hello everyone Happy Valentine's Day!  It certainly is cold here in Maine today it was  -11 @ 6:00 AM and with the wind chill factor it was -22 and the high that we have seen so far is 8 above -  YIKES. My Post today is a Gift Box Within a Purse  made from cardstock and decorated with some of Susan's Garden Notes Cosmos.  These Cosmos were really fun to make.  The purse was made in a Close to My Heart Consultant meeting taught by Tara Clarke.  Tara found the directions on Geneva Beck's website (another Close to My Heart Consultant).  The directions can be found here 2.  The Cosmos were made using several shades of pink cardstock and Susan's tutorial                found here   The stems were not needed for this card. 3.  The #2 is chipboard that I colored with ink.  Take 3 shades of pink  ink  and a dauber and with the lightest pink cover the entire piece.  Using t...

Daffodil Delight

Image
Hello Everyone it is Christine wishing you all a very Happy New Year! This card was designed for Elizabeth Craft Designs  Susan Tierney-Cockburn Design Team. I am really excited about all the new dies being released soon for Susan's Garden Club - so many to choose from.  Today I have chosen the new Garden Notes Daffodil die and the new CountryScapes Garden Edges Daffodil set ( these dies are coming soon) as they are one of my favorites flowers.  Daffodils always brighten things up after a long winter; they always make me smile. Please go to Elizabeth Craft Designs Blog for the complete tutorial to make this 6 X 6 card and a list of supplies needed.     I do hope that this tutorial is an inspiration to you all to try making your own card.  Be sure to visit Elizabeth Craft Designs to see all the new items that are coming soon, plus all the wonderful items already available. Until next time - Happy Scrapping! Christine

Framed Poinsettias

Image
Hello Everyone my post today is a Birthday Card I did for a dear friend of many many years. Since it is a December birthday I decided to go with Susan's Garden Notes Poinsettia die and ECD Fitted Frames 1  Lacy Rectangles  die.  For those of you that follow Elizabeth Craft Designs or the Susan's Garden Club on Facebook the card will look familiar to you as Susan posted a similar one last week, what a coincidence.  I do apologize for the quality of the pictures as it is very hard to photograph Shimmer Sheetz and glitter, Here we go  Using Red Metallic Shimmer Sheetz cut 1 set of Fitted Frames 1- Lacy Rectangles.   Using 100 lb Soft Finish Cardstock with Double Sided Clear Adhesive  on both sides cut 1 set of Fitted Frames 1 - Lacy Rectangles. Remove protective paper from front of white fitted frames and add Cool Diamond Silk Microfine Glitter and burnish in using your fingers.   Take an A2 (4-1/4 X 5-1/2) card base and alternating between t...

Frosty the Snowman Ornament

Image
  Designed for ECD Susan Tierney-Cockburn Design Team. Hello everyone this is my December post for Elizabeth Craft Designs Blog   This idea came to me when I came across these clear open face balls which brought back a childhood memory of our Dad bringing home a box of 6 ornaments that were half balls with a scene in each one. Those became my favorite ornaments and today I have the only 2 remaining ornaments from that set. I knew Susan’s CountryScapes Build a Snowman die set would be perfect for this project. For the complete tutorial on how to make this ornament please visit Elizabeth Craft Designs blog here What a fun project  this was and I hope that you will try some of the ornaments.  I am looking forward to making more as there are many more Susan's Country1Scapes dies that can be used.