Snowflakes

Today my post is a quick card I created using some of Joset Designs newly released dies Snowflakes, Snowflake Border and Words 5 Winter Wishes.
Here is how the card was created.
Step 1 Form 6" X 6" card base.
Step 2 Cut 6" X 6" white Soft Finish Cardstock add Clear Double Sided Adhesive to top. Add Silk Microfine Glitter - Sea Glass to adhesive burnish in with fingers.
Step 3 Die cut bottom edge of card front using Joset Designs newest release Snowflake Border.
Step 4 Using Joset Designs new release Snowflakes die cut 2 from white Soft Finish Cardstock that has Clear Double Sided Adhesive on front. Add Silk Microfine Glitter - Cool Diamond to adhesive burnish in with fingers. Adhere to card front using Kids Choice Glue on back center of each snowflake. Add pearls to center of each snowflake. (I use a bit of Kids Choice Glue to pearls even if they have adhesive on back because of the glitter)
Step 5 Cut black cardstock 2" X 4" add Clear Double Sided Adhesive to front cover adhesive with black Silk Microfine Glitter burnish in with fingers. From Joset Designs new release die set Words 5 Winter Wishes cut Let It Snow. Adhere to card front using Kids Choice Glue.
Step 6 Add Clear Double Sided Adhesive to bottom 1-1/2" of inside card. Add Silk Microfine Glitter - Cool Diamond burnish in with fingers. This was done so to give the snowflake border glittery effect through the cutouts the picture does not show it but it does look good.
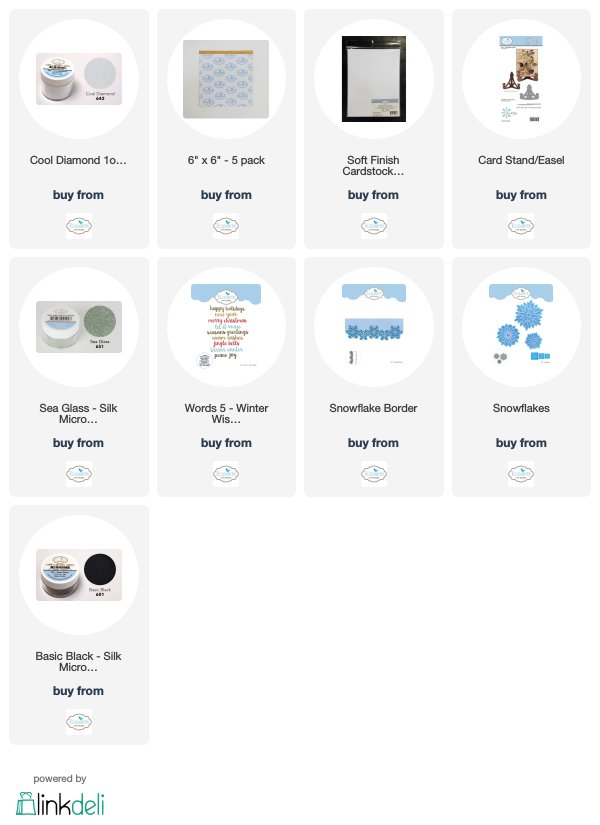
Thanks for stopping by my blog today hope you have a go at it. For any of the Elizabeth Craft Designs products I used today just click on any picture below it will take you directly to site.
Until next time - Happy Crafting!
Christine
Elizabeth Craft Designs Supplies

Other Supplies
Pearls
12 X 12 white Cardstock
.jpg)
.jpg)
.jpg)
Comments
Post a Comment