Lighted Lantern


Hello my crafty friends,
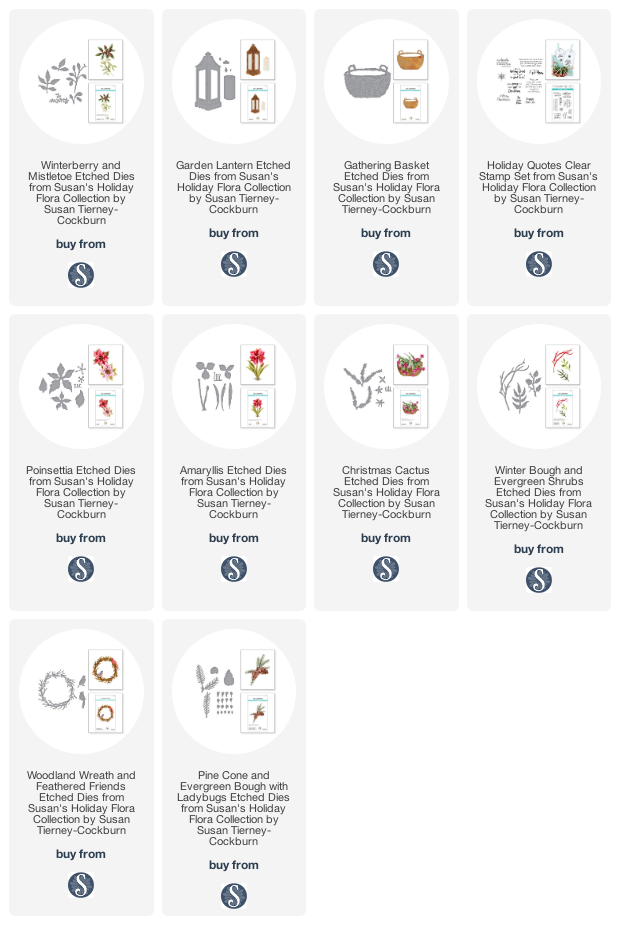
Yippee Susan's new Christmas Release should be out next week and once they are available I will be adding links to the new items to list below.
I so hope everyone is having a great summer. I know it has been some time since I posted but I have been busy with yard work and also busy creating cards for Susan Tierney-Cockburn's Christmas Release with Spellbinders. Yes it is the perfect time to be making Christmas Cards. Just think that pressure will be taken away if you do them now with Susan's wonderful new Christmas release. It is Christmas in July! My card today uses 4 of her new die sets.
My card today is a 6 X 6 card base and it is lighted.
Card is a 6" X 6" tent fold card created from white cardstock.
Red cardstock was cut 5-3/4" square. Attach to card front using Clear Double Sided Adhesive.
The black & white design paper was cut 5-1/2" square adhered to card front using Clear Double Sided Adhesive.
Spellbinders Elegant Twist Ovals die set was used first cutting largest oval in set from red cardstock. The black oval was cut using the 2 largest dies cut together to give decorative twist and adhered on top of red oval.
Using scissors or hole punch to put a hole through the center of the ovals for the little Easy Lights. Push lights and wires through from the back pull up just enough to be positioned behind the lantern taping in place.

On back side of the oval using double sided adhesive to hold battery and wires in place then add dimensional tape and adhere to card front.

Lantern was die cut from black glossy cardstock using Susan's Garden Club Garden Lantern Die set, yellow vellum was cut to cover openings which was adhered with Kid's Choice Glue on back of lantern and the latch and top on the lantern was cut from silver cardstock.
Green cardstock was used to cut Poinsettia leaves, Pine Boughs and Berry Branch leaves. Red berries are little Styrofoam balls colored with red paint there are different tutorials out there for this. Colored pieces of the poinsettia were all cut from Susan's Garden Specialty Paper then colored and shaped. This link for Susan's YouTube video for the poinsettia, winterberry and lantern can be found here. It will be very helpful.
Kid's Choice Glue was used to adhere components to bottom of lantern starting with the pine boughs.
I do hope that you have enjoyed my tutorial today and it has inspired you to make your own lighted lantern. As soon as dies are available in US they will be added to the list below. Some products used are linked below so you can click on an item it will take you directly to the sight to purchase. It does give me a small commission to help defray my costs but in no way does it cost you anything. Thanking you in advance for any purchases you may make.
Thank you for stopping by my blog today and until next time - Happy Crafting!
Christine
You only live once but if you live right once is enough!
Unknown
Other Supplies:
Cardstock - green, red, black, black glossy, silver
Patterned Paper
Styrofoam balls
Acrylic Paint - red
Product Links


.jpg)

Beautiful! Thank you for the instructions!
ReplyDelete