Noel Fairy

Welcome to my blog thanks for coming. It is time for another challenge for Susan's Garden Design Team. This challenge is to use one of Susan's Fairy die sets. Be sure to visit Elizabeth Craft Designs Blog at this link to enter to win details below.
For today's challenge Elizabeth Craft Designs are giving away a $20 Gift Card to use on the Elizabeth Craft Designs website to 3 winners.
To enter simply leave a comment on the Elizabeth Craft Designs Challenge post and tell us “If you had your own fairy, what would be 3 products on your crafting wish list?”
We will select 3 lucky winners in a random drawing
The winners will be announced on Friday, October 13th, on the Elizabeth Craft Designs blog.
***************

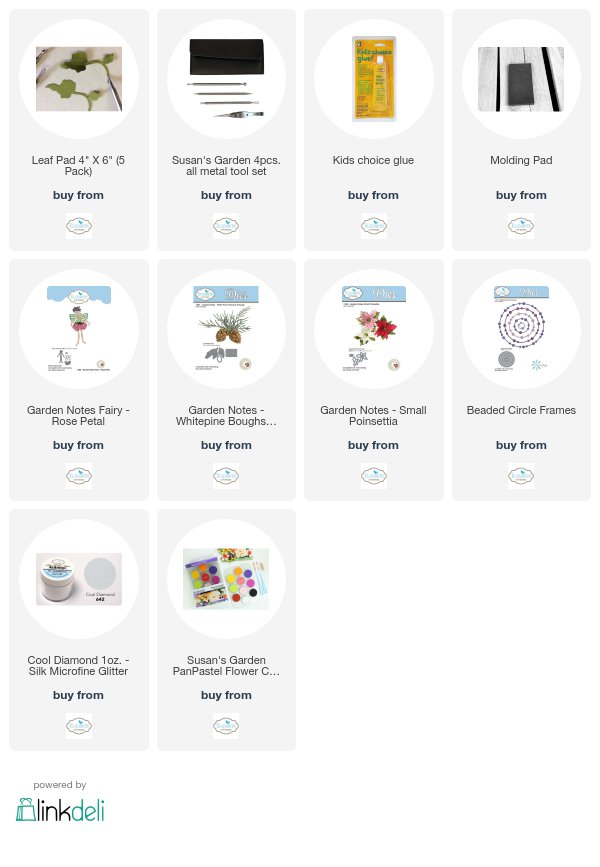
For my challenge card I chose to use Susan's Garden Notes Fairy - Rose Petal on a Christmas card using a non traditional Christmas color which is pink as I usually reserve it for floral cards not Christmas cards. My fairy is sprinkling snow onto flowers below.
Here is how card was created.
- White cardstock cut 6" X 12" scored at 6" folded on score line to form 6" X 6" tent fold card base.
- Using Els van de Burgt Beaded Circle Frames cut 2 from silver mirror cardstock and 1 from pink glitter cardstock using largest die in set.
- Use next to largest die in set as a mask in center of card. Using stipple brush and light pink ink stipple all outer edges (Distress Ink Spun Sugar used here).

- Using Kids Choice Glue adhere beaded frames to card front silver - pink - silver staggering from top to bottom.
- Using Suzanne Cannons Noel die cut 1 from silver mirror cardstock and 1 from pink glitter cardstock. Adhere pink to top of silver offsetting just a bit to give it a shadow effect using Kids Choice Glue. Adhere in center of card.
- Using Susan's Garden Notes Fairy - Rose Petal cut 2 bodies 1 with Clear Double Sided Adhesive on back of cardstock. Use either skin tone cardstock or use white Soft Finish Cardstock color with skin tone markers. Adhere the two together giving depth and strength. Cut rose petals from light pink cardstock. Color fairy's hair, dress top and shading on rose petals using markers. Using Susan's 4 piece Deluxe Tool Kit shape petals adhere to fairy for skirt. For wings cut 2 from vellum that has Clear Double Sided Adhesive on top. Remove protective paper sprinkle on Cool Diamond Silk Microfine Glitter tap off excess then burnish in gently with finger. Fold 1 set of wings back adhere to back of second set wings using Kids Choice Glue. Adhere to fairy back.
- Make 2 pinecones and several white pine boughs using Susan's Garden Notes White Pine Boughs & Pinecone. Susan has a great video for creating these you can find it here. Make 1 white poinsettia using Susan's Garden Notes Small Poinsettia. Susan also has a great video for this as well you can find it here.
- Adhere boughs to lower left side of frames using Kids Choice Glue. Add pinecones, poinsettia and a few poinsettia leaves. Using dimensional tape adhere fairy to upper right side of frames.
- Dab a bit of Kids Choice Glue on areas of pinecones, pine boughs, poinsettia, fairy's hair and some in her hand then sprinkle Papericious Frosting Powder tape off excess set aside to dry.
Hope you have enjoyed this tutorial and it has inspired you to make your own card. Be sure enter to win.
Until next time - Happy Crafting!
Christine
Other Supplies Used:
Pink Glitter Cardstock
Silver Mirror Cardstock
Vellum
Various color markers
Papericious Frosting Powder

.jpg)

Comments
Post a Comment