Fall is in the Air

Welcome My Crafty Friends,
Today Susan has a brand new release lots of new dies to play with. Today I have created a card using the new Garden Notes Vintage Tin Milk Can I am a rustic kind of girl! You need to visit Elizabeth Craft Designs to see all the new fabulous releases.
Here is how the card was created.
Step 1 Forming Cattails - Cut floral wire cut (3) 3" pieces using Yes Glue shape cattail around each piece of wire making cattail about 1-1/2" long. Roll in hands to shape then roll in brown pollen or flower soft (flower soft used here). Set aside to dry at least 24 hrs.
Step 2 From green cardstock cut 2 Garden Notes Leafy Berry Branch 1 add berries using Nuvo Crystal Drops - Ripened Pumpkin set aside to dry. Once dry add berries to back side again set aside to dry. Using red Copic marker add dots to center of each berry.
Step 3 From white Soft Finish Cardstock cut 5 maple leaves using Susan's Garden Woodland Leaves die set. Color using Copic markers in fall colors. Using Leaf Tool, Leaf Mat, Molding Mat and Medium Ball Tool shape leaves.
Step 4 From green cardstock cut several leaves using new release Garden Notes Daffodil / Narcissus shade with Distress Ink then shape. These leaves will be used for the cattail leaves.
Step 5 Using Susan's newly released Garden Notes Vintage Tin Milk Can cut 2 - 1 from white Soft Finish Cardstock and 1 from gray cardstock that has Clear Double Sided Adhesive on back. Adhere white milk can on top of gray one. Using N3 & C8 Copic markers to color / shade. Rub on pewter Metallic Rub Ons from Kit 2.
Step 6 Using Els van de Burgt Studio Pumpkin die set cut 1 pumpkin from white Soft Finish Cardstock with Clear Double Sided Adhesive on back . Color with Copic markers pinch sides to give bit of rounded shape. Cut leaves from green cardstock shade with Distress Ink then shape.
Step 7 Die cut 1 Els van de Burgt Studio Fitted Fishtails from orange cardstock. Cut next size down from white Soft Finish Cardstock . Using Susan's Little Words Mean A Lot stamp set to stamp sentiment using black ink. Adhere to orange Fishtail using Clear Double Sided Adhesive.
Step 8 Form 6" X 6" card base from gray Soft Finish Cardstock.
Step 9 Cut patterned paper 5-3/4" square (ModaScrap - Wood Effect used here ). Adhere to card front using Clear Double Sided Adhesive.
Step 10 Assemble card. Add pop dot to back of milk can ad here to left side of card. Using Kids Choice Glue add berries in top of can next add cattails & cattail leaves then maples leaves. Add pop dot to back of pumpkin then place at base of can add leaves using Kids Choice Glue.
Step 11 Adhere Fishtails to upper right of card front using Clear Double Sided Adhesive.
I do hope that you have enjoyed this tutorial today and will be sure to check out all the newly released dies at Elizabeth Craft Designs.
Thanks for stopping by today and until next time - Happy Crafting!
Christine
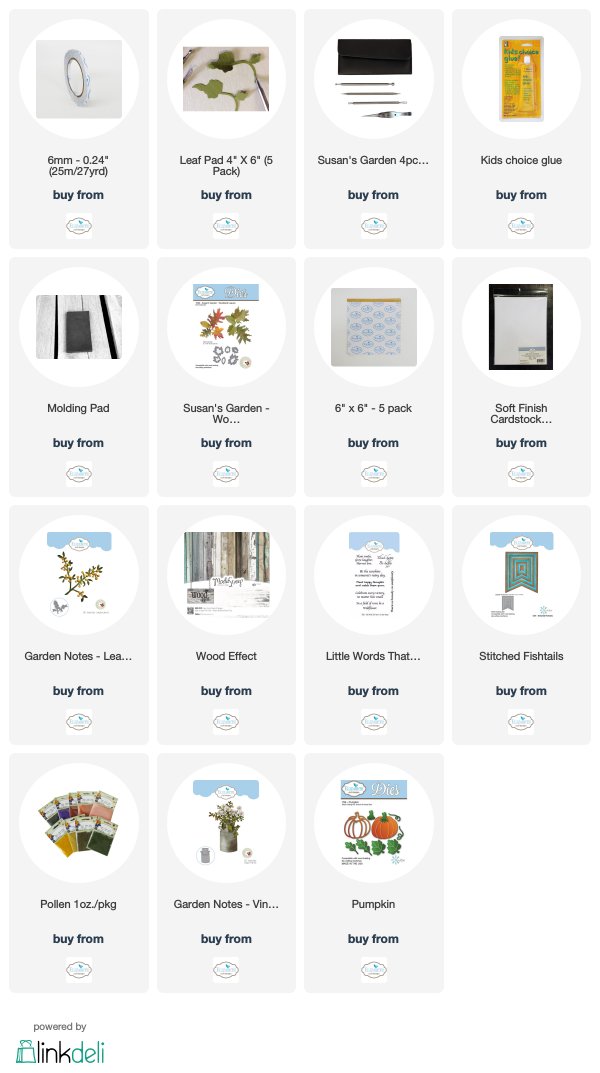
Elizabeth Craft Designs Supplies
Other Supplies
Cardstock - brown, green, gray, orange
Nuvo Crystal Drops - Ripened Pumpkin
Copic Markers
Black Ink
Flower Soft - Nut Brown
Pop Dots
Yes Glue

.jpg)

Comments
Post a Comment