Happy 16th


Hello My Crafty Friends Welcome to My Blog!
On my blog today is a birthday card I created for our grandson - hard to believe he is 16 and his sister 18 time does fly. My card was created using some of Joset's latest releases 4th of July, Blackboard Numbers along with her Stitched Stars, Words 1 - Celebrate and General Pop Ups. I also used Susan's Garden Earth & Sky Stencil.
Here is how card was created.
Step 1 Form 6" X 6" card base. Emboss card front with embossing folder of your choice I used stars.
Step 2 Cut white Soft Finish Cardstock 5-3/4" X 11-1/2" score @ 5-3/4" fold on score line. Using Susan's CountryScapes Earth Sky Stencil add clouds and grass with Distress Inks and sponge.
Step 3 Use largest pop up die from Elizabeth Craft Designs General Pop Ups Die set to cut pop up in center fold. Work pop up folds. Add Clear Double Sided Adhesive to back staying away from the pop up areas. Adhere to inside of card working with half card at a time (do not remove all protective covering at once).
Step 4 Using 3 largest dies of Joset's Stitched Stars cut from 3 different color cardstocks. Adhere to card front using Clear Double Sided Adhesive starting with largest ending with smallest.
Step 5 From Joset's 4th of July die set using yellow / gold cardstock cut 5 large stars and 15 small stars. From red cardstock cut largest burst then cut firecrackers 6 times.
Step 6 Cut Happy Birthday twice from black cardstock with Clear Double Sided Adhesive on back using Joset's Words 1 - Celebrate die set stack together to give dimension. Cut Celebrate twice from white Soft Finish Cardstock with Clear Double Sided Adhesive on back - stack together to give dimension.
Step 7 Using black cardstock with Clear Double Sided Adhesive on back cut 16th twice using Joset's new Blackboard Numbers stack together for dimension.
Step 8 Assemble card front.
Step 9 Cut black cardstock 5-3/4" X 1-1/2" using Clear Double Sided Adhesive adhere approximately 1-1/2" down from center fold. Adhere Celebrate in center of black cardstock. Add large star on each side.
Step 10 Assemble firecrackers using Kids Choice Glue.
Step 11 Cut 2 pieces of clear plastic 1/4" X 3" and 1 piece 1/4" X 4 (I save plastic packaging for this as it is stronger) add firecracker to one end of each using Kids Choice Glue when dry adjust length of plastic so when bottom is attached to pop up firecracker does not stick out beyond the card edge then attach to pop ups using Kids Choice Glue. Add stars to clear plastic using Kids Choice Glue. Add 3 remaining firecrackers to remaining pop ups.

For any of Elizabeth Craft Designs products just click on picture it will take you directly to that product on their site.
I do hope that you have enjoyed my tutorial today.
Until next time - Happy Crafting!
Christine
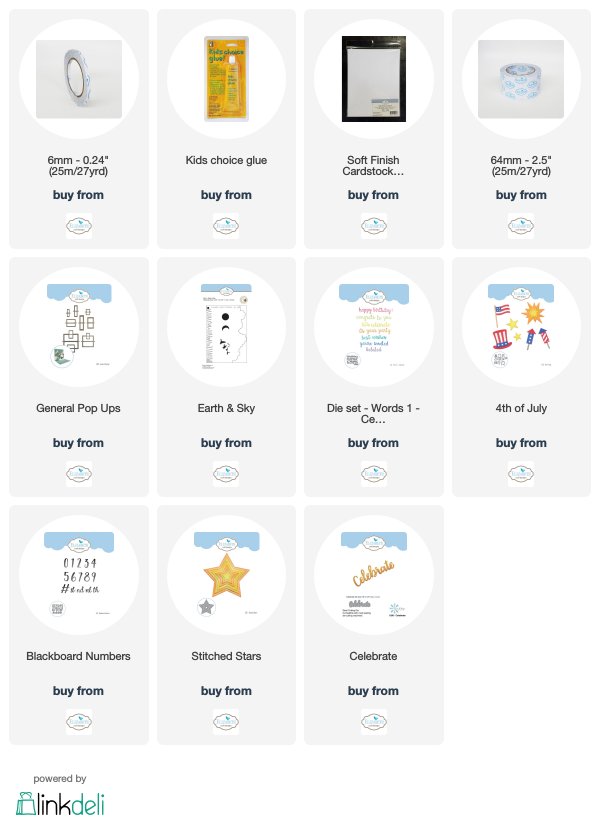
Elizabeth Craft Designs Supplies
Other Supplies
Cardstock - yellow, red, blue, black
Distress Inks - tumbled glass, peeled paint
Clear plastic


.jpg)
Comments
Post a Comment