Posts

Tea-rrific!

Image
Hello Crafty Friends, Today I am posting a card I made for one of my sweet rug hooking friends who is a tea drinker.  The background technique I cased from Lauri Coons - Stampin Friends when I saw her post on Facebook I just had to try it.  This is my second card I have done using this back ground and of course by changing colors and embossing folders they will look very different. Here is how the card was made starting with a 5-1/2" X 4-1/4" tent fold card base.  Using 1-3/4" punch (can also die cut Elizabeth Craft Designs has fitted circles smallest is 1-1/2" and next size is 2" which is what I would recommend and put clear double sided adhesive on back of cardstock before cutting as it will be easier to arrange pieces ) cut 2 circles from 6 different colors of cardstock.  Cut each circle into fourths and then emboss with embossing folder or folders of your choice. (be sure to cut before embossing).  Add adhesive to back of pieces using a Xyon sticker make...
Hydrangea 90th Birthday

Image
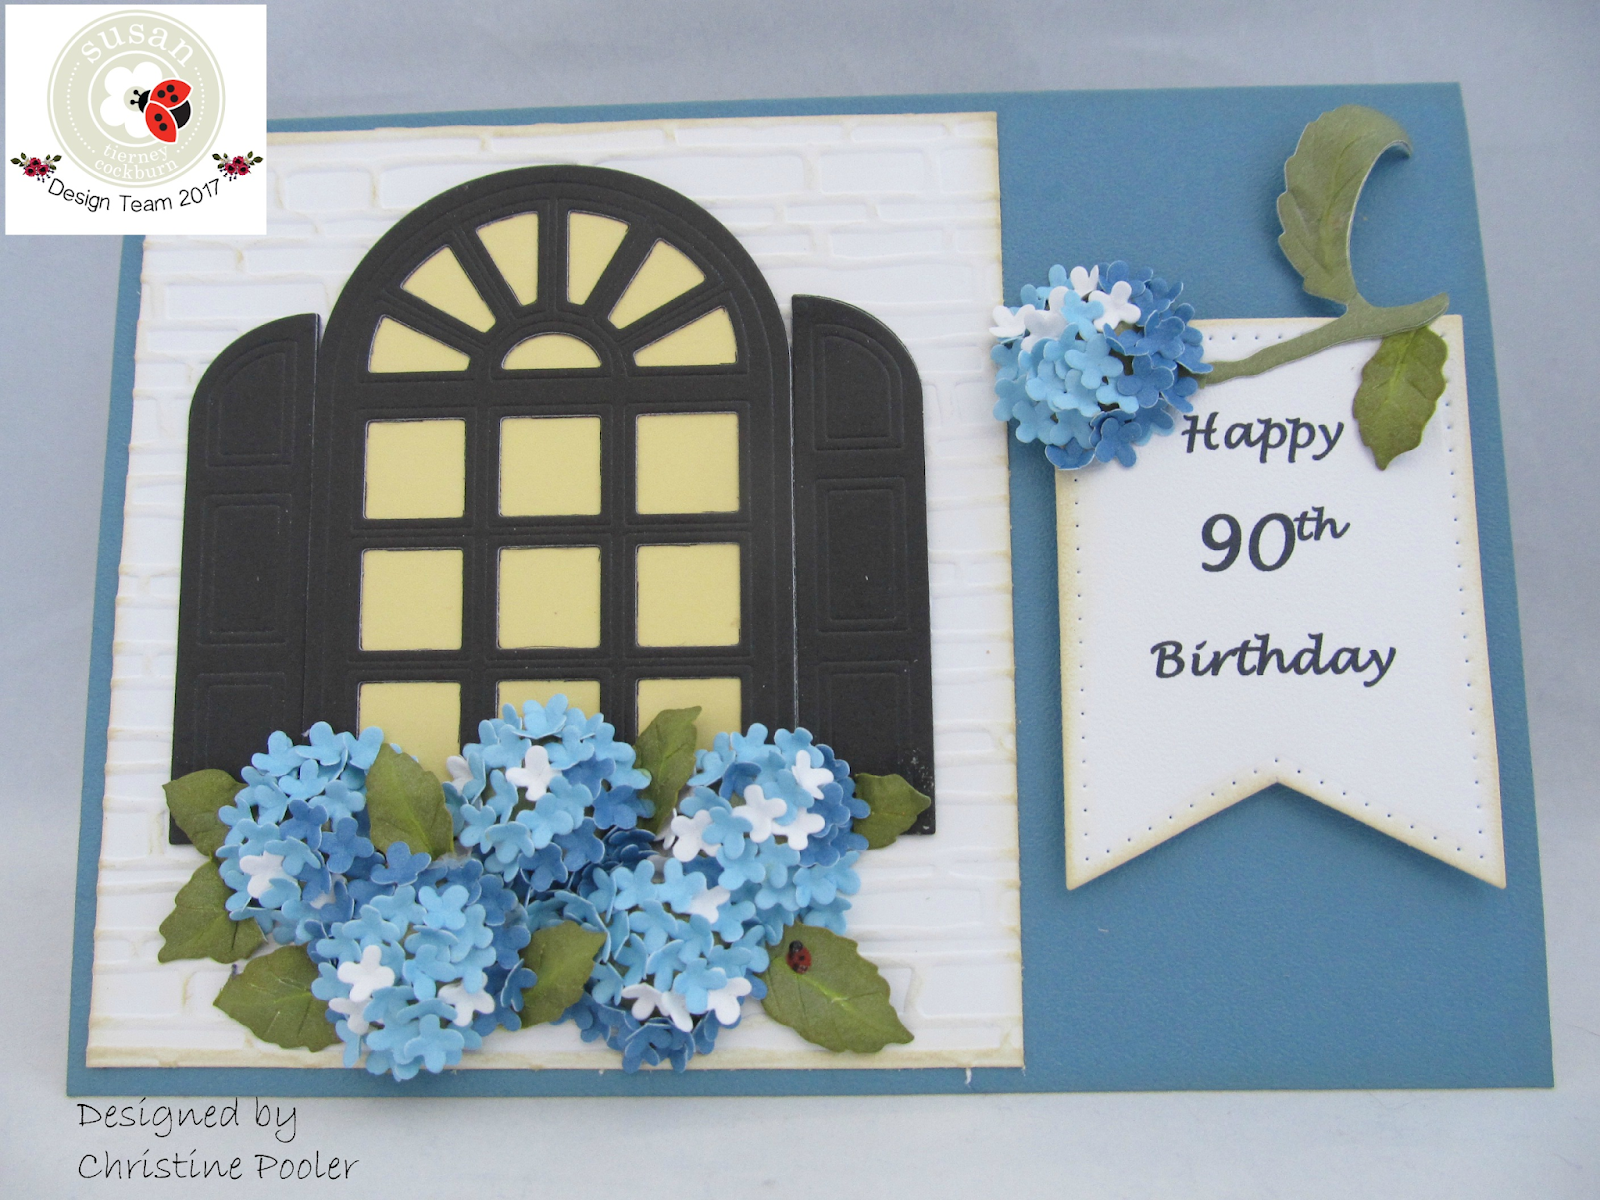
Hello my Crafty Friends thank you for stopping by my blog today. I don't know about you but I am sure glad that spring is in sight and hopefully much of the illnesses going around will run off with "Ole Man Winter".  So much sickness that keeps going around and around.  I had my bout with it a couple of weeks ago but am finally getting back to my old self.  That said several of my posts have been done when I was not feeling well and so I feel my work was not up to par,  for that I apologize. My post today is a card that I made for my dear friend's mother as she celebrates her 90th Birthday. Here is how I created the 5' X 7" Tent Fold card. Cut blue cardstock (Soft Finish Cardstock - Dusky Sky used here) 5" X 7" adhere to front of card base using clear double sided adhesive. Cut white cardstock 4-1/4" X 4-3/4" dry emboss using brick pattern embossing folder.  Not sure which embossing folder was used for my piece as my piece came out of ...

Box of Pansies

Image
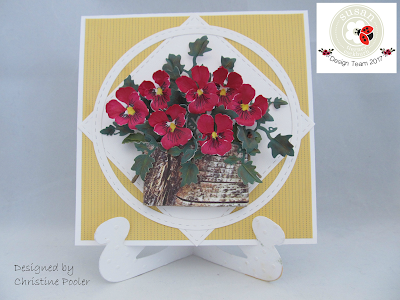
Hello My crafty Friends, This is my card I designed for Susan's gardening Design team for a full tutorial visit their blog at Elizabeth Craft Designs and find all their wonderful supplies as well. Here is my inspiration for the pansies.  Saw this picture on Facebook last year and saved it. Thanks for stopping by and until next time - Happy Crafting! Christine Save

Baby Rose Card

Image
Hello to all my crafty friends out there!  I keep hoping for that spring weather to come and stay for a while but seems we get a couple of days of spring and then back into winter with cold temps and snow but then I have to stop and think we have nothing to complain about when you look at what so many in the southern states are going through I need to feel very very lucky!  My heart goes out to them for sure. Today I am posting a card that was made for my new great great niece.  Susan's Garden Notes Rose 2 was used along with Els van de Burgt Studio Stitched and Fitted Fishtail dies, Moda Scrap Dandelion Fluff dies and  Suzanne Cannon Baby Love die set. Although this card is my design the background of the card is not mine I cased it from Lauri Coons - Stampin Friends and I have told her that I had cased it.  She had posted a card on Facebook and I was intrigued so had to try it.  I chose colors to go with my card theme but the sky is the limit. Here...

Happy Retirement

Image
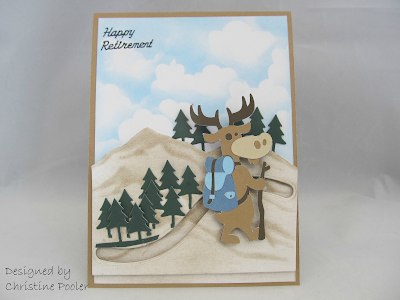
Inside of card Hello all my crafty friends!  Today I am doing a quick post of a card I made for someone at work.  I am not doing an actual tutorial on it but I am giving a supply list.  I have combined Several different dies from Elizabeth Craft Designs and a few from my Cricut.  The sky and mountains were created using Susan's Garden Stencils Earth & Sky and Mountain & Split Rail Fence .  The trees are from Karen Burniston's Outdoor Edges and the Moose hiker is was cut from Cricut.   Happy Retirement is  Peel Off Stickers.   The inside of card was created with Karen Burniston's Adirondack Chair Pop Up and Beach Edges .  The Palm trees were cut ion Cricut but Karen Burniston has die for Palm Trees which I do not have at this time. The sentiment was printed and it say "Whether it be hiking the trails or sitting with your toes in the sand ENJOY YOUR RETIREMENT! ". Elizabeth Craft Designs Supplies Susan's Garden Earth & Sky Sten...

Grammie Shower

Image
Hello my crafty friends!  My post today is of pages, card and favors for a "Grammie" Shower that my Close to My Heart Stamp of the Month group threw for our demonstrator.  We made 2 pages layouts for a scrapbook.  My pages were made from a paper pack that I had purchased a year or 2 ago it is  Heartfelt Creations.  I really only added the embellishments.  I made cherry blossoms using Susan's Garden Cherry Blossoms die set along with Moda Scrap Lace Pocket. I made a card to go along with my pages and gift using the same paper pack and more cherry blossoms. Party favors was another item I made using my Cricut machine. [gallery ids="3968,3967" type="rectangular"] A fun time was had by all.  

Hearts & Roses Birthday

Image
Hello Everyone!  Today I am posting a birthday card I made for my niece using  one Susan's Garden Notes newest dies Rose 3 and Els van de Burgt Studio Entwined Hearts . Here is the tutorial so you can craft your own card.  Card is a 6" X 6" top fold but could also be done as a side fold - whichever you prefer.   Cut White Soft Finish Cardstock   6" X 12" score at 6" fold on score line to form card base.   Cut patterned paper 5-3/4" X 5-3/4" adhere to front using Clear Double Sided Adhesive .   Cut 4 chains using Chains 1 die set and white Soft Finish Cardstock with Clear Double Sided Adhesive on back.  Adhere to card front 1/4" in from outer edge lining up ends at edges of patterned paper and watching corners to make sure they cross between links.  Do sides first then top and bottom.   Cut 4 of smallest hearts from Entwined Hearts die set using white Soft Finish Cardstock again with adhesive on the back.  Adher...