Posts

Hooked Mittens

Image
Hi there wishing you all a very Happy  & Prosperous New Year!.  Since I mainly post my handmade cards I decided that today I would post some of my rug hooking another passion I have.  Rug Hooked mittens I finally finished off this year. The pattern id by Toni Phibrick owner of The Keeping Room in Hampden, Maine. They are missing their bows but I am thinking they don't look too bad without them.  I have one more to do and that one will be for me.

Potted Poinsettia

Image
Hi Everyone hope that you all have had a great Christmas - ours was great spending time with family and friends. Today I am posting a birthday card for a dear friend with whom I have been friends with for about 60 years.  My card  uses Karen Burniston's Flower Pot Pop Stand and Susan's Garden Notes Small Poinsettia as well as her White Pine Boughs & Pinecones along with Els van de Burgt Holiday Garlands 2 and A Way With Words Happy Birthday. Here is how I made the card. Using Karen Burniston's video and Flower Pot Pop Stand die set - the flower pot cut from a color cardstock of your choice (Sea Glass was used here).  Cut and build the flower pot according to the video. Using Susan's Garden Notes Small Poinsettia and white cardstock cut 7 or 8 poinsettias making sure you cut a set from green cardstock for each flower.  Shade and shape each flower using Susan's PanPastels Set 1 and her 4 pc Tool Kit.  Susan has a great video to help you with this you can f...

Snowman Trimming Tree Tag

Image
    Hello Everyone thank you for stopping by today hope everyone had a good Christmas.  We certainly did.  Always enjoy the time that we can spend with family and friends. Today my post is a Christmas gift tag that I made for a dear friend of mine.  Here is how I did it.  Using Els van de Burgt's Tags & More 3 Leaves die set and white cardstock cut 1 tag base. From navy cardstock cut tag with leaves at top and the snowflake corner from Els Tags & More 9 Sparkle  at the bottom (you will have to run tag through 3 times in order to get all 3 snowflakes cut at bottom).  Attach to white tag base using Clear Double Sided Adhesive.  ( Avoid getting adhesive in cut out areas) Cut tree using Susan's CountryScapes Woods 4 Holiday Evergreens & Trimmings and green cardstock.  Cut the tree height down to fit tag - you want it a little taller than the snowman.  From off white cardstock cut garland 7 times (the off white gives it...

Mr Snowman

Image
Hello Everyone welcome to my blog.  Today my post is a card I Designed for Susan Tierney-Cockburn's Design Team at Elizabeth Craft Designs.  Susan has such great dies.  For a full Tutorial visit Elizabeth Craft Designs Blog .

In The Woods

Image
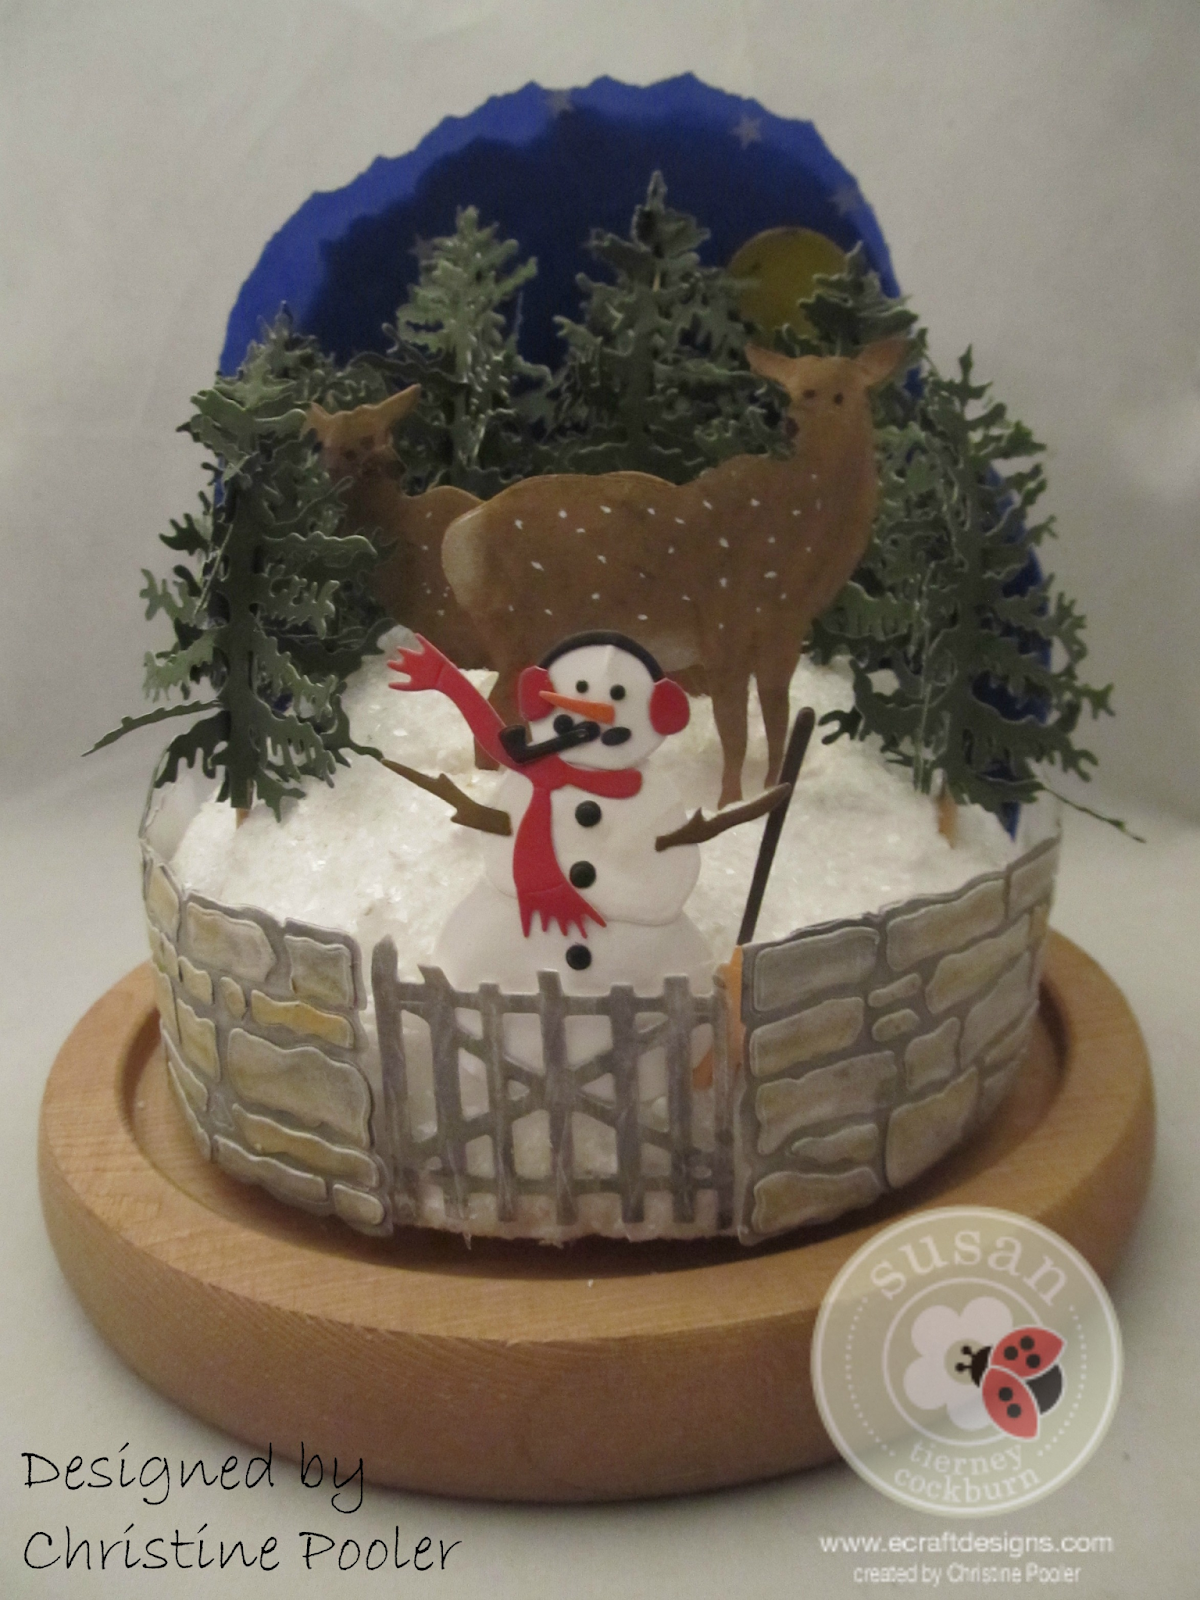
Hello Everyone welcome to my blog.  Today my post is something a little different. Instead of making a card I decided to make something  decorative and use some of Susan's CountryScapes die sets.  The first picture is shown without the glass dome so it is easier to see. This is a picture with the glass dome over it photo is not great but it was very hard to photograph due to the glare on the glass. Here is how it was constructed Cut 30 - 36 trees (I cut just the top 3-3-1/2" of tree) from green cardstock using Susan's CountryScapes Holiday Evergreens & Trimmings die set.  Fold up all the branches on each tree add Kid's Choice Glue to the back of tree adhere to tooth pick.  add 3 trees to each tooth pick which gives you a dimensional tree.   You should have 10-12 dimensional trees when done. Cut 4 deer using light brown cardstock and deer die from Susan's CountryScapes Critters 3 -   2 of the deer should but cut from brown cardstock that ha...

Up On the Roof Top

Image
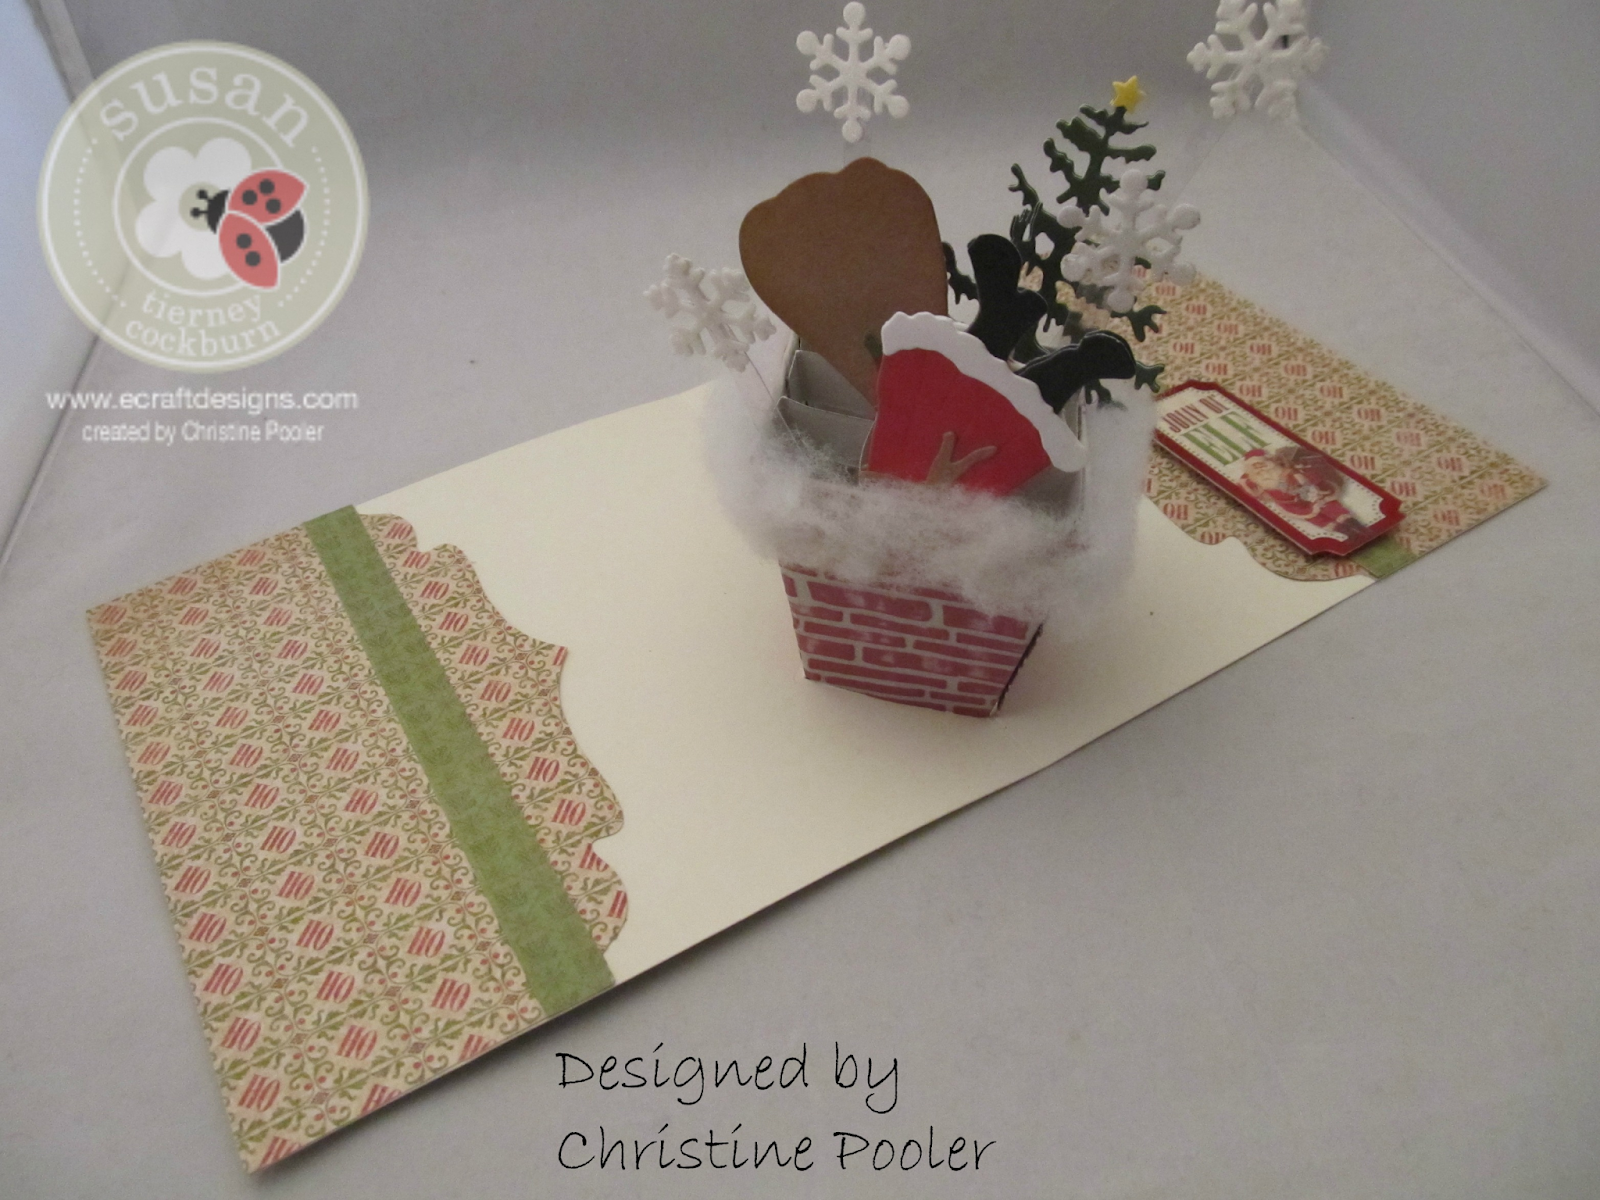
Hello Everyone thanks for stopping by my blog today.  Today I have created kind of a fun card that has Santa and his satchel going head first down the chimney.  My card base was made by using Karen Burniston's Flower Pot Pop Stand Die Set. Here is how it was done  Cut flower pot from light gray cardstock you will need to cut it twice.  Find your score lines and fold all of them (this is important to do before embossing as it will make it easier to find them after embossing - ask me how I know ).  Depending on how big your brick embossing folder is you may be able to do both at once  but lay the flat pieces in the embossing folder and run through machine.  Try to have a couple of sides straight as possible and use these sides for front of card (Again ask me how I know).  Take cranberry ink pad and rub over the bricks which will color the bricks but leave mortar area gray.  Use Karen's great video to build the flower pot.  For this card ...

Congratulations Tiger

Image
Hi there thanks for stopping by today!  Recently I had a request to make a card in celebration of an induction into a sports "Hall of Fame" at our local high school.  This is the card I came up with.  Our school mascot is a tiger and our colors are red and white.  To make this card I used Karen Burniston's Accordion Circle Die, Square with Circle Frame Edges die and Sport Charms Dies (these dies are found at Elizabeth Craft Designs ).  The tiger was cut from Design Space on my Cricut and then used extra thick clear embossing powered to coat giving it a glossy finish. Happy Scrapping! Christine