Posts

Congratulations Lily
Image
  Hello everyone hope you all are enjoying your summer it has been busy here with the gardening and outside chores. Today my post is a card that I designed for a great group of ladies that I scrap with.  Each month we have a night that is called Playground Night where we take turns coming up with a project to teach.  We pay $4.00 for the class and the money is donated to a fund for a playground that was built and named for my son and in turn the money is used for upkeep etc, for "The Matt Pooler Memorial Playground". Let's get started: Card Base 1.  Cut brown cardstock 5" X 7" 2.  Cut off white cardstock 4-1/2" X 6-1/2" and emboss each end (4-1/2" ends) 1-1/4" in from each edge. 3.  Cut green cardstock 4-1/4" X 5-1/2" and score at 1/2" and 2-3/4" fold on score lines. 4.  Use removable adhesive on just the outer edges on the back of the off white cardstock and center it on the brown cardstock. 5.  Measure up 2-1/2" fro...

Lovely Lilies

Image
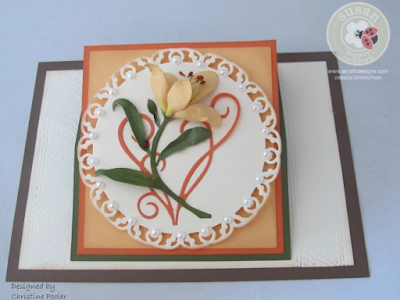
Hi Everyone, This is my July post for Susan Tierney-Cockburn Design Team at Elizabeth Craft Designs. You can find my tutorial here You can also find your supplies to make the card at Elizabeth Craft Designs so pop on over there to get tutorial and supplies. Enjoy!

Retirement Poppy Card

Image
Hello Everyone, Christine here once again it has been a long time since I posted but as they say "you have got to make hay while the sun shines" it is springtime and lots of yard work to be done. My card today is a retirement card for one of my scrapbooking buddies I used Susan's Garden Notes Poppy die and Elizabeth Crafts Design Accordion Rectangle die along with a few other ECD dies. The instructions are for a 3 panel card but you can make as many panels as you want to.  (Note: I inked all edges and  sanded surfaces of the embossed pieces using Distress Ink Vintage Photo) Cutting and Prepping Components 1.  Cut 6 panels using the ECD Accordion die and the orange cardstock a.  Cut away the center rectangle from 3 of the panels b.  Take 2 of the  panels one with center rectangle still in it and one without the center rectangle in it and emboss them using the lots of dots embossing folder - then sand both embossed panels. 2.  Using the Paris Edge die cu...

Oh Sweet Lilac

Image
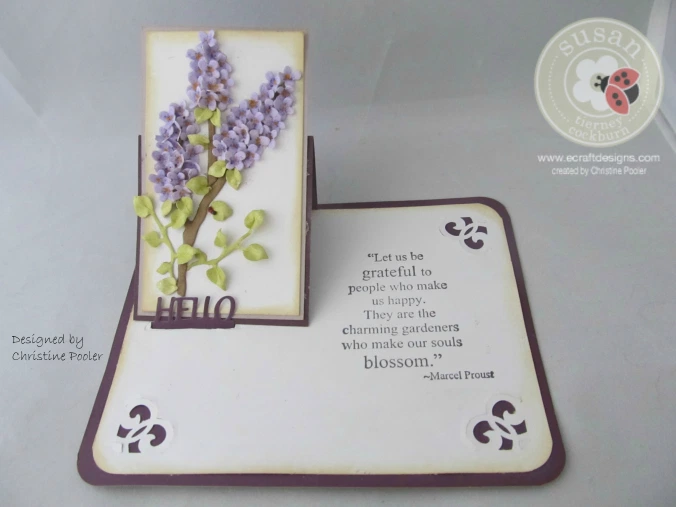
Here is my June Post for the ECD Susan Tierney-Cockburn Design Team.  click here to see the tutorial for this card and many other great posts along with all their great products to make them.

A Breath of Spring

Image
Hello Everyone, The weather here in Maine is finally changing the snow is gone, the weather is warming up and the spring flowers are beginning to bloom. Today my post is using one of Susan's Garden  new dies which will be available soon from Elizabeth Craft Designs.  I have used the Hyacinth die and the Elizabeth Craft Designs Tags & More 3 - Leaves die set. Let's get started 1.  Using the Tags & More 3 - Leaves die set and a piece of black cardstock and a piece of  pink cardstock  3-1/4  X 6-1/2 cut the top of your tag and the base tag see video here .  Cut the corner pieces and the diamond piece from pink cardstock.  Ink all edges (I used Distress Ink - vintage photo).  Attach the 2 corner pieces to the bottom corners and the diamond shape at the top lining up the hole. 2.  Using 3 pieces of white cardstock and Pan Pastels Permanent Red Tint, Violet and Violet Tint take a sponge and color each piece of white cardstock with one...

CKC Class Results

Image
Hello Everyone, The weather seems to be improving every day finally.  This is just a quick post today to show the results of my classes at Creative Keepsake Convention in Manchester, NH last weekend.  I took 4 classes 3 of which were card classes the other one was scrapbook pages.  I am posting the cards today. Sunflower Class   Arianna Bloom Class    Vellum Class    These card classes are all 1 hr classes so everything is already designed and cut for us we just add the coloring, shading, shaping, assembling and glittering. This is something I attend once a year with some girlfriends - great get away with lots of laughs, shopping and good food! Until next time Happy Scrapping! Christine

Strawberry Vanilla Hydrangea

Image
Good Morning Everyone!  Sorry it has been so long since I have posted but I have been busy getting ready to go to Creative Keepsake Convention and then going to convention. I had a great time taking classes, shopping, eating and enjoying great friends. My post today is using one of Susan's Garden new dies and one of Karen Burniston's pop up dies.  It was hard to get a good clear picture because of the shine from the glitter. Card base is an A2 size card (4-1/4 X 5-1/2) 1.  Panel is made by using Karen Burniston's accordion rectangle die.  Attach a piece of sticker paper  4-1/2 X 5-3/4 to a pc of white cardstock the same size using clear double sided adhesive. Cut 1 frame from this.  Cut the rectangle and tabs from center of frame and the long tab on the left edge of the frame. Run this frame through Sizzix machine using Hearts Entwined embossing folder (or other embossing folder of your choice)  Peel the paper from the front of the frame ( protective p...