Sept Challenge - Classic Christmas

Once again it is time for our Elizabeth Craft Designs Team Designers Challenge. Be sure to check out the Elizabeth Craft Designs blog today to see what all the designers have created for the challenge.
Our challenge for September is - Classic Christmas.
What Elizabeth Craft Designs die or stamp set would you select if making a Christmas card.
For today's challenge Elizabeth Craft Designs is giving away a $20.00 Gift Card to use on their website. There will be 3 lucky winners.
To enter just leave a comment on Elizabeth Craft Designs Facebook Giveaway Blog Post or the Elizabeth Craft Designs Challenge post and tell us what Elizabeth Craft Designs die or stamp set would you select if making a Christmas card.
3 lucky winners will be selected in a random drawing. Winners will be announced on Friday September 21st on Elizabeth Craft Designs blog and Facebook page.
Today I have made 2 cards both using some of Joset Designs newly released dies.
Card 1 - Ornaments
Here is how cards were created.
Step 1 Form card base 7" X 5-1/2". Emboss front (polka dots used here).
Step 2 Die Joset Designs - Ornaments in colors of your choice. Assemble using Kids Choice Glue. Add ribbon / cord to ornament tops.
Step 3 Adhere to left side of card using Clear Double Sided Adhesive for the top and bottom ornament. Use dimensional tape for middle ornament.
Step 4 Using Suzanne Cannon - Love Joy Peace die set die cut from coordinating cardstock with Clear Double Sided Adhesive on back. Adhere words to right side of card.
Step 5 Die cut 4 corners from same cardstock using Elizabeth Craft Designs Tags & More 1 - Lace die set. Adhere to each corner of card. Add clear gems to center of each corner.
Elizabeth Craft Designs Supplies
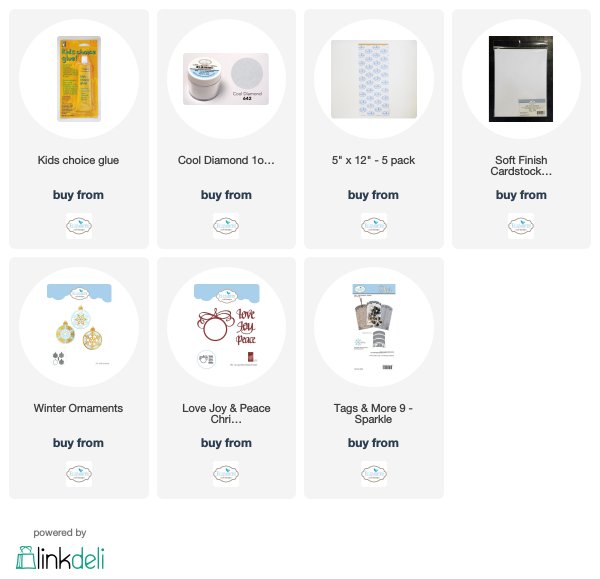
Other Supplies
String / Cord - Silver
Cardstock - metallic red, silver
Gems - clear self adhesive
Dimensional tape
Card 2 Seasons Greetings Tree

Step 1 Create 6" X 6" card base from green cardstock.
Step 2 Open card up place Joset Designs newly released - Elegant Christmas Tree (outline die as well as inner die) on right side of card front. Run through die cutting machine only half way then roll back.
Step 3 Cut white Soft Finish Cardstock 6" X 6" lay tree outline die on white cardstock lay inside of card to line up with card front hold finger on cardstock and die open up card being very careful not to move die. Using removable tape adhere die to white cardstock run through die cut machine just half way again as you did on card front. Using Kids Choice Glue (area where tree cutouts are) along with Clear Double Sided Adhesive on solid area adhere to back of card front (inside of card).
Step 4 Die cut seasons greeting from Joset Designs Words 5 - Winter Wishes using cardstock with Clear Double Sided Adhesive on back. Cut 1 red and 1 white adhere white on top of red offsetting just a little to create a shadow. Adhere to top left of card front.
Step 5 From white Soft Finish Cardstock cut packages from Joset Designs - Santa's Sleigh cut largest bow from red cardstock cut bottom piece off cut thin strip of red cardstock that will cover height of packages then adhere to packages adding bow to top.
Step 6 Die cut star from tree die set from gold paper adhere to top of tree using Clear Double Sided Adhesive. Add gems red, clear.
Elizabeth Craft Designs Supplies

Other Supplies
Cardstock - red metallic, gold metallic
Gems - red, clear
I do hope you have enjoyed these quick tutorials today. Be sure to go to Elizabeth Craft Designs Blog to see all the designers creations and of course enter for a chance to win $20.00 Gift Card.
For your convenience all Elizabeth Craft Designs supplies used for these cards are linked directly to their site it is no added cost to you.
Thanks for stopping by - until next time - Happy Crafting!
Christine

.jpg)

What a pretty red. You know some of them aren't really red at all.
ReplyDeleteThanks Beverly! Yes I know what you are saying about the reds.
ReplyDeleteLove this article! Useful and informative. looking forward to seeing more like this. Also check this out Plantable Wedding Invites. Thank you.
ReplyDelete