ECD Design Team Focus on New Release - Susan's Garden

Today members of ECD Design Team are doing another focus day and today it is for Susan's Garden's new release which consists of 8 dies. You are going to love them!
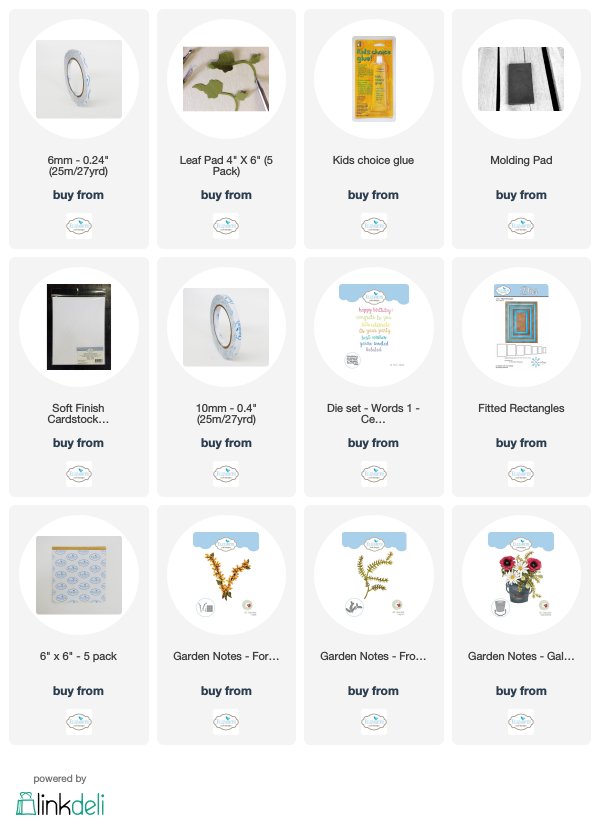
For my card today I have chosen to use 3 of the new release Galvanized Bucket, Forsythia and Frosty Fern. Sentiment is from Joset's Words 1 - Celebration set.
Be sure to visit Elizabeth Craft Designs Blog to see what other team members have created with this new release for Susan's Garden.
Here is how I created my card.
Step 1 Using 3 Distress Oxide Reinkers (Peeled Paint, Fossilized Amber and Worn Lipstick used here) put 3 drops of of peeled paint, 3 drops of fossilized amber and 1 drop of worn lipstick onto non stick craft mat spritz with water take 5" X 8-1/4" white Soft Finish Cardstock spritz with water then tap into ink lift and tap again drying in between continue until piece is covered and to your liking. Cut to 5" X 7" taking remaining piece add Clear Double Sided Adhesive to back die cut "happy birthday" then cut again from black cardstock with Clear Double Sided Adhesive on back place colored piece on top of black.
Step 2 Cut 5-6 pieces of Garden Notes - Frosty Fern from green cardstock. Using white Nuvo Drops add a little to each tip of fern Do Not do berries you want the white flat. Set aside to dry. Pinch up on fronds to give dimension.
Step 3 Using Garden Notes Forsythia die cut flowers from yellow cardstock, stems from brown and leaves from green. I cut 2 plates of flowers for each stem I cut 4 sets of stems (2 stems per set) Using green Copic marker add dot to center of each flower lay right side down on molding mat use small loop tool from Susan's Garden 4 pc. All Metal Tool Kit shape each petal by pulling tool from tip to center of each petal. Turn over use medium ball tool from tool kit push into center to cup. Using Kids Choice Glue add flowers to stems. Shape and shade leaves add to stems.
Step 4 Using Garden Notes - Galvanized Bucket die set cut 2 buckets and handles from gray cardstock 1 with Clear Double Sided Adhesive on back adhere 1 to other same with handle. Cut 2 of wooden grip from light brown cardstock. To do galvanizing see Susan's video on her Facebook page Susan's Garden Club found here. I got a little heavy with black marker so it looks more cast iron then it does galvanized.
Step 5 Form 5" X 7" card base from white Soft Finish Cardstock.
Step 6 Cut white Soft Finish Cardstock 5" X 7" using largest Fitted Rectangle die set cut opening placing die approximately 1" from bottom.
Step 7 Build your card. Adhere background piece to card front using Clear Double Sided Adhesive. Adhere piece with opening to front of card. Take bucket pinch sides with fingers to give a little curve add a couple pieces of dimensional tape in center add Kids Choice Glue around outer edge of bucket making sure not to glue top opening of bucket as you will want to put your stems down through that opening. Add handle using Kids Choice Glue to adhere. Arrange stems and ferns adhering with Kids Choice Glue. Finally add happy birthday to bottom of card using Kids Choice Glue.
Hope that you have enjoyed this tutorial today and be sure to visit Elizabeth Craft Designs Blog. You can purchase supplies by clicking on any of the supply pictures below it will take you to Elizabeth Craft Designs.
Until next time - Happy Crafting!
Christine
Elizabeth Craft Designs Supplies
Other Supplies
Cardstock - yellow, green, brown, gray brown, black
Distress Inks - Peeled Paint, Fossilized Amber, Worn Lipstick
Nuvo Crystal Drops - white

.jpg)
.jpg)
Oh goodness...I knew this was going to happen. Great release and no money.
ReplyDeleteWOW! What a stunning card :) I love that you used the Distress Oxides - my personal favorites! & your flower die cuts looks so delicate and beautiful!
ReplyDeleteThank you - I love the Distress Oxides they are so fun to work with.
ReplyDeleteThis is fabulous!!! Like nothing I have ever seen before!!! Amazing work!!! I would love for you to enter this (and other projects) in Crafter's Castle monthly challenge :) Hugs...Janie crafterscastle.blogspot.com
ReplyDeleteThank you so much for your kind words Janie. What does this challenge entail?
ReplyDelete