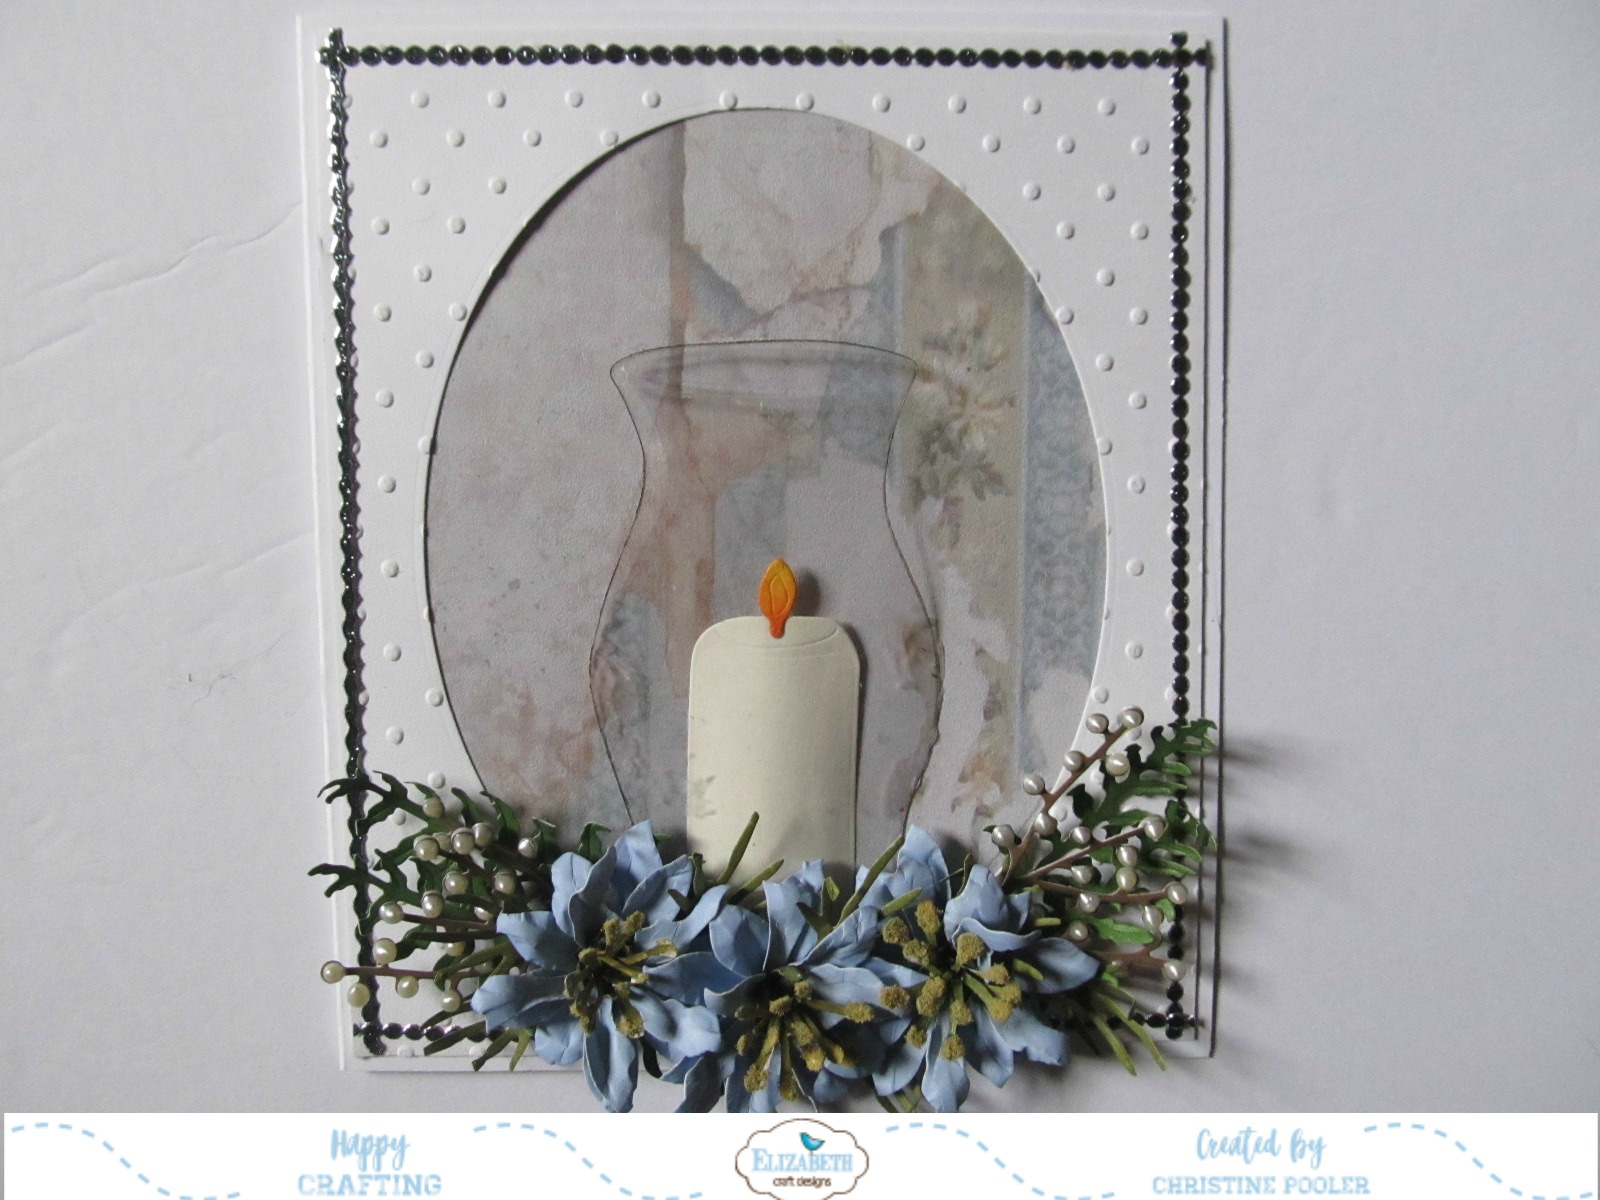
Candle of Love
Here is how card was created.
Card base - white Soft Finish Cardstock cut 7" X 12" score at 6" fold on score line.
Cut another piece of white Soft Finish Cardstock 5-3/4" X 6-3/4". Using Els van de Burgt Studio Stitched Ovals take largest die in set center on cardstock (tape down with temporary tape) die cut. Emboss in a large embossing folder.
Cut patterned paper 5-5/8" X 6-5/8" adhere to card front using Clear Double Sided Adhesive. (Patterned paper used here was actually a picture I had taken of some old peeling wallpaper then printed on white Soft Finish Cardstock).
Adhere cardstock w/oval cutout over patterned paper using Clear Double Sided Adhesive applied just around outer edges.
Adhere Black/Silver Glitter Stickers around Edge of Cardstock.
From clear cardstock, mylar or clear plastic packaging cut Garden Notes Glass Hurricane (this one was cut from clear packaging as it is heavier). Put a slight been in it. (I used heat gun to warm plastic then immediately held it against a juice glass until cool). Use alcohol marker (I used Copic W7) run it all around edge which will give it a bit of shadow so glass is more visible.
Cut candle and flame from off white cardstock color flame with markers then adhere to candle using Kids Choice Glue. Gently pinch candle to give it a bit of a curve. Determine placement of candle and Glass Hurricane within oval (bottom of Glass Hurricane on this card was tucked down behind bottom of oval). Adhere candle using Kids Choice Glue placed on very edge on lower half along with pop dots placed down center back of candle. Next adhere Glass Hurricane, again using Kids Choice Glue just on edges of lower half.
From brown cardstock cut two Berry Branches using Els van de Burgt Studio Berry Branch Die. Using white pearl pen add berries to front and back - set aside to dry.
From green cardstock cut two sets of ferns using Garden Notes Ladder Fern. Using Distress Ink add some shading. Lay right side up on Leaf Pad take leaf tool from Susan's Garden Tool Set put vein line in each little leaf. Using Kids Choice Glue Adhere to card front at bottom of oval.
Using Garden Notes Love in the Mist cut three flowers from either white Soft Finish Cardstock and color with markers or light blue cardstock shading with PanPastels Set 2. Shape then build onto card using Kids Choice Glue. Cut stamens and leaves from green cardstock shade and shape add stamens to flower centers. Susan has a video on her Facebook page Susan's Garden Club showing how to create this flower.
Once Berry Branches are dry add to card using Kids Choice Glue. Add leaves.
I do hope that this tutorial has been inspirational and you will create your own.
Below you will find all Elizabeth Craft Designs products used and they are all linked to their website just click on any to purchase.
Until Next Time - Happy Crafting!
Christine
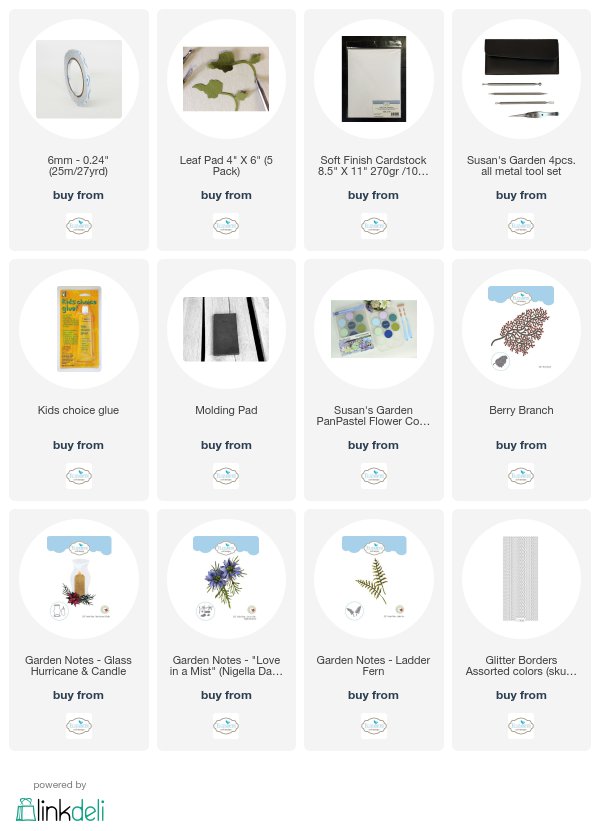
Other Supplies
Brown, Green, Blue and Off Whte Cardstock
White Pearl Pen or Nuvo Crystal Drops
Patterned Paper
Large Embossing Folder
Copic Markers

.jpg)
.jpg)
Beautiful . Do you sale your cards?
ReplyDeleteThank you - I do on occasion sell a card but because some take me a lot of time I have to charge $20.00 which is a lot for a card. My cards are in a clear box with matching ribbon around them and I included a paper easel that I make.
ReplyDelete