Life's A Picnic

Welcome to my blog my crafty friends!
Today on my blog I have a really quick and fun card. Recently I was introduced to the Ultimate Glitter Napkin Technique. Well once you start it is hard to stop you certainly look at napkins in a whole different way.
For my card today I have used Joset Designs Backyard BBQ, Joset Designs Summer Fun Sentiments, ModaScrap Stitched Fishtail Banners and Garden Notes Stitched Fitted Frame It- Square sets.
Here is how card was created.
Step 1 Form 6' X 6" card base.
Step 2 Cut True Green Soft Finish Cardstock 5-3/4" X 5-3/4". Using 6th largest die from Garden Note Stitched Fitted Frames - Squares lay on cardstock so it will cut a diamond shape die cut.
Step 3 Napkin Technique: Choose napkin of your choice separate the top printed layer from the other layer / layers (you can discard these). Cut piece of white cardstock just slightly smaller than green cardstock. Add Clear Double Sided Adhesive to the top. Add napkin by slowly peeling away protective covering from adhesive little at a time lay napkin on adhesive little at a time avoiding wrinkles ( I did get a wrinkle so be careful). Press napkin side into Versamark ink making sure completely covered. Sprinkle Glitter Embossing Powder over entire piece heat set with your heat gun. (YouTube has a video for this technique you can find it here.)
Step 4 Add Clear Double Sided Adhesive around outer edges of all 4 sides on front of napkin piece. Line up opening of green cardstock over napkin adhere.
Step 5 Adhere to card front using Clear Double Sided Adhesive.
Step 6 Cut Stitched Fishtail Banners 1 small from white or off white cardstock 1 next to smallest from coordinating cardstock. On smaller white one using black ink stamp Life's a picnic using stamp from Joset Designs Summer Fun Sentiments. Adhere together using Clear Double Sided Adhesive. Add to card front using dimensional tape.
Step 7 Cut 2 watermelon slices from Joset Designs Backyard Barbeque die set using white Soft Finish Cardstock. Color with Copic markers. Add to card front using Clear Double Sided Adhesive and dimensional tape to pop 1 slice.
Hope you have enjoyed this quick tutorial. Be sure to try this napkin technique it is fun and with all the different napkins out there the sky is the limit. Wish the picture would show the glitter picture just does not do it justice. Thank you for stopping by my blog.
If you want to purchase any of the Elizabeth Craft Designs supplies just click on picture below it will take you directly to their site.
Until next time - Happy crafting!
Christine
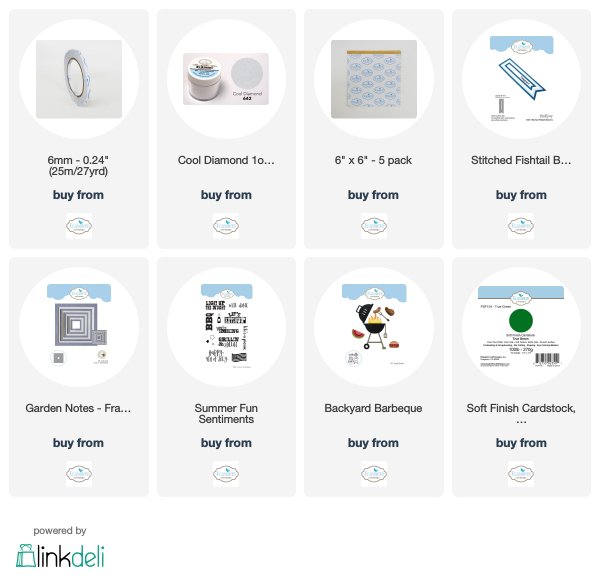
Elizabeth Craft Designs Supplies
Other Supplies
Napkin
Cardstock - red, off white
Copic Markers
Black Ink
Glitter Embossing Powder
Dimensional tape

.jpg)
.jpg)
Comments
Post a Comment