Forget-Me-Not

Welcome My Crafty Friends!
My post today is a card using a couple of Susan's new releases Garden Notes - Forget- Me- Not and Garden Notes Frame It - Ovals. By now you can see I love the new Frame It Ovals there is also Circles, Squares and Rectangles in this new release as well.
Here is how it was created.
Step 1 Create 6" X 6" card base from white cardstock.
Step 2 Cut patterned paper 6" X 6" adhere to card front using Clear Double Sided Adhesive.
Step 3 Cut white Soft Finish Cardstock 6" X 6" using next to largest Susan's Garden Notes - Frame It - Ovals. Place die 3/4" in from left side and equally between top and bottom - you want to leave room on right to stamp sentiment die cut oval. Stamp sentiment (you want to stamp before adhere just to make sure you get good image)using black ink. (Stamp I used here was one of Susan's original Seeds of Thought Red Rubber Stamps at Elizabeth Craft Designs but I could not find it so not sure that it is available anymore but you can use another sentiment.) Using Clear Double Sided Adhesive just around outer edge adhere to card front.
Step 4 From clear plastic (I like to save plastic packaging as it is heavy) or mylar cut Garden Notes Canning Jar. On back side of jar using a darker gray alcohol marker make line for water line then color below blending in using a lighter gray. Adhere jar to card front using Kids Choice Glue around just the outer edges leaving jar opening free of glue so you can get stems down in jar. I tucked bottom of jar down inside of oval.
Step 5 From green cardstock cut stems using Garden Notes Bouquet Stems & Branches die set. Cut off top half put couple dabs of Kids Choice Glue on back stick stems down in jar. Cut 3 Garden Notes Forget-Me Not stems add to jar.
Step 6 Cut flowers from white Soft Finish Cardstock using Susan's Garden Notes Forget-Me-Not which is a brand new release. Using alcohol markers color flowers then shape using Garden Notes 4 pc. All Metal Tool Kit along with Molding Mat and Leaf Mat. Cut leaves from green cardstock shade with ink and shape. Susan has video on her Facebook page Susan's Garden Club which you can find at this LINK. Add flowers to stems at top of jar using Kids Choice Glue then add leaves.
I do hope you have enjoyed this tutorial and that it has inspired you to make your own card, thank you for stopping by!
my inspiration picture - picked from my backyard. Yes I do have a pink blossom here and there in bouquet as that is how they grow every once in a while you find a pink blossom or 2 on a plant of blue blossoms.

If you click on any icon for Elizabeth Craft Designs supplies below it will take you directly to that product on their site for you to view / purchase.
Until next time - Happy Crafting!
Christine
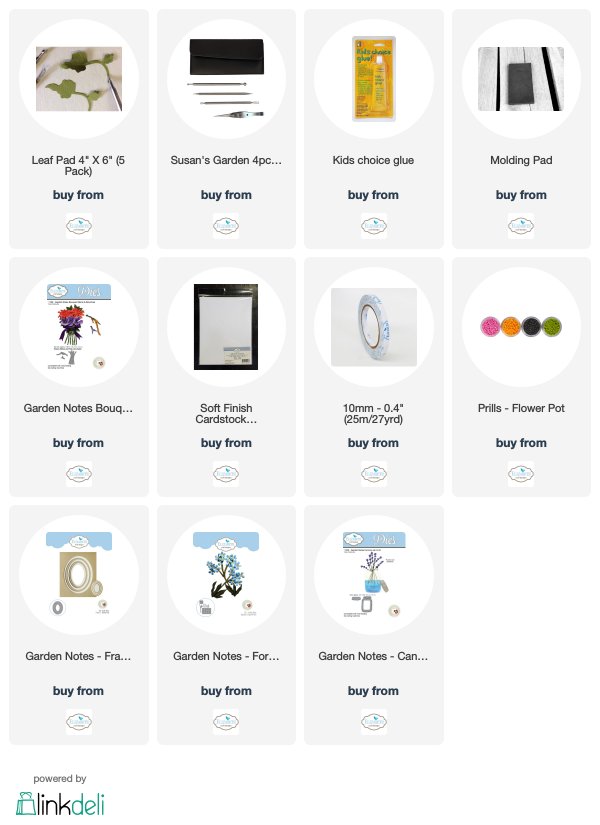
Elizabeth Craft Designs Supplies
Other Supplies
Cardstock, green
Plastic / Mylar
Patterned Paper
Black Ink

.jpg)

What a beautiful vase of flowers to pull inspiration from! You made a wonderful card!
ReplyDeleteThank you!
ReplyDelete