Designer Hexagon Challenge

Hello Everyone,
Welcome to my blog. Today is challenge day for the Elizabeth Craft Designs Design Team. This month our challenge is Hexagon Inspiration this is the card I designed for the challenge. Be sure to go to Elizabeth Craft Designs blog at this LINK to see what the other Design Team members have created using Joset's newly released Stitched Hexagons and Fitted Hexagon dies. While there, be sure to answer the question for a chance to win a $20.00 Gift Certificate to Elizabeth Craft Designs.
The question for $20.00 giveaway this month is what is your favorite way to use Elizabeth Craft Designs Stitched Hexagons or Fitted Hexagons dies. Winners will be announced Friday June 22, 2018.
Here is how my card was created.
Step 1 From green cardstock using Garden Notes Leafy Berry Branch cut 1 set. Lay right side down on molding mat using medium ball tool rub backs of leaves to give a bit of dimension, turn over and run ball tool down stem and branches. Using Nuvo Crystal Drops (Dandelion Yellow used here) make berries. Set aside to dry. When berries are dry on right side add berries to back side set aside to dry.
Step 2 Form 6" X 6" card base. ( Elizabeth Craft Designs Soft Finish Cardstock -Cafe au Lait used here)
Step 3 Cut patterned paper 5-3/4" square adhere to card front using Clear Double Sided Adhesive. (ModaScrap - Wood Effects used here)
Step 4 From same cardstock as card base that has Clear Double Sided Adhesive on back cut 2 frames using Joset's Designs Stitched Hexagons. Using 2 largest hexagons cut 1 frame then use next 2 sizes to cut second frame. Lay 2 dies together lining up evenly tape together with removable tape lay on your cardstock then die cut. Adhere to card front.

Step 5 Using Joset van de Burgt Words 4 - Remember cut twice With Sympathy from black cardstock that has Clear Double Sided Adhesive on back. Adhere to card front in upper half of smallest rectangle frame to allow room for flowers below.
Step 6 Cut Garden Notes Maiden Hair Fern from green cardstock. Shade using ink. Lay right side down on molding mat use medium ball tool to rub back of leaves turn over run ball down stem.
Step 7 Cut 3 poppies from white Soft Finish Cardstock (you can use colored cardstock if you prefer) using Susan's Garden Notes Poppy 2 die set. Color/shade and shape your flowers. Susan has a great video to help with this on her Facebook page Susan's Garden Club found here.
Step 8 Assemble your bouquet on card front using Kids Choice Glue Starting with ferns then berry branches and last the poppies.
Here is another card I created using the Stitched Hexagons it was done for the Inspiration day of Joset's new release and was posted on this blog with tutorial.

I do hope that you have enjoyed this post today! For any of the Elizabeth Craft Designs products I used just click on pictures below it will take you to their site where you can purchase. Don't forget to check out their blog for what the other designers have created and answer question for chance to win $20.00 gift certificate.
Until next time - Happy Crafting!
Christine
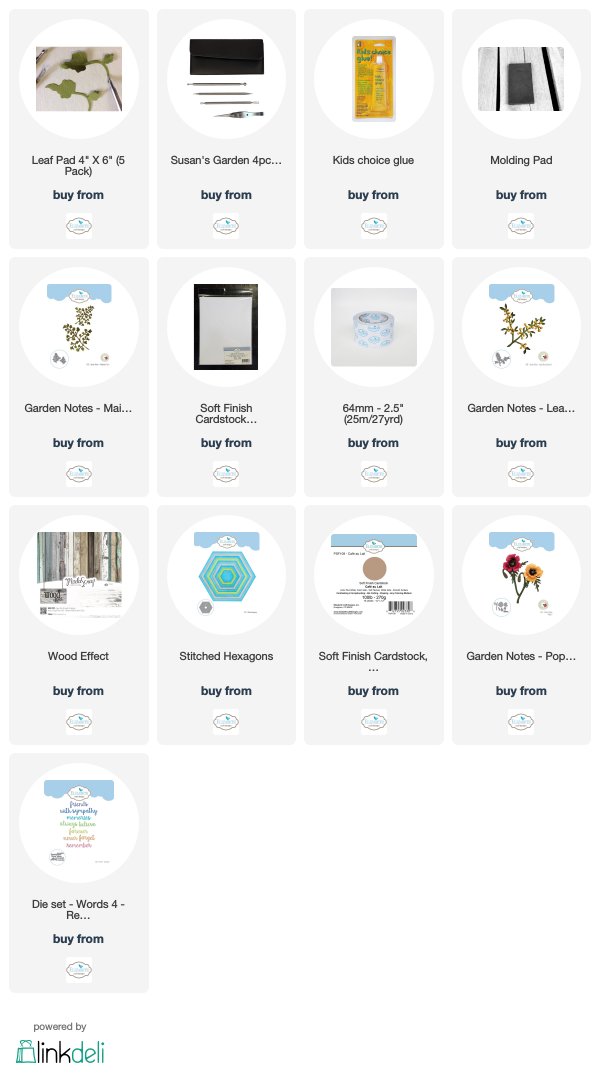
Elizabeth Craft Designs Supplies
Other Supplies
Cardstock - green, black, yellow
Nuvo Crystal Drops - Dandelion Yellow
Copic Markers - FBG2 & B12

.jpg)
.jpg)
Comments
Post a Comment