Week 14 Christmas Card Challenge - Snowy Trees

Hello my crafty friends!
Well this is week 14 of a Christmas Card Challenge I am in with Card Making Tips group on Facebook. With this post I am caught up with posting my cards so you will only see 1 Christmas card post from me a week for now. This weeks challenge is Snowy Trees - not decorated. Elizabeth Craft Designs had the perfect die set for this plus their new Happy Frame which I am loving.
Here is a quick tutorial on how I made this card.
Step 1 Using Becky Seddon's Reindeer Die Set cut 9 or 10 trees from dark green cardstock and 3 snow mounds from white cardstock. Using a pallet knife add Snow Accents to snow mounds and trees set aside to dry. Note: With this snow be careful on snow mounds to keep away from each end and the bottom edge as the frame will not lay flat against card and adhere.
Step 2 Using ModaScraps Happy Frame Die Set cut 4 pieces to make frame from navy cardstock. Crease all fold lines using bone folder. Cut to 6" cutting on straight end of all 4 pieces and emboss using embossing folder of your choice (dotted swiss used here). Els has a video showing how to make frame.
Step 3 Form a 6" square card base from white Soft Finish Cardstock.
Step 4 Cut medium blue cardstock 5-3/4" square emboss with embossing folder of choice. Sand lightly to let white come through to look like falling snow. Adhere to card front using Clear Double Sided Adhesive.
Step 5 Build scene on card front adhering snow mounds using Clear Double Sided Adhesive on lower portions of the snow mounds. Add trees using Kids Choice Glue on lower portion of trees tucking them between the snow mounds cutting some to make different heights and cutting half off for sides.
Step 6 Add Frame using Clear Double Sided Adhesive.
Step 7 Using A Way With Words - Let It Snow Die Set cut Let It Snow one from black cardstock with Clear Double Sided Adhesive on back and once from White Soft Finish Cardstock. Adhere black on top of white offsetting just enough to give it a shadow. Adhere words to lower portion of frame using Kids Choice Glue.
I do hope you have enjoyed this quick tutorial and will create your own version. If you would like to purchase any of the Elizabeth Craft Designs products I have used just click on picture below it will take you right there.
Thanks for stopping by today and until next time - Happy Crafting!
Christine
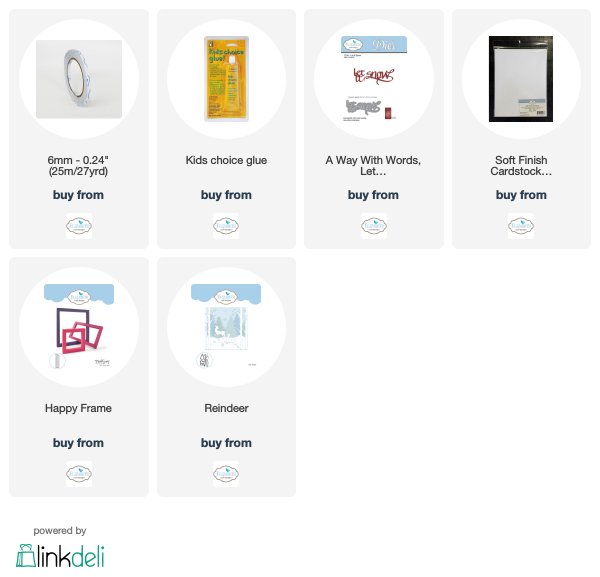
Elizabeth Craft Designs Supplies
Other Supplies
Cardstock - navy blue, med. blue (white core), black & dark green
Embossing Folder
Snow Accents

.jpg)

Oh...I really like this.
ReplyDeleteThanks - it is one of my favorites!
ReplyDelete