Frame It Challenge

Hello my crafty friends!
Once again it is time for another Elizabeth Craft Designs Design Team Challenge and this month our challenge is "Frame It". For this challenge I have chosen one of the new frames by ModaScrap - Happy Frame along with a couple of Susan's Garden new releases Primrose 1 and Leafy Berry Branch.
**************************
For today's challenge Elizabeth Craft Designs are giving away a $20 Gift Card to use on our website to 3 winners.
To enter simply leave a comment on the Elizabeth Craft Designs Challenge post and tell us What Elizabeth Craft Designs dies or stamp sets would you use to frame something on a card, scrapbook layout of home decor item?
We will select 3 lucky winners in a random drawing
The winners will be announced on Friday, March 23rd on the Elizabeth Craft Designs blog.
**********************************
Here is how the card was created.
Step 1 Cut 2 Leafy Berry Branches from green cardstock. Add berries using Nuvou Crystal Drops (Rhubarb Crumble used here) set aside to dry. Wile cutting from green cardstock cut set of Garden Notes Ostrich Fern.
Step 2 Background made from black cardstock but also could be done on white cardstock. You will be working with ECD Diamond Background die cut as stencil when finished making background save stencil to be used on another project. Die cut 1 Diamond Background from cardstock lay on top of piece of black cardstock cut 3-3/4" X 5" hold in place with piece of low tack tape. Using sponge apply Viva 3D paint in 3-4 different colors working paint down in being careful not to bend up stencil. (You can also use Distress Oxide Inks they just will not be as bright or sparkly.)


Using Distress Oxide Inks and sprayed with Glitter Dust

Step 3 From 100# white Soft Finish Cardstock using ModaScrap Happy Frame cut 4 times. Trim 2 pieces to 5-1/4" (trimming from straight end) trim 2 pieces to 3-7/8" build frame. Els just did a Technique Friday video on making Happy Frame XL it can be found here.
Step 4 Using Clear Double Sided Adhesive attach frame over background piece.
Step 5 Card base cut black cardstock 3-7/8" x 10-1/2" score at 5-1/4" fold on score line. Attach frame and background piece to card front using Clear Double Sided Adhesive.
Step 6 Using ECD Corners 1 die set cut 4 corners from white Soft Finish Cardstock with Clear Double Sided Adhesive on back (I chose corners that had five dots which I saved and added back in) attach corners to frame.
Step 7 Cut 5 Primrose 1 from white Soft Finish Cardstock (or you can cut from colored cardstock and shade) color using Copic Markers YR15 and Y38 used here. Shape using Susan's Garden 4 pc Tool Kit and Molding Mat Susan has a video on her Facebook page Susan's Garden Club found here. Cut several leaves from cardstock either green cardstock or white cardstock coloring with Copics Markes YG97 and G85 used here. Shape using leaf tool and leaf mat.
Step 8 Attach ferns and berry branches to card front using Kids Choice Glue build your primroses onto card front using Kids Choice Glue.
Step 9 Cut Happy Birthday twice once from black cardstock and once from white Soft Finish Cardstock that has Clear Double Sided Adhesive on back attach white Happy Birthday on top of Black. Attach to bottom of frame using Kids Choice Glue. Note: the die I used was an ECD Stand Up Helper Die that is no longer available which I discovered when preparing my tutorial I apologize but I did check out the new release of dies and #1465 Words 1- Celebration has a "happy birthday" die which is a bit longer but you could attach happy to the top of frame and birthday to bottom as well as #783 Happy Birthday and #1284 Happy Birthday.
Hope that this tutorial is an inspiration to you to try your own design.
Be sure to go to Elizabeth Craft Designs to enter to win and see what all the other design team members have created.
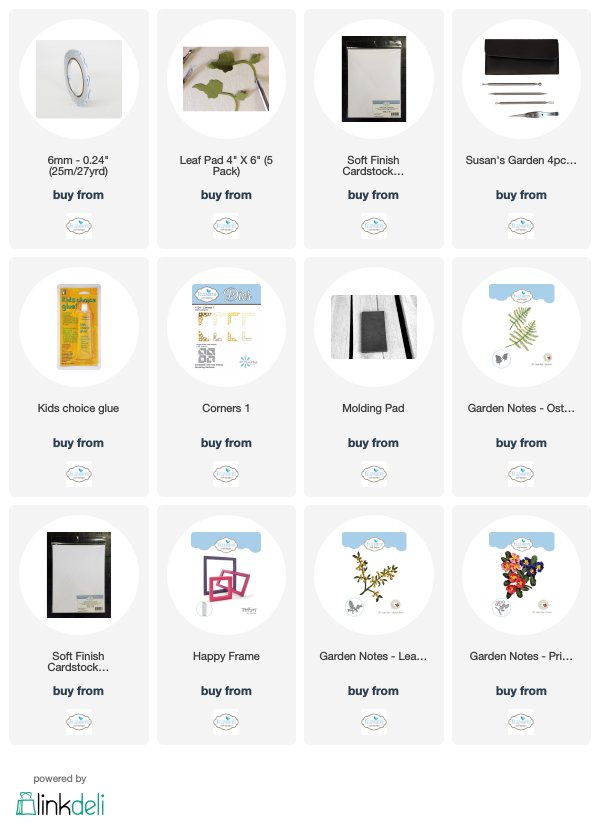
If you want to purchase any of the Elizabeth Craft Designs supplies I have used to create this card just click on any of the Elizabeth Craft Designs Product pictures below it will take you right to that item on their site.
Thank you for stopping by today and until next time - Happy Crafting!
Christine
Elizabeth Craft Designs Supplies
Other Supplies
Cardstock - black, green
Viva 3D Paint
NuVou Crystal Drops - Rhubarb Crumble

.jpg)
.jpg)
Your background turned out really well. Of course the primrose is beautiful.
ReplyDeleteThank you!
ReplyDelete