Easter Challenge


Hello everyone welcome to my blog!
It is challenge time on Elizabeth Craft Design Blog. This month our challenge is to make something with an Easter theme.
For today's challenge Elizabeth Craft Designs are giving away a $20 Gift Card to use on our website to 3 winners.
To enter simply leave a comment on the Elizabeth Craft Designs Challenge post and tell us "What Elizabeth Craft Designs dies or stamp sets would you use to create an Easter Card?”
We will select 3 lucky winners in a random drawing
The winners will be announced on Friday, March 2nd on the Elizabeth Craft Designs blog.
Be sure to "hop" on over to enter to win here is the link http://wp.me/p4kQzc-800
My card today is a pop up card using several of Joset's new releases Entwined Egg, Bunny, Spring Basket and Words 3 Happy Holidays along with a few other die sets.
Here is how it was created.
Step 1 Cut 1 Garden Notes Leafy Berry Branch from green cardstock. Lay right side down onto Molding Mat with medium ball tool from Susan's Tool Kit rub each leaf turn over and rub lightly down stem. Add berries using Nuvo Crystal Drops set aside to dry.
Step 2 Card Base - Cut white Soft Finish Cardstock 4-1/4" X 11" score at 5-1/2".
Step 3 Card Insert - cut white Soft Finish Cardstock 4" X 10-3/4" score at 5-3/8". Using blue Distress Ink and Susan's Garden Stencil Earth & Sky make the clouds/ sky on top half of card insert. Cut grass patterned paper 4" X 6-1/4" (my paper was cut at 5-1/2" but would do it at 6-1/4" next time) using fancy cut scissors cut across giving it a grassy look. Using Clear Double Sided Adhesive adhere to lower portion of card insert. Fold on score line again to give good crease. Using Elizabeth craft Designs General Pop Ups die set cut a pop stand in center ( I used the 1" one). Attach insert to inside of card using Clear Double Sided Adhesive making sure to avoid the area of the pop up.
Step 4 From brown cardstock with Clear Double Sided Adhesive on back cut basket using new Spring Basket die set. Cut second basket from brown cardstock without adhesive on it. Adhere together giving it a bit of strength. Using brown Distress Ink give basket some shading. Lay right side down on Molding Mat using large ball tool rub back of basket giving a bit of dimension. Attach to pop up inside card using Clear Double Sided Adhesive.
Step 5 From Spring Basket die set cut 5 large eggs from white Soft Finish Cardstock. Color using Copic Markers using several colors. Cut 5 piece of basket grass from green cardstock. Use Distress Ink to shade. Arrange eggs and grass in basket adhere using Kids Choice Glue.
Step 6 From white Soft Finish Cardstock with Clear Double Sided Adhesive on back cut happy easter using Joset's Words 3 Happy Holidays die set. Attach to inside of card.
Step 7 Cut patterned paper 4-1/4" X 5-1/2" adhere to card front using Clear Double Sided Adhesive (ModaScrap Fly & Scrap used here).
Step 8 Cut 1 Entwined Egg from brown cardstock with Clear Double Sided Adhesive on back. Adhere to front of card. Cut a second egg from white Soft Finish Cardstock save the Entwined Egg for another project take the center piece and using Susan's Garden Earth & Sky Stencil make sky / clouds using blue Distress Ink. Adhere that in center of egg on card front.
Step 9 Cut Joset's new Bunny from white Soft Finish Cardstock color using pink Copic Marker. Lay head, body and ears right side down on Molding Mat rub with ball tool to give dimension. Assemble using Kids Choice Glue. When attaching arms just attach at top leave lower portion of arms free so he can hold flower. Add pop dots on back of head and body add Kids Choice Glue to just very edge of bottom of bunny adhere to bottom of egg.
Step 10 Create 1 tulip from colored cardstock using Garden Notes Tulip. Susan has a YouTube video to help you can find it here. Cut large leaf from stem add small leaf cut stem to fit card. Attach to bunny using Kids Choice Glue.
Step 11 Cut little flowers from white Soft Finish Cardstock color centers with yellow Copics.
Step 12 Cut piece off Leafy Berry Branch attach to upper right of egg using Kids Choice Glue. Add little white flowers.
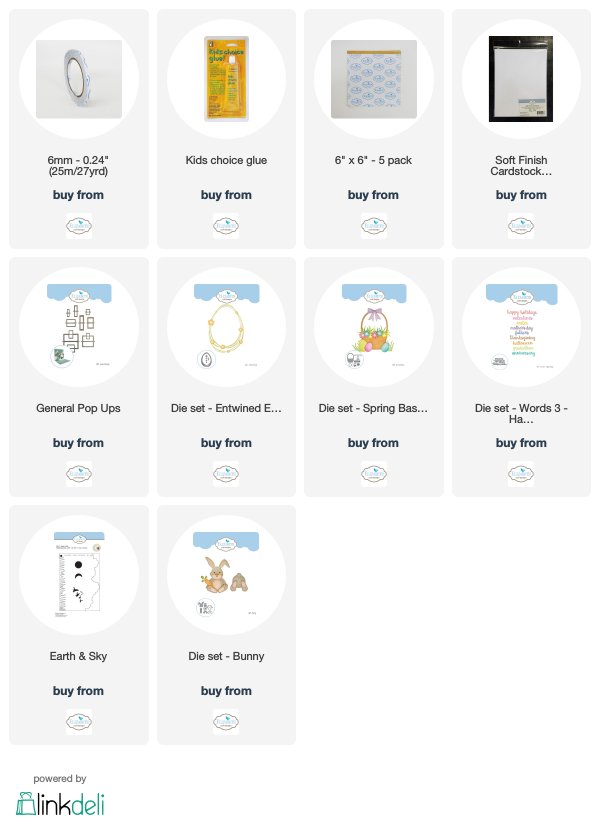
I do hope you have enjoyed this tutorial today and if you wish to purchase any of these items just click on item below it will take you directly to Elizabeth Craft Designs.
Don't forget to click on link above to go to Elizabeth Craft Designs Blog to enter to win!
Until next time - Happy Crafting!
Christine
Remember - You only live once, but if you live right, once is enough! author unknown
Elizabeth Craft Designs Supplies
Other Supplies
Cardstock - brown, green purple
Various colors of Copics Markers
Nuvo Crystal Drops
Pop Dots
Distress Inks

.jpg)

Comments
Post a Comment