Floral Thanks

Hello Everyone thank you for stopping by my blog today. My post today is a new challenge for Susan's Garden Design Team. This Month we have been challenged to use 2-3 of Susan's new releases - I have chosen 3 the Black-Eyed Susan and 2 of the new ferns Maiden Hair and Ostrich.
Be sure to go to Elizabeth Craft Designs to see more of Susan's new releases and enter the challenge drawing for a chance to win a prize.
For today’s challenge Elizabeth Craft Designs are giving away a $20 Gift Card to use on the Elizabeth Craft Designs website to 3 winners.
To enter simply leave a comment on the Elizabeth Craft Designs Challenge post and tell us "What products from Susan's new release are at the top of your wish list?”
We will select 3 lucky winners in a random drawing
The winners will be announced on Friday, November 17th, on the Elizabeth Craft Designs blog.
***************
Here is how it was done.
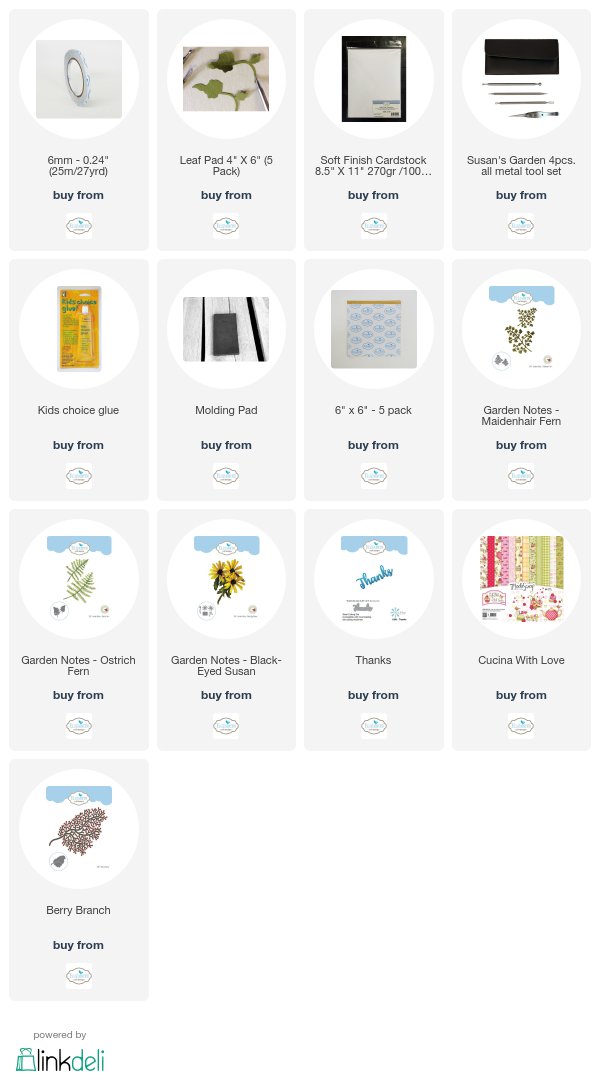
- Using Els van de Burgt Studio Berry Branches cut 4 branches from brown cardstock. Double branches using kids choice glue for added thickness. Add berries using either Nuvo Crystal Drops or Red Pearl Pen (which was used here). Set aside to dry.
- Form 6' X 6" card base from white Soft Finish Cardstock.
- Cut patterned paper 5-3/4" X 5-3/4" (ModaScrap "Cucina With Love Collection" used here). Attach to card front using Clear Double Sided Adhesive.
- Cut burlap paper 5-1/4" X 5-1/4" fray edges on all 4 sides. Attach to card front using Clear Double Sided Adhesive.
- Using Susan's Garden Black-Eyed Susan Die Set and white Soft Finish Cardstock cut 5 sets flower petals, black cardstock cut plate of seeds for 5 flowers and from green cardstock cut leaves. Color, shade, shape and assemble. Watch Susan's video for guidance which can be found here.
- Using Susan's new Maiden Hair and Ostrich Fern Dies cut 2 each from green cardstock (I used 2 different shades of green). Using Distress Ink shade ferns. Lay right side down on molding mat using medium ball tool from Susan's Tool Kit rub back of Maiden Hair Fern fronds turn over run tool down stem for the Ostrich Fern use tweezers from tool kit to pinch up each frond then run medium ball down stem giving ferns some dimension.
- Arrange ferns, flowers and berry branches on front of card when they are where you want them attach using Kids Choice Glue. You may not use all the ferns or you may cut some apart whatever appeals to you. Berry branches I did cut apart and tucked in where I wanted.
- Using Els van de Burgt Studio Thanks die cut 3 from black cardstock with Clear Double Sided Adhesive on the back. Stack together ( gives nice dimension) attach to upper right of card front.

Hope that you have enjoyed this tutorial today and do remember to go
Elizabeth Craft Designs Blog to enter for a chance to win in a prize. If you are interested in any of the products used today you can click on any of the pictures and they will take you to Elizabeth Craft Designs.
Until next time - Happy Crafting!
Christine
Other Supplies
Black, Green (2 shades) and Brown Cardstock
Burlap Paper
Copics Y19 Napoli Yellow
Red Pearl Pen

.jpg)

Comments
Post a Comment