Think Happy

For today's challenge Elizabeth Craft Designs are giving away a $20 Gift Card to use on the Elizabeth Craft Designs website to 3 winners.
To enter simply leave a comment on the Elizabeth Craft Designs Challenge post and tell us “Which dies from Susan’s collection make you think of your home?”
We will select 3 lucky winners in a random drawing
The winners will be announced on Friday, August 11 on the Elizabeth Craft Designs blog.
http://wp.me/p4kQzc-6Sg
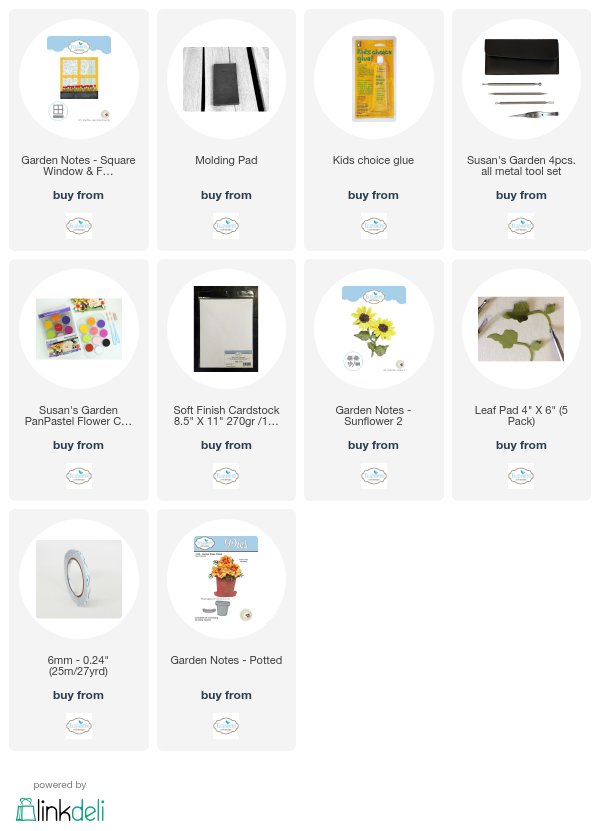
Hello everyone welcome to my blog. Today is Susan's Garden Design Team second challenge. This month we have been challenged to use new Cottage Dies, Window & Flower Box, Doors etc. I have chosen Susan's new release Square Window & Flower Box Die Set. On my card I used patterned paper that I had purchased (I am trying to use up some of my large paper stash) but how cool would it be to take a picture out your own window and print onto cardstock.
Here is how card was created.
- Card base is 5-1/2" square. Cut white cardstock 5-1/2" X 11" score at 5-1/2" fold on score line to for card base. This card is a tent fold although it could also be done as a side fold since it is a square card.
- Cut 5-1/4" square of patterned paper adhere to card front using Clear Double Sided Adhesive.
- Die cut window from White Soft Finish Cardstock using Garden Notes Square Window die.
- Place window over scenic pattern paper to find view you want to show in your window then cut paper to fit behind window die cut. Attach window over scenic paper using Kids Choice Glue. Attach window to upper left side of card using Clear Double Sided Adhesive.
- Using die set Garden Notes Potted cut pot and saucer from terra cotta or burnt orange cardstock. Use white ink to give it an aged look by lightly swiping areas of pot. Lay pot and saucer right side down on Molding Mat using large ball tool from Susan's 4pc Tool Kit rub back to give dimension. Using Kids Choice Glue around edges only adhere pot to lower right side of card front. Add saucer in same manner.
- Die cut 3 sunflowers from colored cardstock of your choice using Garden Notes Sunflower 2 die set. Using PanPastels Set 1 shade petals then shape and assemble using Kids Choice Glue. Cut several leaves from green cardstock shade and shape.
- Attach sunflowers and leaves at top of flowerpot using Kids Choice Glue.
- Stamp sentiment (this sentiment is from a brand new clear stamp set by Susan - Little Words That Mean A Lot CS061) in black ink.
Hope you have enjoyed this tutorial as much as I have enjoyed making it. Be sure to visit Elizabeth Craft Designs blog at this link for details on winning a prize and to see all the challenge designs for this month.
Until next time - Happy Crafting!
Christine

.jpg)
.jpg)
Sp pretty and a fun way to use up that paper stash.
ReplyDeleteI like how you used a picture to "Frame" the scene on your card. Wonderful idea, Your potted sunflowers are beautifully crafted. ZThey would look so lovely on my kitchen windowsill.
ReplyDeleteThank you I really enjoyed making it!
ReplyDelete[…] Christine Pooler shares a fun way on how to incorporate a photo on your card by using the window from the Susan’s Garden Garden Notes – Square Window & Flower Box die set. To decorate her card, Christine has used the Garden Notes – Potted; Garden Notes – Sunflower 2 as well as one of the sentiments from the Little Words That Mean a Lot Clear Stamp set which is coming soon! Christine also used used White Soft Finish Cardstock and PanPastels to create her card. […]
ReplyDeleteLove the picture frame showing the 'photo' print paper. Flowers are lovely!
ReplyDeleteThank you Bela!
ReplyDeleteThank you Diane!
ReplyDeleteThank you Diane!
ReplyDelete