April Challenge - Scissor Spring Mechanism


Welcome my crafty friends!
It is once again time for another Elizabeth Craft Designs Design Team Challenge and a chance to win. Click here Elizabeth Craft Designs Blog to check out all of the other Design Teams Designs.
*******************
For today's challenge Elizabeth Craft Designs are giving away a $20 Gift Card to use on our website to 3 winners.
To enter simply leave a comment on the Elizabeth Craft Designs Facebook Giveaway Blog Post or the Elizabeth Craft Designs Challenge post and tell us What Elizabeth Craft Designs dies or stamp sets would you use with the Scissor Spring Mechanism die set to create a card, scrapbook layout or home decor item?
We will select 3 lucky winners in a random drawing
The winners will be announced on Friday, April 20th on the Elizabeth Craft Designs Blog and our Facebook page.
*****************
Our challenge this month is to use the Scissor Spring Mechanisms by Becky. My card that I chose to do is an open box card that my friend just taught me I felt it was just perfect for these mechanisms. I have taken lots of pictures to help with making card.

Here is how it was created.
Step 1 Cut white 100# Soft Finish Cardstock to 8-1/2" X 10". With soft finish side down score the 10" side at 2"; 3-1/2"; 6-1/2" & 8". Turn and score on 8-1/2" side at 1-1/2" & 7".
Fold on all score lines using a bone folder to make nice sharp creases. Make cuts on all 4 corners per sketch - on 10" sides cut on score lines to 3-1/2" on 8-1/2" side cut only to first score line removing corners.

You should have 3" in center of 8-1/2" side make a little mark at 1-1/2" on each end. Score on diagonal from mark down to score line on each side of marks see picture.

Crease well on these lines - they should be mountain folds.
Step 2 Now decorate your card before assembling. Using patterned paper decorate your card - cut 2 pcs. 3" X 5-1/4" - 1 for inside and 1 for back (which will be adhered after mechanism is in place) adhere using Clear Double Sided Adhesive. For the 2 outer flaps they should be 2" X 5-1/4" but depending on score lines they may vary so should measure before cutting for best results.
Step 3 Decide where you want your mechanism on card . Place tiny die for slit on card base run through die cutting machine. Using smallest Scissor Spring Mechanism die cut 1 set assemble. place tabs from 1 end through slit you just cut spread tabs open adhere using Clear Double Sided Adhesive. Adhere patterned paper to card back covering tabs.
Step 4 Using Kristen Schneider Patchwork Stamp and Die sets cut 4 bees from white Soft Finish Cardstock. Color using markers. Using bee die cut out bees. On 2 of bees snip around wings to body keeping them attached but making them so wings will bend up. Use a glitter pen to add sparkle to wing. Attach one be on top solid bee just on body part of bee using Clear Double Sided Adhesive. Add bee to mechanism using Clear Double Sided Adhesive.

Step 5 Using Joset's Words 2 - Thinking of You die set from black cardstock with Clear Double Sided Adhesive on back "Just" and "You" . Adhere "Just" above the Bee and "You" below the bee.
Step 6 Add Clear Double Sided Adhesive to 4 corner flaps. Dry fit by folding up to form box if you find that trimming is required to make flush with back of card do this before adhering.

Bring flaps around and adhere to sides forming box. Gently push in top & bottom ends on fold lines so it closes flat - crease well.
Step 7 Cut strip of matching cardstock 1" X 9". Wrap around center of card overlap in front. Adjust to fit so that it is loose enough so will slide on and off but still hold card closed. Trim off extra and adhere closed with Clear Double Sided Adhesive. Adhere bee to band covering the overlap using Clear Double Sided Adhesive.
Optional Closure - use a small magnet as closure. Adhere magnet to front left flap using Clear Double Sided Adhesive adhere one end of band to front over magnet wrap band around back to front adjust length. Add a die cut with a sentiment to free end of band and add magnet to back of die cut so it lines up with bottom magnet. This was done because I had a spot on flap which band covered but when band was taken off to open card you saw a big spot - there is always a fix for these boo boos.
[gallery ids="5631,5632" type="rectangular"]
I do hope you have enjoyed this tutorial today I know it is long but hope it is inspiring and you will make your own open box card.
Don't forget to go to Elizabeth Craft Designs Blog to enter to win and to see what all our other designers have come up with.
Thank you for stopping by and until next time - Happy Crafting!
Christine
Elizabeth Craft Designs
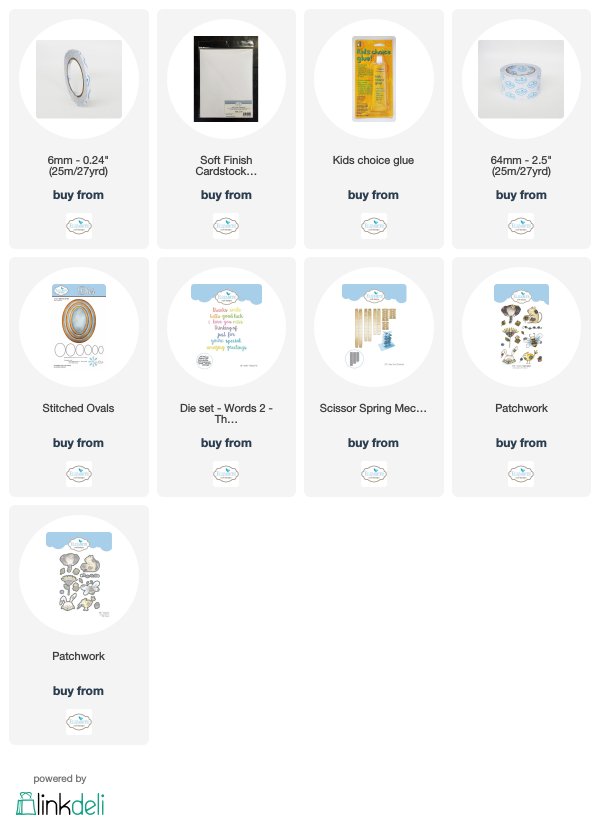
Other Supplies
Cardstock - black
Patterned Paper
Copic Markers
Glitter Pen

.jpg)
.jpg)
[…] Christine Pooler has created a fun “Open Box Card” with a cute little patchwork bee springing on the inside. To create her card Christine has used the Scissor Spring Mechanism; Stitched Ovals and Words Set 2 – Thinking of You die sets along with Patchwork Clear Stamp set with coordinating dies. White Soft Finish Cardstock was also used on this card. […]
ReplyDelete